If you have worked with terminal multiplexers like screen and tmux, then you might have an idea about Zellij, which is a terminal workspace and multiplexer.
This article will walk us through the installation and basic usage of Zellij on a Linux system.
Zellij Features
Some of its notable features are its support for multi-language plugins which are compatible with WebAssembly compilations. This workspace is also associated with a layout system.
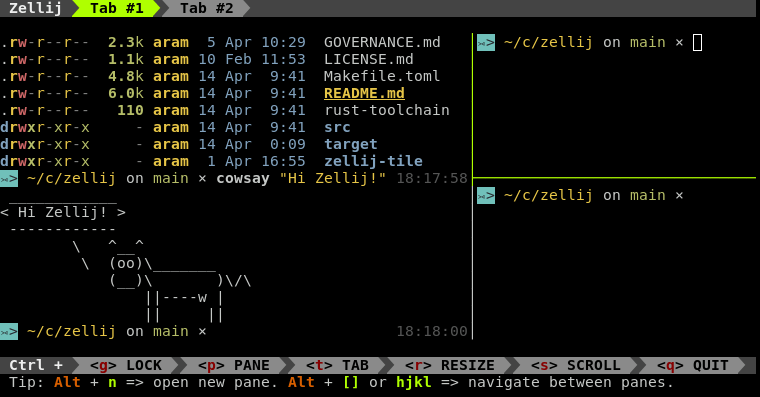
In comparison to the likes of screen and tmux multiplexers, Zellij is detail-oriented such that it is pre-packaged with an out-of-the-box user-friendly UI.
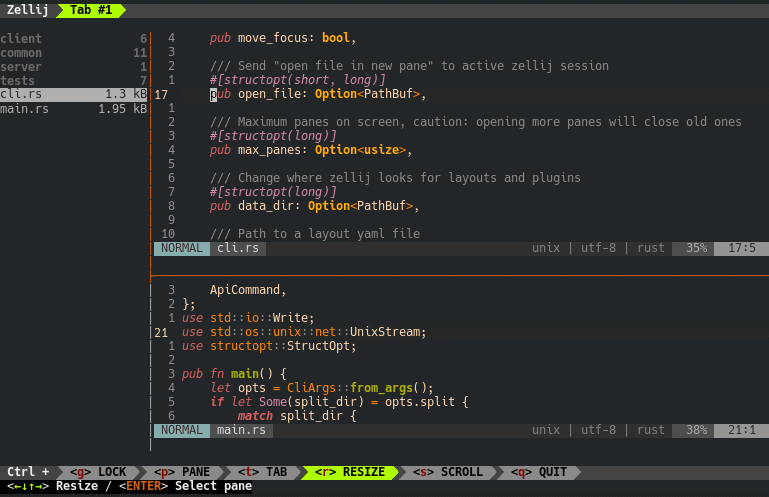
The bottom of its user window showcases a status bar equipped with useful tips and keyboard shortcuts. This status bar (with inclusion to the tab bar) exists as a temporary plugin making it possible for users to disable it once they have memorized and are comfortable with the use of the highlighted shortcut keys.
Zellij keyboard shortcuts on its UI empower users to lock its layout if need be. With these keyboard shortcuts, users can also scroll, resize, and access other tab and pane options. The keyboard shortcuts also provide an easy way of quitting the app.

Users also do not have to worry about arranging or resizing the app’s pane like having to choose between a horizontal or vertical pane. This app optimizes and implements the best fit for a new pane. Also, there are no limitations/hindrances when resizing such panes. Users have the freedom of configuring the initial layout and keyboard shortcuts associated with Zellij.
Zellij is complimented with a Ranger (terminal file manager) clone called Strider (a plugin) which can be used to load and preview all the files you are working with from the command-line window.

Users have the opportunity to explore persistent/detachable sessions. With its support for multi-terminal windows, Zellij encourages user collaboration through shared sessions across different windows.
Install Zellij Terminal Workspace in Linux
If you don’t want to install Zellij, there are scripts that you can use to try Zellij without installing it on your Linux system.
$ bash <(curl -L zellij.dev/launch)	   [For bash/zsh]
$ bash (curl -L zellij.dev/launch | psub)  [For fish shell]
If you want to install Zellij on your Linux system follow the instructions as shown:
On Arch and Manjaro Linux, you can install the zellij package from the official community repository:
$ sudo pacman -S zellij
On Fedora Linux, you can install the zellij package from the COPR repository:
$ sudo dnf copr enable varlad/zellij
$ sudo dnf install zellij
On other Linux distributions, you need to download the latest Zellij release using the following wget command and install it as shown.
$ wget https://github.com/zellij-org/zellij/releases/download/v0.31.3/zellij-x86_64-unknown-linux-musl.tar.gz
$ tar -xvf zellij-x86_64-unknown-linux-musl.tar.gz
$ chmod +x zellij
$ ./zellij
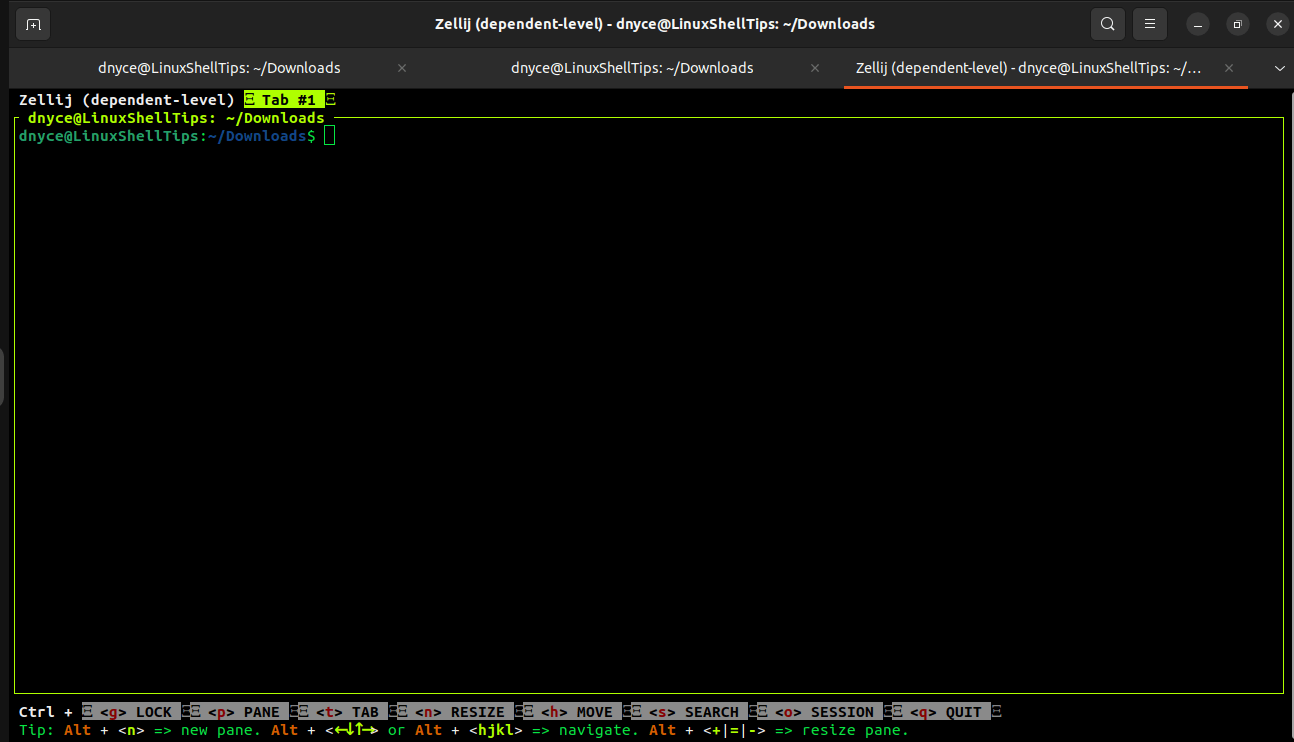
You will be presented with the following interface:

If we wish to execute/launch Zellij from any directory path (globally), we must add it to our system’s PATH variable via the following steps:
$ mkdir bin
$ mv zellij bin
$ pwd
In my case the full path is:
$HOME/Downloads/bin
As confirmed:
$ ls -l $HOME/Downloads/bin

Create a zellij.sh file inside /etc/profile.d/ directory.
$ sudo nano /etc/profile.d/zellij.sh
Implement the following export command inside the file:
export PATH=$HOME/Downloads/bin:$PATH
Source the file for the changes to reflect:
$ source /etc/profile.d/zellij.sh
You should now be able to launch Zellij from anywhere:
$ zellij
You should now be able to familiarize yourself with the Zellij user interface and explore more of its functionalities.
With Zellij, you have more to explore in your terminal workspace. Hope this article guide was helpful. Feel free to leave a comment or feedback.
