Visual Studio Code aka VSCode is a very popular source-code editor that offers tons of extensions to satisfy everyone’s needs. VSCode is highly customizable and you can install plugins easily.
This article will primarily focus on how to save your VSCode settings and use the same settings in another machine without setting up everything from scratch.
[ You might also like: Micro – A Command Line Based Text Editor for Linux ]
What is the Need for VSCode Sync
I told you VSCode is highly customizable. No one is going to use freshly installed vscode till the end. According to the developer’s needs, he/she may customize it to any extent and install as many packages as they want.
What if there is another machine and you want to use the same settings? Do you think trying to replicate the settings manually from scratch would be an easy thing? Absolutely not. This is where Sync extension comes into play.
How to Syn Visual Studio Code Settings Across Machines
Sync setting extension uses GitHub gist and token to sync your settings across different machines. You need to have a Github account to follow the steps and set up perfect sync.
Install Settings Sync Extension in VSCode
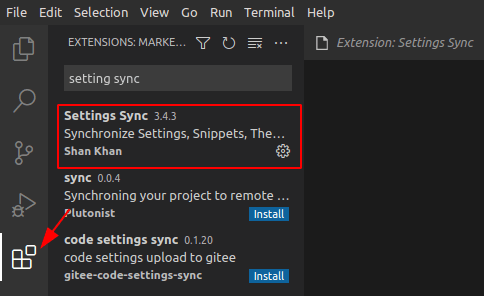
Go to strong>VSCode, open extensions as shown below, and type “Settings Sync” and press Install.
There are two ways to configure sync settings. You can choose the “Login with Github” option which will use OAuth to authenticate with GitHub and will create gist automatically to upload your settings.
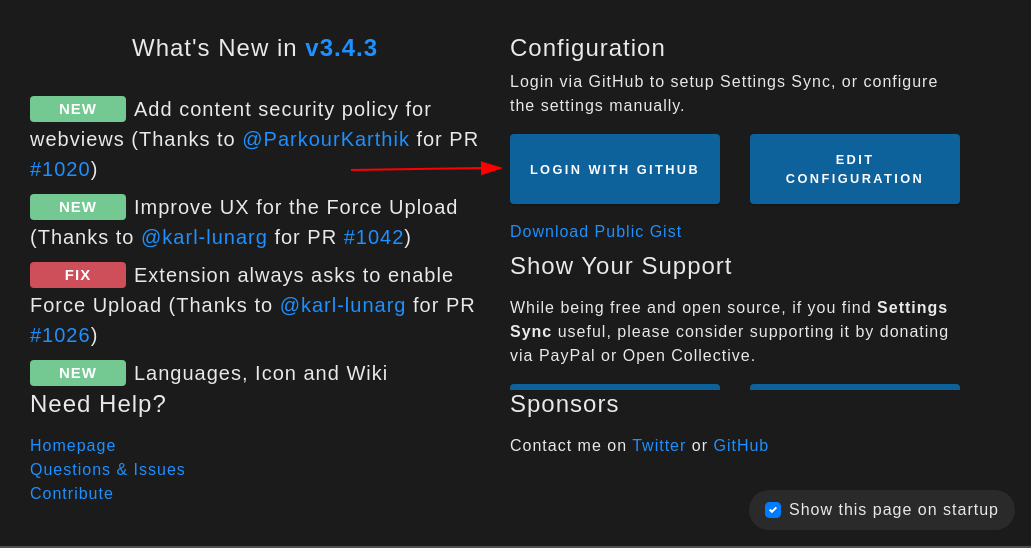
Once you grant permission you will see a message success in your browser.
Upload VSCode Settings to GitHub Account
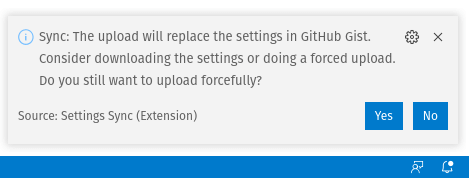
To upload the settings to Github, open the command prompt by pressing “CTRL + SHIFT + P” and type “sync: update/upload settings”. You can also use “SHIFT+ ALT+ U”.
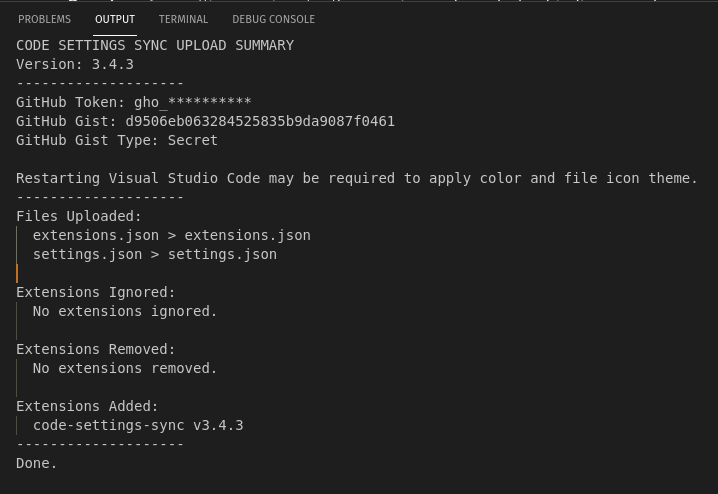
You can check the log to see if the sync is successful or not. To open the log, open the command pallet and type “setting sync: show log”.
Now go to https://gist.github.com/<username> and you will find a new gist is created automatically. From the below image you can see a total of five files have been uploaded to gist.

In the second method, you have to configure the settings manually by creating an access token and creating a gist. Personal access tokens are used for authentication purposes. Go to GitHub Settings → Developer Settings → Personal access tokens → Generate New token.

Click gist and press “Generate Token”.
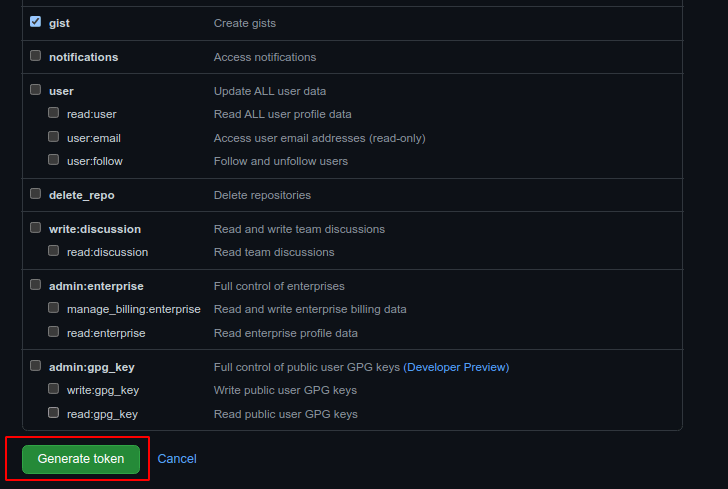
Token will be generated and you have to copy the token and keep it safe.

If you forgot or lost a token then there is an option to regenerate the token. The new token has to be updated in your sync settings.

Now create Gist and this git will be used to upload the settings.

You can get the gist id from the URL as shown below.

From the start page, click edit configuration for manual setup.
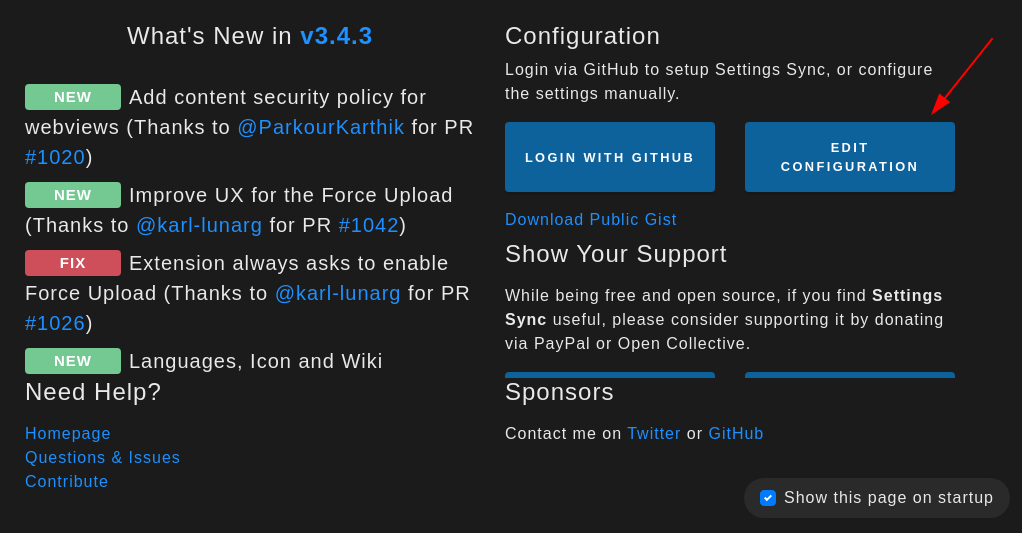
You have to enter both the gist ID and the Access token you created in the previous steps.
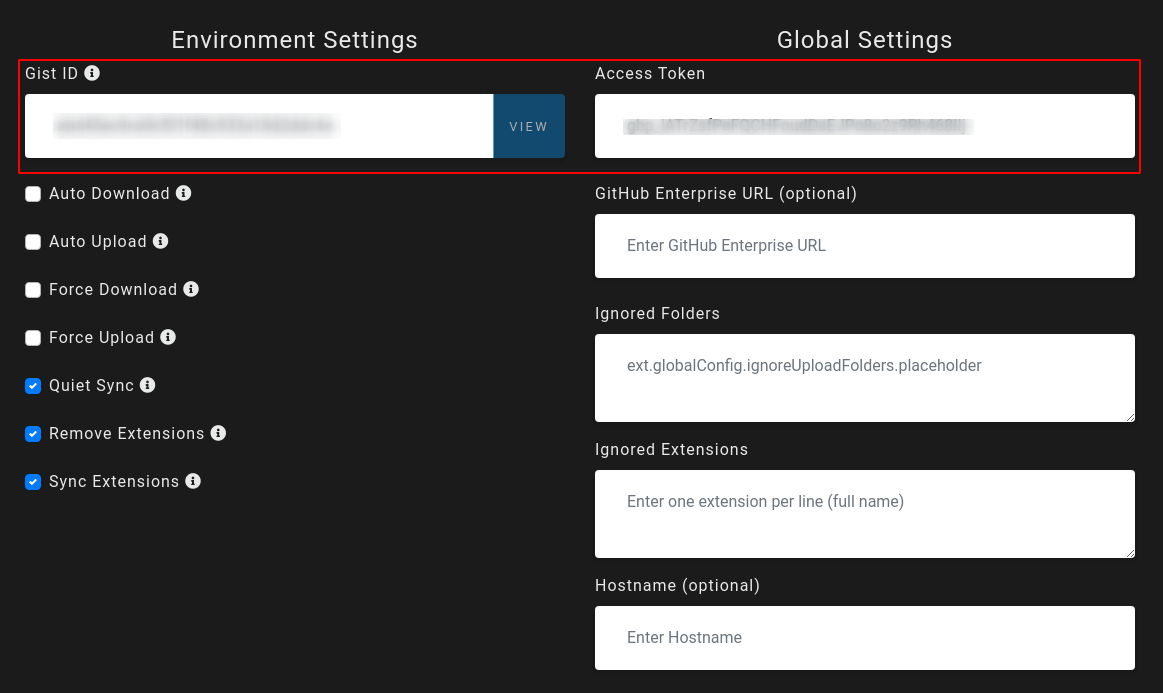
Now you are good to upload the settings. Open command pallet by pressing “CTRL + SHIFT + P” and type “sync: update/upload settings”.
Export VSCode Settings to Another Machine
Now to export the settings to another machine you have to follow the same second step. You have to install sync settings in your machine and choose “Edit configuration” to get the gist id and access token from GitHub.
Now open the command pallet and type “sync: Download settings” and press enter. Alternatively, you can also use SHIFT + ALT + D keybinding. This will download the settings from GitHub gist and will sync with your machine and boom you got all your settings, extension, keybindings, etc synced.
That’s it for this article. Vscode has now a native sync feature in the preview phase without any external packages. You should take a look at it.

VS Code has settings sync built-in. No need to install an extension.
Yes Barry you are correct. Built-in sync settings is in the beta stage I believe. The main advantage of this sync settings is the same package can be used in other text editors like the sublime text to sync packages.