Why need a Linux image scanning application? You might ask. Image scanning is a priceless endeavor for a number of Linux-based projects, especially for users that are after web-based applications.
Such applications make it easier to not only scan images but also scan printed objects, handwriting, and texts, and afterward convert them to use digital images.
The simplicity of the Skanlite Linux application makes it possible to effortlessly scan and save your raw images to flexibly usable digital format. By using flatbed scanners, you get more optimization in your image scanning routines.
[ You might also like: How to Batch Convert PNG Images to JPG Format in Linux ]
As already stated, the Skanlite app can be used to scan both photos and documents in addition to filmstrips and transparent slides as long as the scanning hardware/device being used is supported.
Skanlite Features
You will experience the following prominent features by using the Skanlite image scanning application in Linux.
- Multiple image selection scanning support.
- Multiple network scanners support.
- Final scan preview via the app’s selection feature.
- Every successfully scanned image is associated with a save dialog where a user determines the folder location to save the scanned image that is associated with auto-generated names and format.
Installing Skanlite in Linux
Your Linux operating system distribution needs to be up-to-date to optimize its performance and the performance of the installed/yet-to-be installed applications.
$ sudo dnf update && sudo dnf upgrade -y          [On RHEL/CentOS/Fedora and Rocky Linux/AlmaLinux]
$ sudo apt update && sudo apt upgrade -y          [On Debian, Ubuntu and Mint]
$ sudo zypper refresh && sudo zypper update -y    [On OpenSUSE]
$ sudo pacman -Syu                                [On Arch Linux]
Next, install the Skanlite image scanning app on Linux.
$ sudo apt install skanlite         [On Debian, Ubuntu and Mint]
$ sudo yum install skanlite         [On RHEL/CentOS/Fedora and Rocky Linux/AlmaLinux]
$ sudo emerge -a kde-misc/skanlite  [On Gentoo Linux]
$ sudo pacman -S skanlite           [On Arch Linux]
$ sudo zypper install skanlite      [On OpenSUSE]
The installation process of the Skanlite image scanning tool will take some time, therefore, be patient until it successfully completed.
Using Skanlite to Scan Images in Linux
Launch the Skanlite image scanning tool from your Linux system’s Application Menu or terminal by running:
$ skanlite

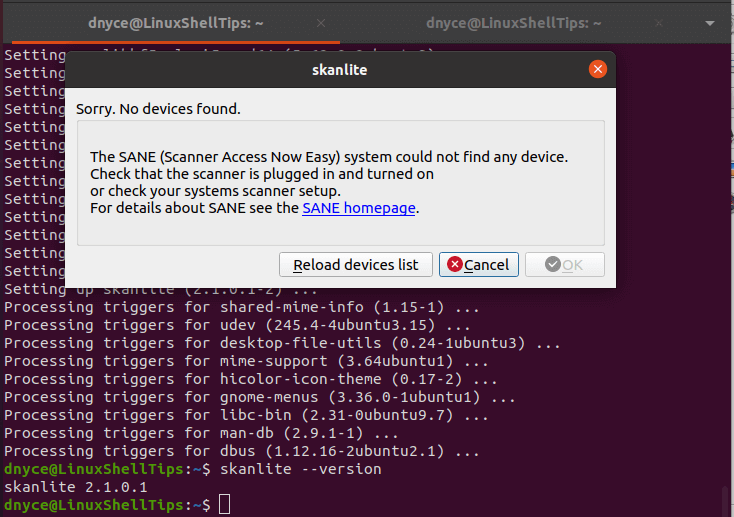
As noted by the initial Skanlite Window, the first step to using this app is to have a scanner device plugged in and/or configured to work with your Linux operating system.
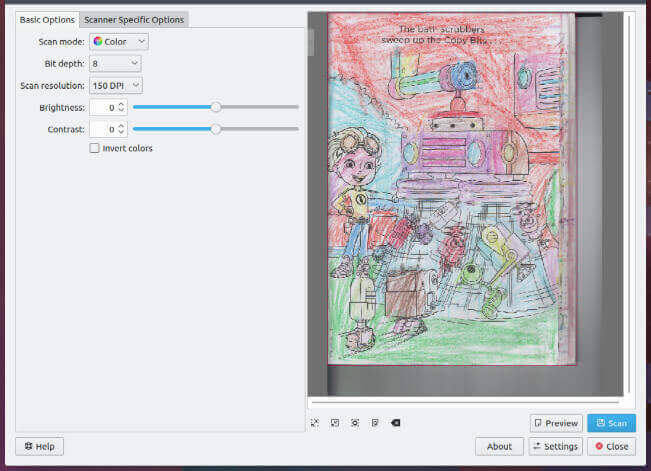
From here, you will have the power of scanning your photos or documents via the Skanlite image scanning tool. A closer look at an image/photo loaded for scanning by this application package looks like the following:

As you can see, before an initial scan on the photo/document is executed, you can go with the Basic Options for scanning or Scanner Specific Options. As highlighted, such options include Scan mode, Bit depth, Scan resolution, Brightness, and Contrast.
Skanlite is an ideal and lightweight tool to scan and upload your images/documents needed in your Linux user routines or projects.
