Running a JAR (Java Archive) file on Ubuntu is quite straightforward. JAR files are used to distribute Java applications and can include Java classes, libraries, and other resources like images and properties files.
This guide will walk you through the steps needed to run a JAR file on your Ubuntu system.
Prerequisites
Before you can run a JAR file, you need to have Java installed on your Ubuntu system. Specifically, you need the Java Runtime Environment (JRE).
Here’s how to check if you already have Java installed and how to install it if you don’t.
Check Java Installation on Ubuntu
Open a terminal by pressing `Ctrl + Alt + T` and then typing the following command to verify that Java is installed on the system.
java -version
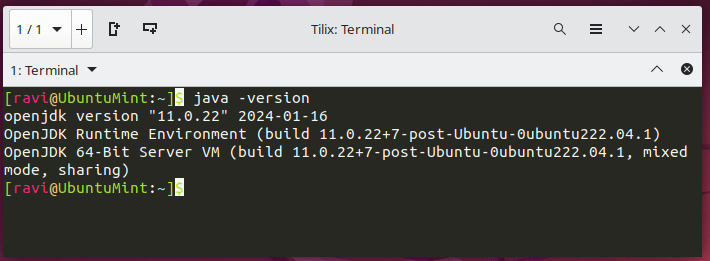
If Java is installed, you will see output similar to this:

If Java is not installed, you will see an error message.
bash: /usr/bin/java: No such file or directory
In that case, proceed to the next section to install Java on Ubuntu.
Installing Java on Ubuntu
First, update your package list by typing the following apt command.
sudo apt update
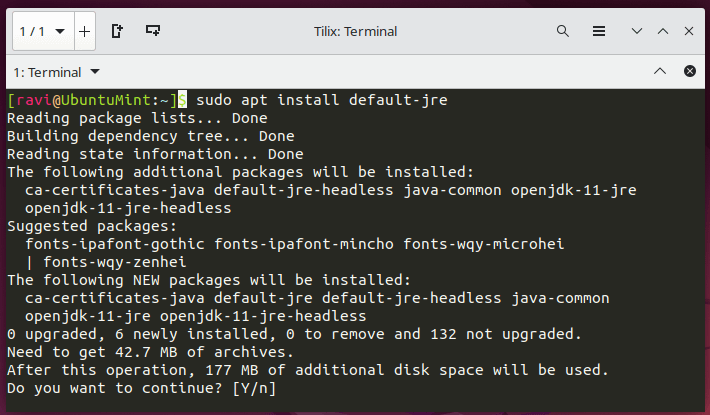
Next, install the default-jre meta-package that installs the default Java Runtime Environment (JRE) for the current version of Ubuntu and other components to run applications written in the Java programming language.
sudo apt install default-jre

Once installed, verify the version of the Java Runtime Environment (JRE) installed on your system.
java -version

Running a JAR File in Ubuntu
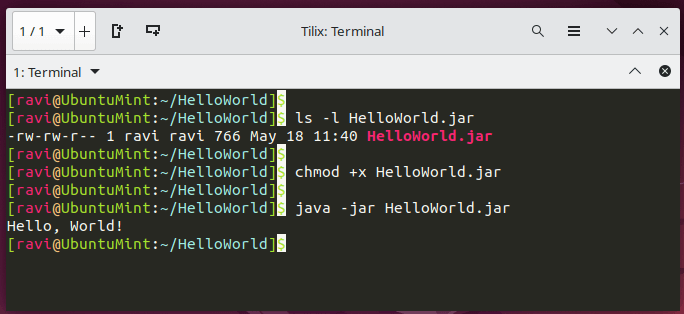
Once you have Java installed, you can download any sample JAR file, set the executable permission, and use the java command to run the JAR files as shown:
chmod +x HelloWorld.jar
java -jar HelloWorld.jar

Conclusion
Running a JAR file on Ubuntu is simple once you have Java installed. Just remember to check your Java installation, navigate to the JAR file’s directory, and use the `java -jar` command.
With these steps, you should be able to run any Java application packaged as a JAR file on your Ubuntu system.
