Wine is the ultimate solution for Linux users on distros like Ubuntu that still have an eye for the Windows operating system experience. With Wine’s compatible layer on Linux, it is possible to interact with your favorite Windows applications on a Linux environment.
Wine’s advantage over virtual machines and emulators is that Windows API calls are translated into POSIX calls, disregarding the simulation of internal Windows logic (an approach by emulators and virtual machines).
Wine’s approach in running Windows applications saves it from memory and performance penalties resulting in the seamless integration of Windows applications on your Ubuntu Desktop.
[ You might also like: How To Install Wine to Run Windows Applications On Debian ]
This article will walk us through the installation of Wine 7.0 on the Ubuntu desktop. Before we handle this installation approach, let us look at the following Wine 7.0 benefits
- With Wine, and through scripts, you can initiate Windows applications’ calls. These Unix-written scripts are powerful enough to leverage any Unix environment.
- Through Wine, Windows applications’ remote access is very much evident.
- Wine’s compatibility with the thin client (whereby an x-terminal application exists on a Wine-installed Linux machine) provides an easy connection to Windows applications.
- Wine’s open-source footprints make it an extensive application such that you can configure it to meet your user demands without any consequences.
- Through Java/HTML5 client and VNC, Wine has significantly contributed to the creation of already-existing web-based Windows applications.
Installing Wine in Ubuntu Desktop
Ensure you do not have a previous wine installation on your Ubuntu system. If you do, make an effort to uninstall it. Also, enable 32-bit architecture support if you are on a 64-bit architecture machine for Wine to run seamlessly.
$ sudo apt update
$ sudo dpkg --add-architecture i386
Retrieve and sign Wine’s repository key with the following wget command:
$ wget -nc https://dl.winehq.org/wine-builds/winehq.key
Add the downloaded Wine key to your Ubuntu system.
$ sudo apt-key add winehq.key
Next, add the WineHQ repository and update your system.
$ sudo add-apt-repository 'deb https://dl.winehq.org/wine-builds/ubuntu/ focal main'
$ sudo apt update
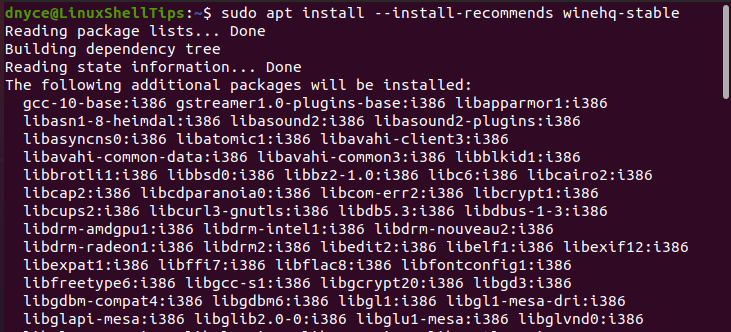
Finally, fetch and install a stable wine version using your package manager.
$ sudo apt install --install-recommends winehq-stable

If you are interested in Wine’s development version release, run:
$ sudo apt install --install-recommends winehq-devel
If you are interested in Wine’s staging version release, run:
$ sudo apt install --install-recommends winehq-staging
Check on Wine’s installed version:
$ wine --version

wine-7.0
Configuring Wine in Ubuntu Desktop
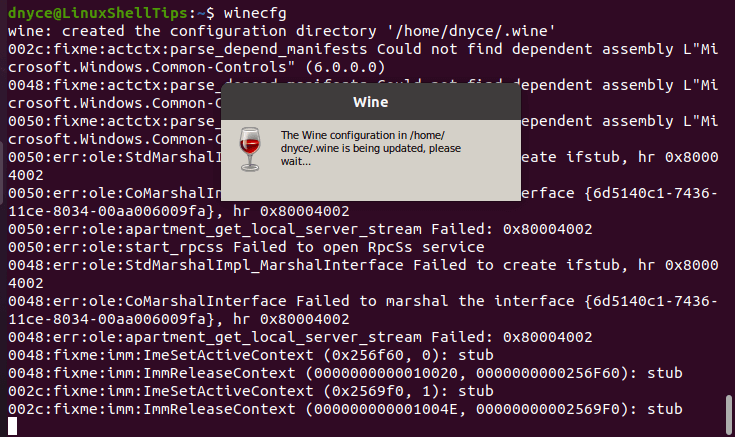
To configure Wine, run the following command:
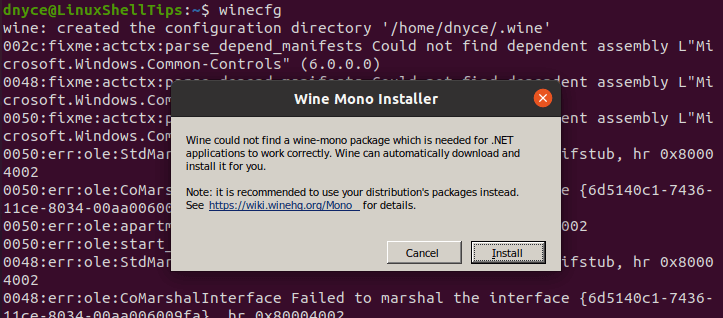
$ winecfg

You might need to perform additional dependency installation.

To use wine on .exe applications adhere to the syntax:
$ wine path/to/windows/application.exe
When dealing with MSI files:
$ wine start /path/to/application/installer.msi
For more usage options, run wine --help on your Ubuntu terminal.
$ wine --help
With Wine 7.0 installed on your Ubuntu Desktop, you are now ready to explore the performance of your favorite Windows applications in a Linux-bound environment.
