Server management is an exciting concept for all Linux users whether they are beginners, still learning their ways around the Linux OS architecture, or expert users that can manage and administer different Linux operating system distributions. However, as time goes by, you will start to feel the urge/need for a flexible and less time-consuming approach to managing your Linux server.
This article introduces Webmin as a reputable web-based admin tool, that makes the life of a Linux administrator much easier as it lessens the user footprints needed to effectively manage a targeted Linux system/server.
Prerequisite
Be a sudoer/root user on the Ubuntu system you intend to install and configure Webmin database administration software.
Installing Webmin in Ubuntu
Your Ubuntu system should be up-to-date to be optimized for the best performance of any software post-installation.
$ sudo apt update && sudo apt upgrade -y
Next, make sure the following software packages are installed on your Ubuntu system for effective management of software repositories.
$ sudo apt install software-properties-common apt-transport-https
Next, add and enable the Webmin repository to sources.list file, so that it will be easier to update it with a normal system update command.
$ sudo nano /etc/apt/sources.list
Add the Webmin repository at the bottom of the file.
deb http://download.webmin.com/download/repository sarge contrib
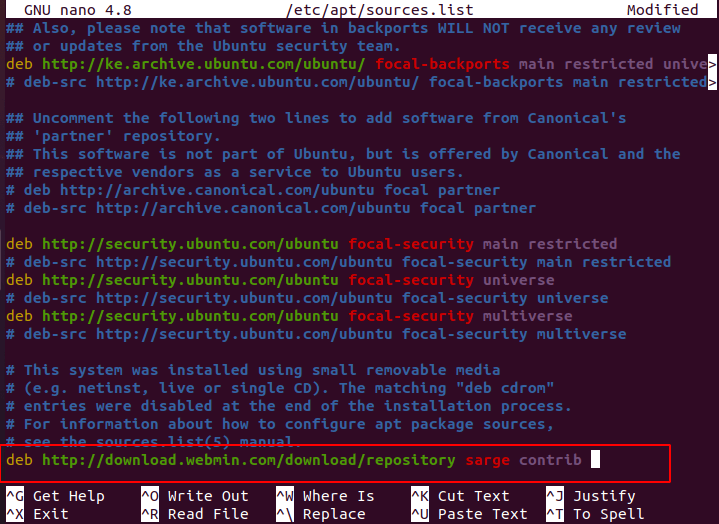
Save and close the file.
Next, the following command adds Webmin’s associated GPG key to your Ubuntu system and makes the key file readable.
$ sudo wget -q http://www.webmin.com/jcameron-key.asc -O- | sudo gpg --no-default-keyring --keyring gnupg-ring:/etc/apt/trusted.gpg.d/ubuntu-webmin.gpg --import
$ sudo chmod 644 /etc/apt/trusted.gpg.d/ubuntu-webmin.gpg
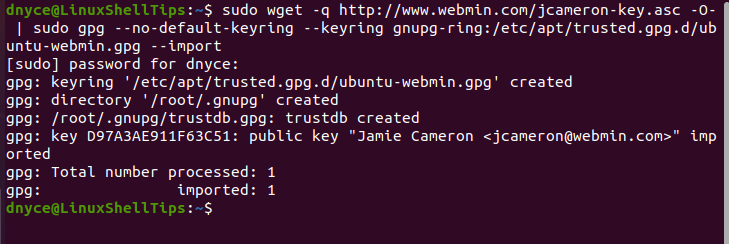
For this Webmin repository to be included on our Ubuntu system, we need to run another system update.
$ sudo apt update && sudo apt upgrade -y
Now your Ubuntu system is ready for the installation of the Webmin server management software. Proceed to its installation by executing the following command:
$ sudo apt install webmin -y
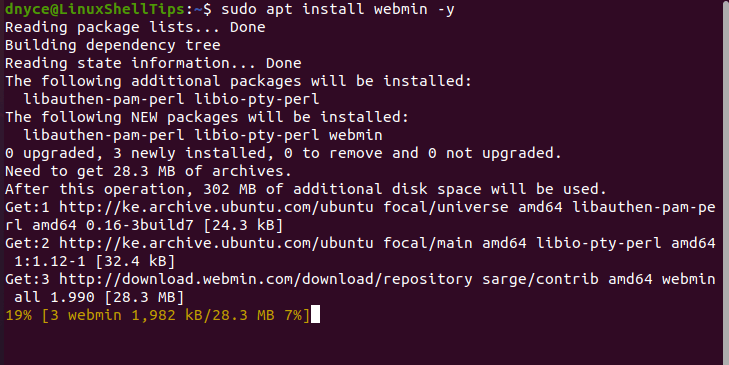
Webmin installation process might take some time to complete, therefore, be patient and restrain from interrupting the installation process.
Once installed, you can check on Webmin’s installed version:
$ dpkg -l | grep webmin

Check on Webmin’s running status:
$ sudo systemctl status webmin
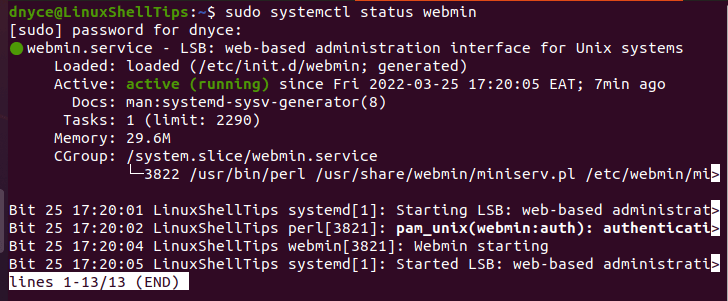
If you have a firewall enabled on your Ubuntu system, you will need to grant Webmin access through it, which uses TCP port 10000.
$ sudo ufw allow 10000/tcp
$ sudo ufw reload
$ sudo ufw status
Using Webmin on Ubuntu
To access Webmin, adhere to the syntax:
https://[Your Server IP or Domain Name]:10000/
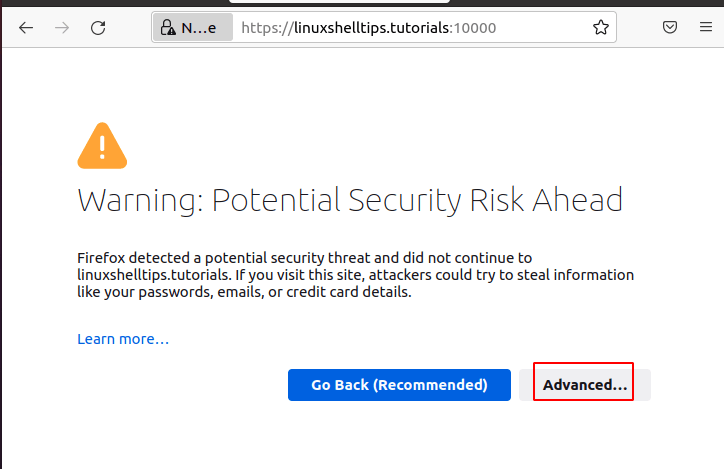
Click the Advanced tab.
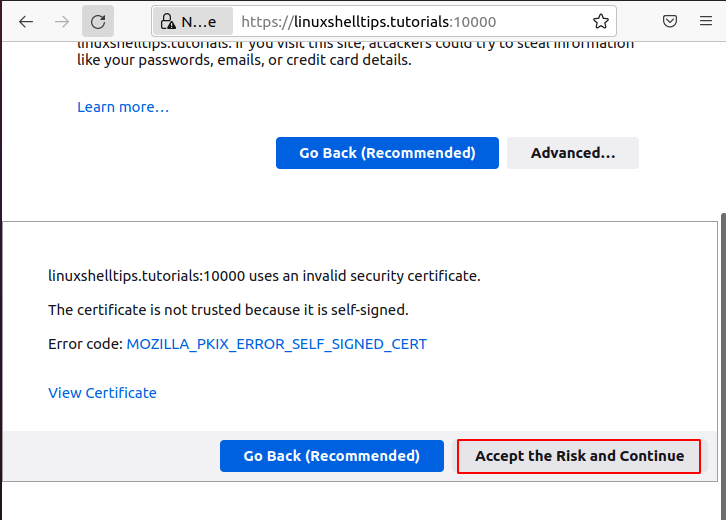
Click on Accept the Risk and Continue.
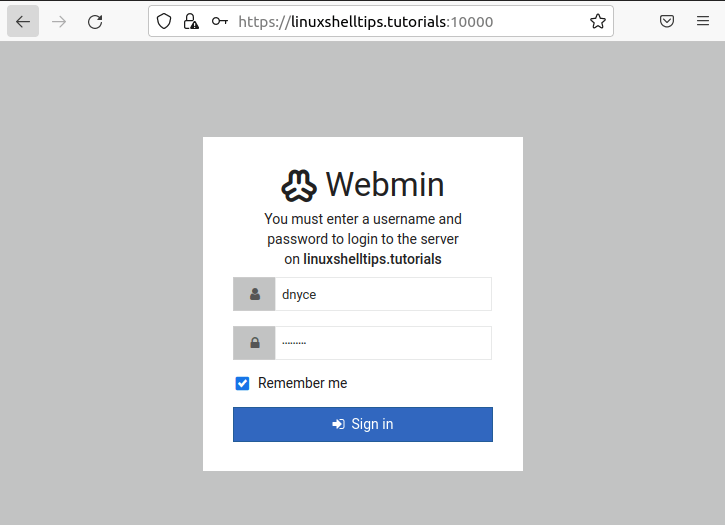
You will be presented with the following Login screen. Use your Ubuntu sudoer/root user credentials to log in.
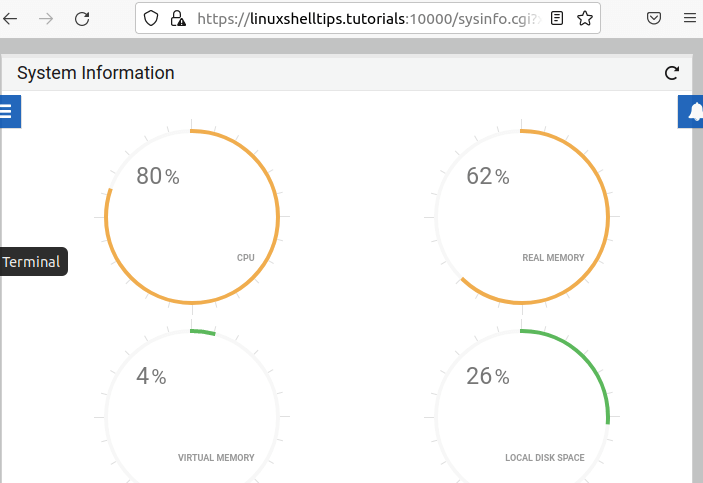
Your will be presented with Webmin main dashboard with your Ubuntu data at:
System Information
Stats History
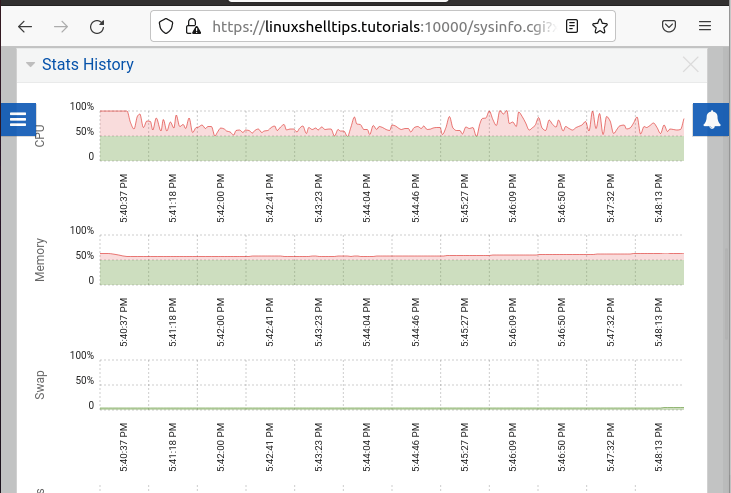
System Activity
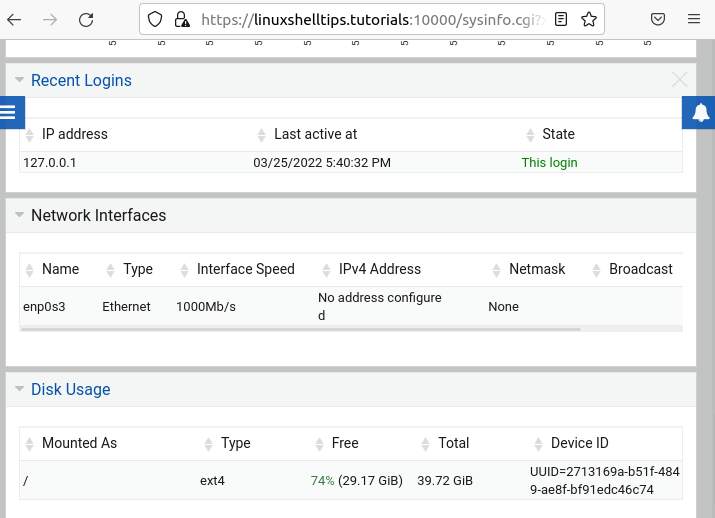
You are now free to further explore what Webmin has to offer on your Ubuntu system.
