Suricata’s popularity is a result of it being an independent and open source threat detection engine, which is a lifesaver for Network administrators that are looking for a seamless and performant way of examining and managing network traffic issues. Some of Suricata’s functional attributes include triggering alerts, generating log events, and managing compromised incoming traffic.
Suricata is capable of neutralizing the most sophisticated network attacks through the combination of four critical network features:
- PCAP Processing
- Network Security Monitoring (NSM)
- Intrusion Detection (IDS)
- Intrusion Prevention (IPS)
Since Suricata uses user-defined and community-created signatures, its deployment on a network gateway host is not as complicated as it might seem. Once deployed, other systems’ incoming and outgoing network traffic can easily be scanned. If you prefer to have Suricata run on your local/individual machine, you can also use it to scan and manage incoming and outgoing network traffic.
This article guide will take us through the installation and basic configuration of Suricata on an RHEL, CentOS, Rocky Linux, and AlmaLinux system. From there, you should be able to have an idea of how to use it.
The recommended machine specs for this article guide are 4/8 GB RAM and at least 2 CPUs if you are intending to use Suricata in a production environment. It is because Suricata needs more resources to manage heavy network traffic associated with production environments. On a local machine, 2 CPUs and 4 GB RAM are ideal enough.
Install Suricata in RHEL 8
First, update your system and then install the CodeReady repository.
$ sudo yum update
$ sudo subscription-manager repos --enable codeready-builder-for-rhel-8-x86_64-rpms
Once the CodeReady repository is enabled, you need to install several packages that need to take place before we can download and install Suricata.
$ sudo yum install diffutils file-devel gcc jansson-devel make nss-devel libyaml-devel libcap-ng-devel libpcap-devel pcre-devel python3 python3-pyyaml rust-toolset zlib-devel
Next, you can use the wget or curl command to download the latest Suricata version number from its home page.
$ wget https://www.openinfosecfoundation.org/download/suricata-6.0.4.tar.gz
OR
$ curl -OL https://www.openinfosecfoundation.org/download/suricata-6.0.4.tar.gz
Now that you have downloaded a copy of Suricata and since it is already archived, we first need to extract it, navigate to its main directory, build, and then install it.
$ tar xvf suricata-6.0.4.tar.gz
$ cd suricata-6.0.4
$ sudo ./configure --sysconfdir=/etc --localstatedir=/var
$ sudo make
$ sudo make install
$ sudo make install-conf
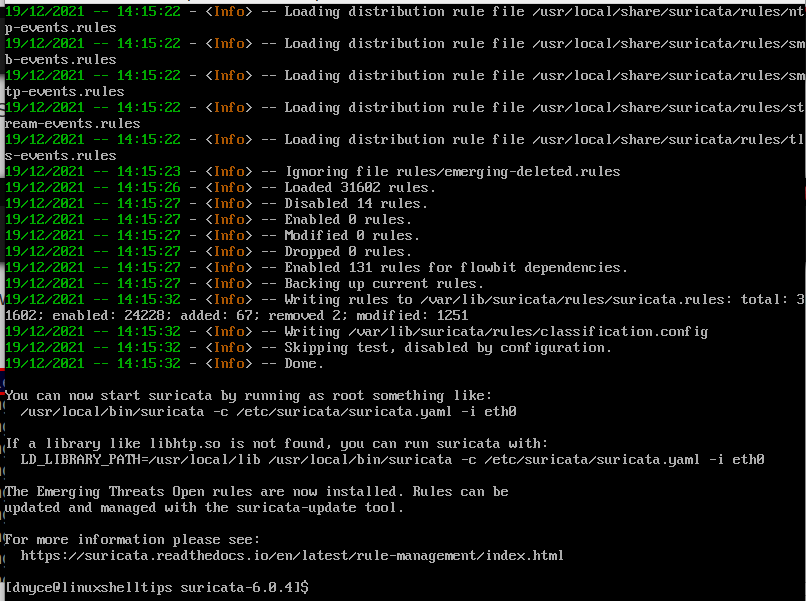
Since Suricata’s makefile comes with an installation option for IDS rule sets, we can install them with the following command.
$ sudo make-install rules
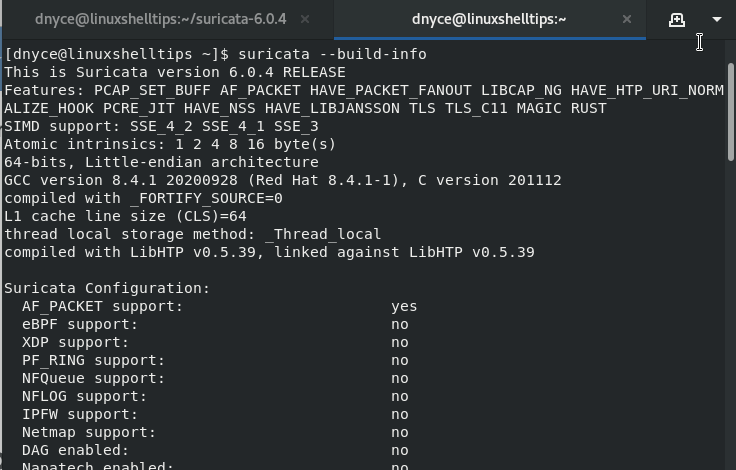
Check on version info of Suricata installation.
$ suricata --build-info
Configure Suricata in RHEL 8
Open the Suricata configuration file /etc/suricata/suricata.yaml.
$ sudo nano /etc/suricata/suricata.yaml
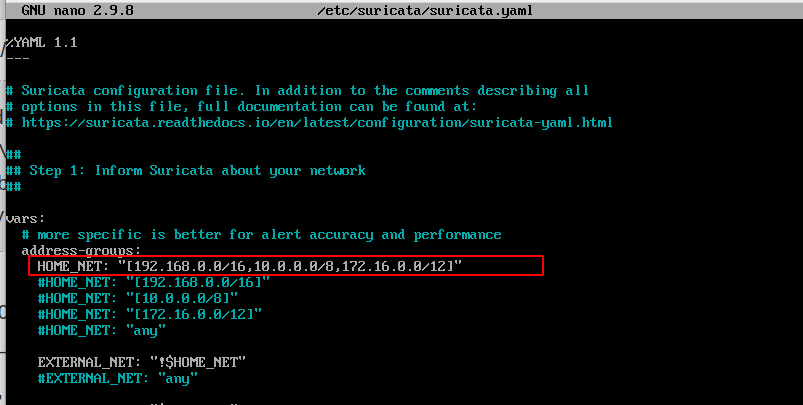
Under the vars: section, we have HOME_NET which points to network IP addresses that need an inspection. You can edit this section with your preferred network IP values.
Another file section worth noting is the host-os-policy:
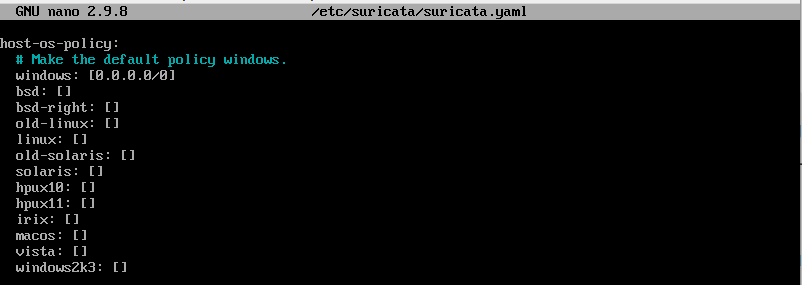
You can edit this section with respective OS-based IP addresses to enhance Suricata’s defense mechanism from well-known exploitative attacks.
Testing Suricata Intrusion Detection
To determine the number of run modes supported by Suricata, run the command:
$ sudo /usr/local/bin/suricata --list-runmodes
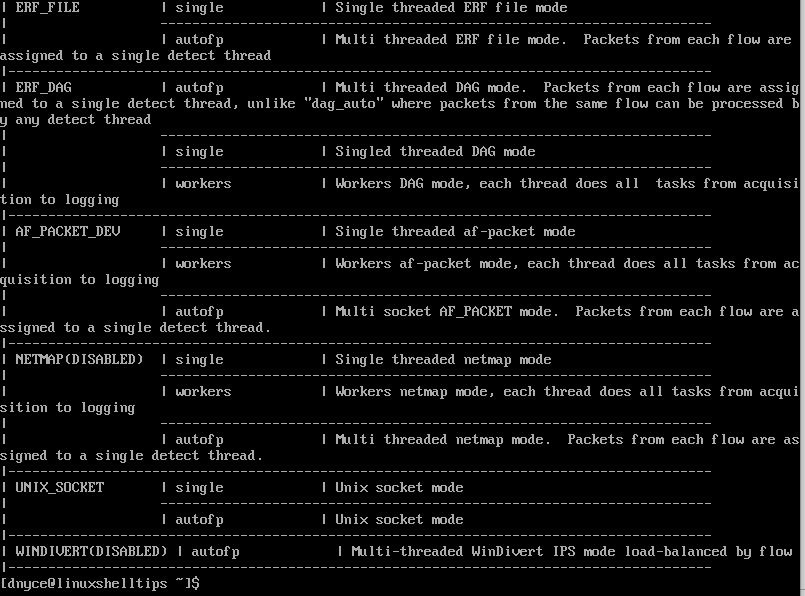
To see Suricata in action, first, note the network interface you are interested in:
$ ifconfig
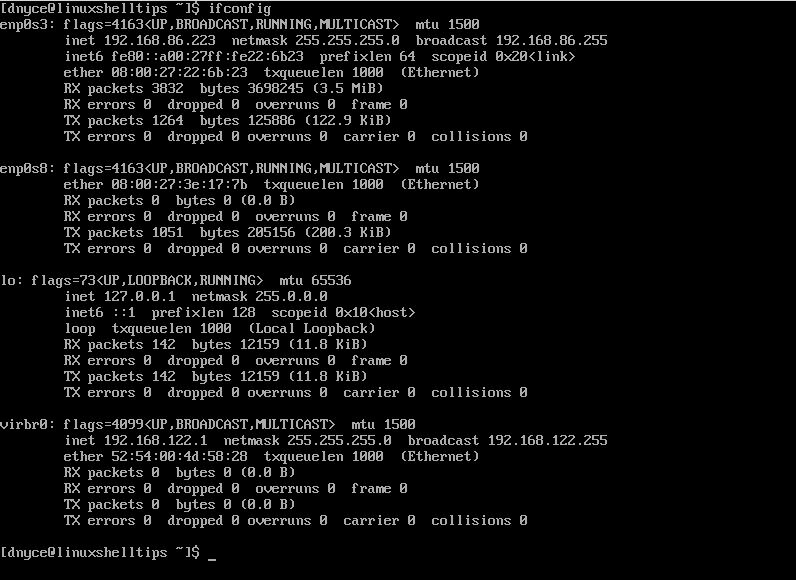
For instance to assess network interface virbr0 as per the above screen capture, run the command:
$ sudo /usr/local/bin/suricata -c /etc/suricata/suricata.yaml -i virbr0 --init-errors-fatal

For interface enp0s3, the output will be:
$ sudo /usr/local/bin/suricata -c /etc/suricata/suricata.yaml -i enp0s3 --init-errors-fatal
The directory /var/log/suricata holds Suricata’s detection logs.
$ tail -f /var/log/suricata/suricata.log
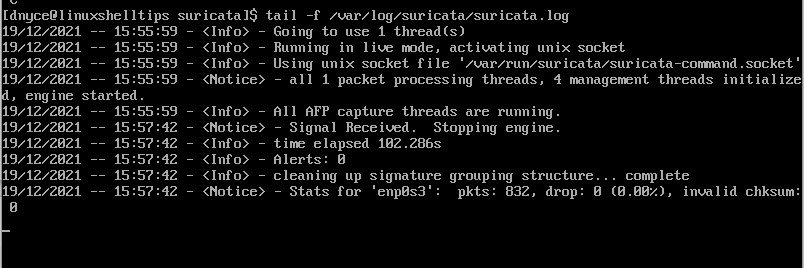
Customizing Suricata will expand its detection coverage and performance. More on Suricata usage is on its man page.
$ man suricata
Its Online Wiki also provides a broader perspective on its usage.
