SketchUp is a popular 3D modeling and design software that permits users to generate, manipulate, and share 3D models. It is utilized in numerous industries, such as architecture, interior design, video game design, construction, and more.
Many people use this software because of its user-friendly interface and exciting features like extensive 3D modeling.
It offers different versions, including SketchUp Free (web-based), SketchUp Pro (a desktop application with advanced features), and SketchUp Studio (a comprehensive solution for professional use).
In this comprehensive blog, we will explore the process of installing SketchUp on your favorite Ubuntu system, so that you can use this amazing software to create your 3D designs.
How to Install Sketchup on Ubuntu
To install SketchUp, your system must contain Wine. However, If your system doesn’t have Wine installed on your system, feel free to jump over this step.
Install Wine on Ubuntu
Before beginning any installation on your Ubuntu system, ensure that your system’s local package cache is up to date.
$ sudo apt update
Once your system is up to date, let’s execute the given command to ensure that your Ubuntu supports 32-bit (i386) architecture:
$ sudo dpkg --add-architecture i386
The above command is necessary because Wine allows you to run Windows applications on Linux, and many of these applications require the 32-bit architecture.
Next, let’s create a directory with specific permissions (755) for storing keyrings or related files in the “/etc/apt/” directory by using the mkdir command.
$ sudo mkdir -pm755 /etc/apt/keyrings
After the creation of a new directory, use the popular wget utility to download the WineHQ GPG key and store it as “winehq-archive.key” in the “/etc/apt/keyrings/” directory by executing the following command:
$ sudo wget -O /etc/apt/keyrings/winehq-archive.key https://dl.winehq.org/wine-builds/winehq.key
Next, add the WineHQ repository source file to your system by executing the stated command:
$ sudo wget -NP /etc/apt/sources.list.d/ https://dl.winehq.org/wine-builds/ubuntu/dists/jammy/winehq-jammy.sources
After making changes in repositories, it is recommended to update your system by utilizing the following command:
$ sudo apt update
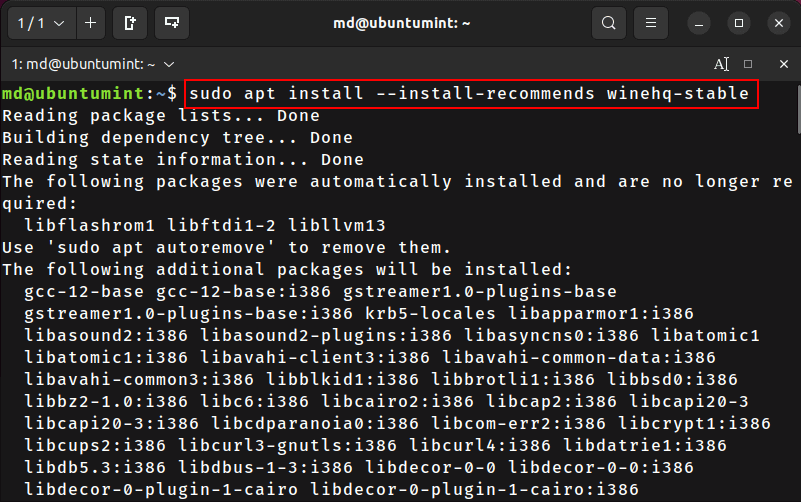
Finally, you’re ready to install Wine on your Ubuntu system.
$ sudo apt install --install-recommends winehq-stable
Configure Wine on Ubuntu
Once Wine is installed, the next step is to configure it so that we can utilize it to install Sketchup on our system.
$ winecfg
However, during the configuration process, pop-ups will appear, guiding you to install the Mono installer and Gecko installer. Go ahead and proceed with the installations.
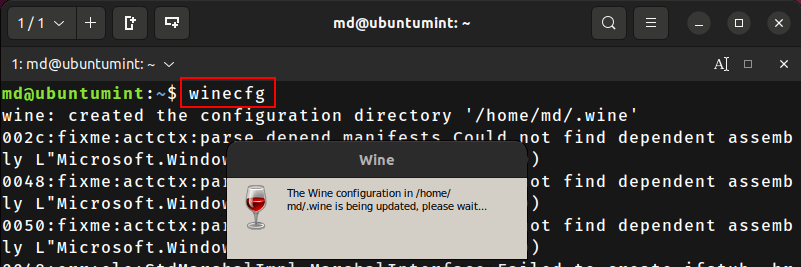
After successfully installing both of these tools, your Wine will be configured and ready for use.
Install Sketchup Using Wine
To install SketchUp, you’ll first download its installer from the official SketchUp website. Upon opening its webpage, click on the download button for the latest SketchUp version for Windows 64-bit, and then wait for the download to complete.
After the installer finishes downloading, head to the directory where it is located. Right-click on its icon to open the drop-down list, then select the option “Open With Wine Windows Program Loader”.
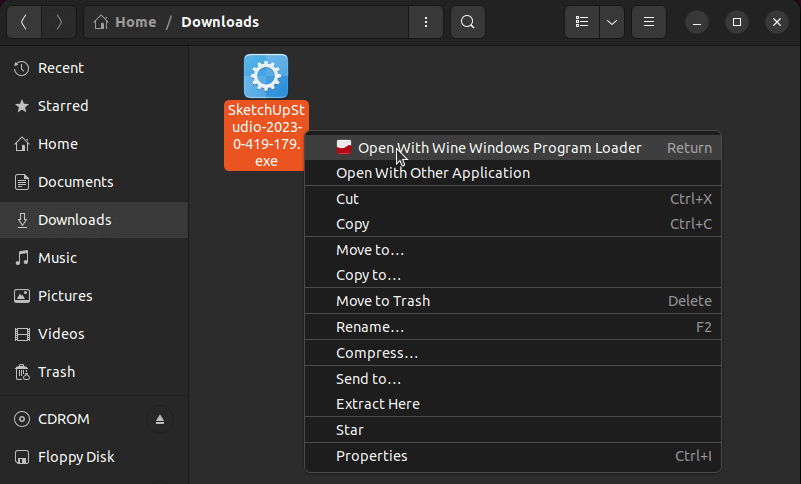
The installation process of SketchUp will begin.

However, the installer will prompt you to make some choices for the installation. Choose the options based on your desire/requirements and also browse for the installation location.
Finally, press the “Install” button and wait patiently until the installation is complete.
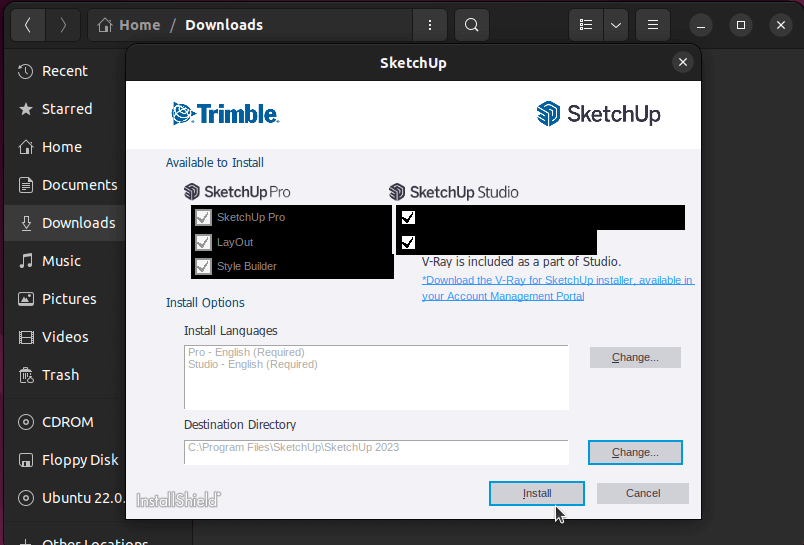
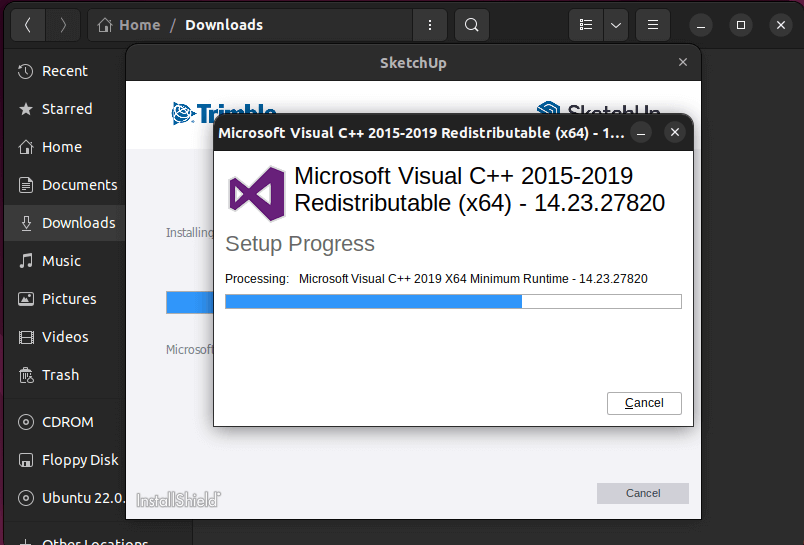
The SketchUp installer will automatically install all the required software and dependencies.
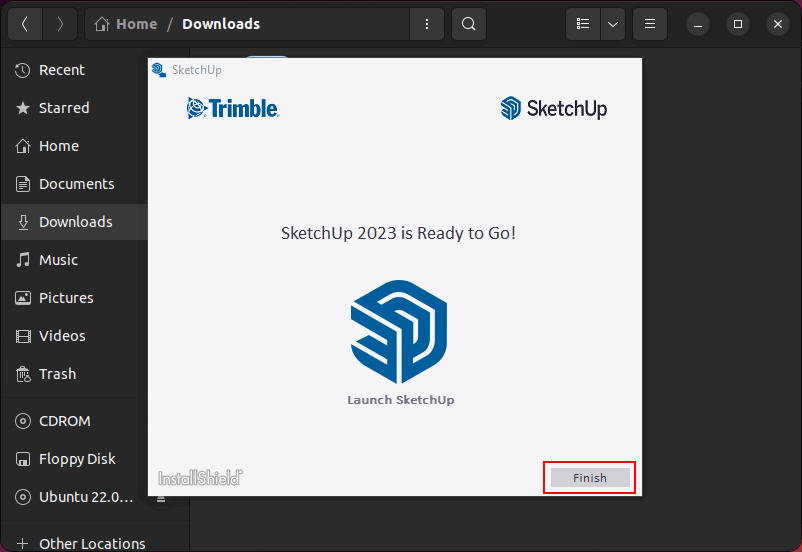
Upon completion of Sketchup installation, click on the “Finish” button.
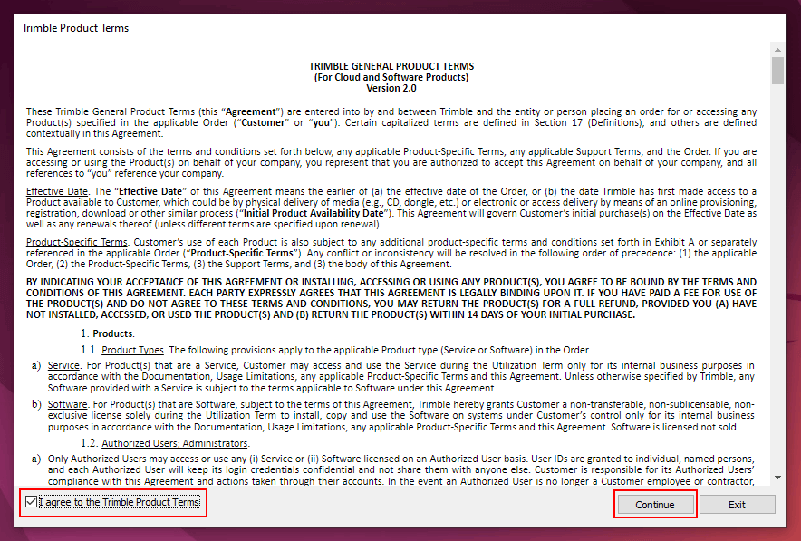
Moving on, SketchUp will launch automatically, and the user agreement will pop up. Read the license and tick mark the “I agree” checkbox. Then, press the “Continue” button.
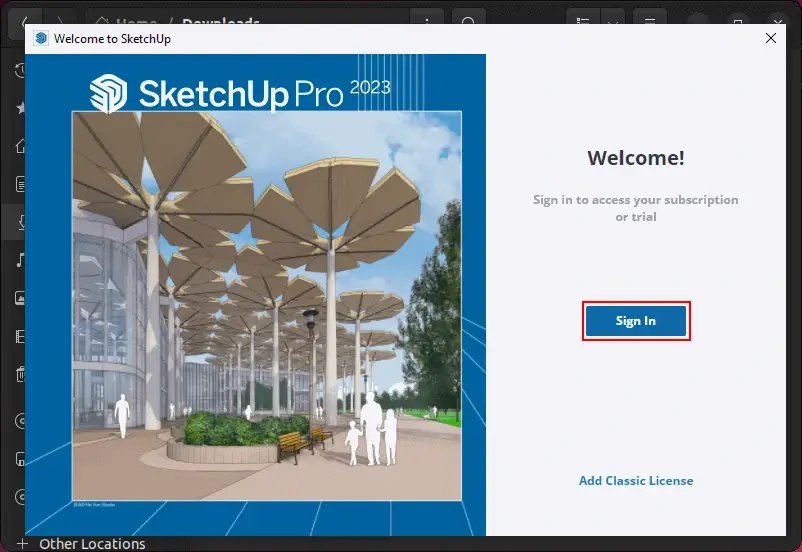
Upon agreeing to the user license, you will get the login screen. Press the “Sign In” button and sign in to SketchUp.
After successful sign-in, the trial screen will appear. Simply press the “Start Trial” button to begin your SketchUp free trial period.

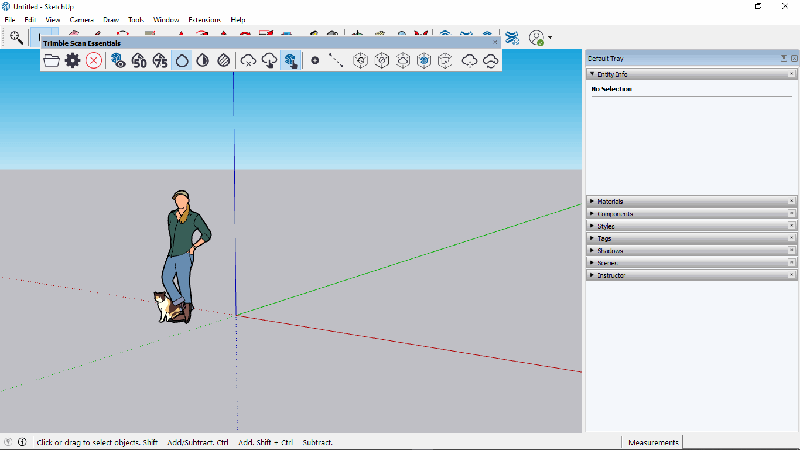
Next, press the “Start modeling” button to enjoy your Sketchup for designing.

Finally, choose your preferred model to open a new file.
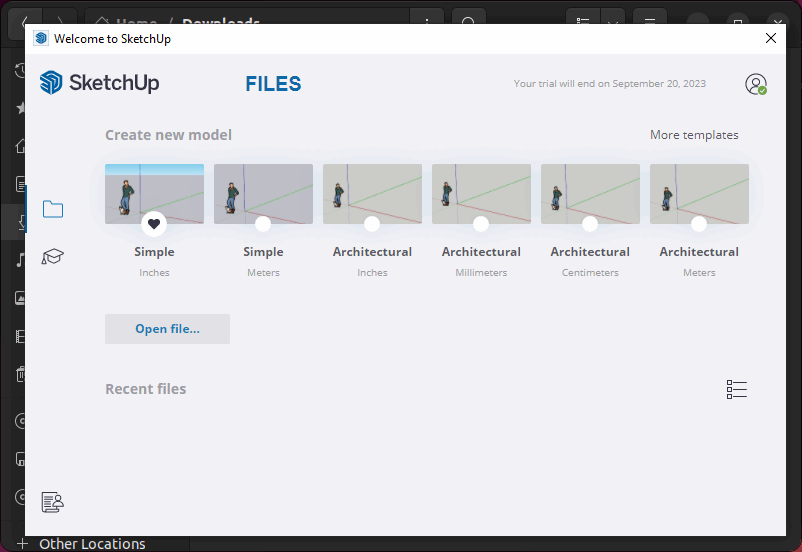
Enjoy using Sketchup!
Conclusion
If you’re an individual who wants to install the popular 3D design and modeling software named “SketchUp“, you don’t have to look any further.
The above guide offered a simple yet comprehensive solution for getting SketchUp up and running on your Ubuntu. Feel free to suggest any new topics for our upcoming blogs on UbuntuMint or offer any suggestions in the comments.

Hi, I need some help. While following your tutorial, when I try to install SketchUp using Wine, I keep getting “invalid handle” errors. And the installation fails. Any idea what’s going on? I’m using the same Ubuntu version as you.