PostgreSQL is a well-known object-relational database system. The open-source nature of this relational database management system has kept it under an active development status for over 30 years. These development milestones have earned PostgreSQL the attributes of being robust, performant, and reliable.
RHEL 8 on the other hand offers its users a quick Cybersecurity response, flexible subscription options, secure design, open APIs, and thorough product testing.
Therefore, whether you are working on analytics, geospatial, mobile, or web applications on an RHEL 8 environment, PostgreSQL’s flexibility with both structured and unstructured data makes it a reliable data warehouse/store.
This article will take you through installing PostgreSQL 14 on RHEL 8.
Installing PostgreSQL in RHEL 8
The first step is to ensure your RHEL 8 system is up-to-date.
$ sudo dnf update
Since this article’s objective is to specifically install PostgreSQL 14 server on our RHEL 8 system, we have to be careful not to install older PostgreSQL versions.
If we list the default PostgreSQL modules, we might fail to note the inclusion of PostgreSQL 14.
$ sudo dnf module list postgresql
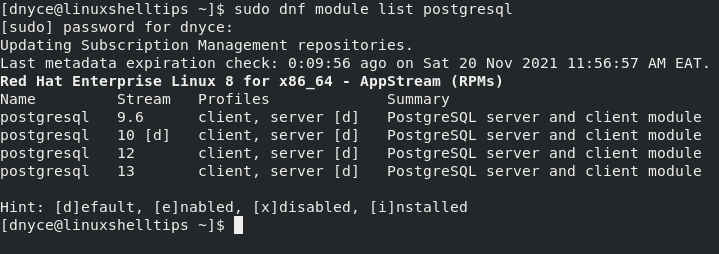
To include PostgreSQL 14 module, we need to set up its associated repository.
$ sudo dnf install -y https://download.postgresql.org/pub/repos/yum/reporpms/EL-8-x86_64/pgdg-redhat-repo-latest.noarch.rpm
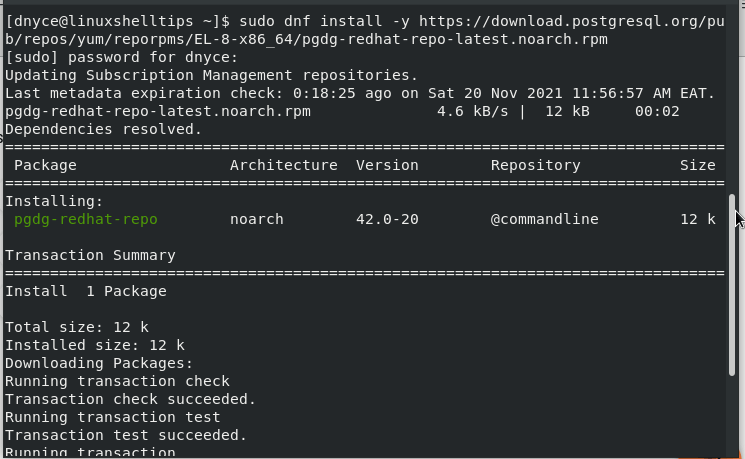
The default built-in PostgreSQL module might lead to unwanted conflicts, make sure it is disabled.
$ sudo dnf -qy module disable postgresql
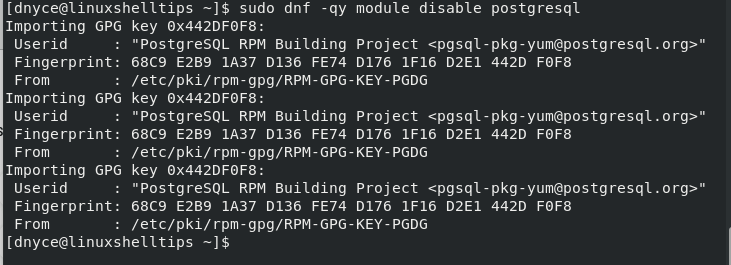
We can now proceed with the installation of the PostgreSQL 14 database server.
$ sudo dnf install -y postgresql14-server
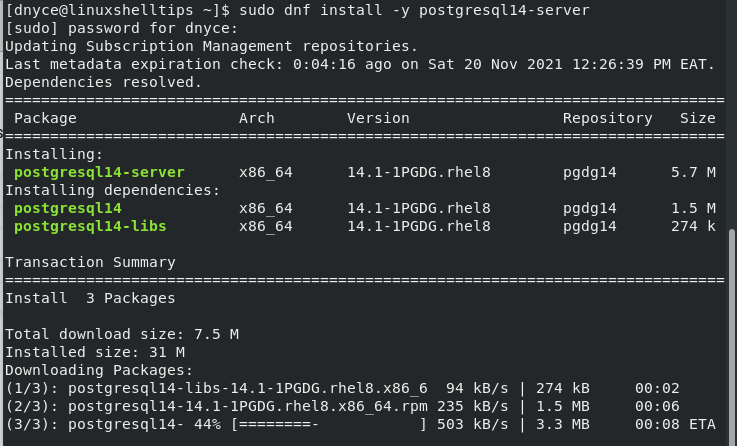
To benefit from PostgreSQL 14 optional additional features, install its Contrib package.
$ sudo dnf install -y postgresql14-contrib
Initializing PostgreSQL 14 Database in RHEL 8
You will need to execute the following command to initialize the PostgreSQL 14 database.
$ sudo /usr/pgsql-14/bin/postgresql-14-setup initdb

Next, start, enable and check the PostgreSQL database service.
$ sudo systemctl start postgresql-14
$ sudo systemctl enable postgresql-14
$ sudo systemctl status postgresql-14
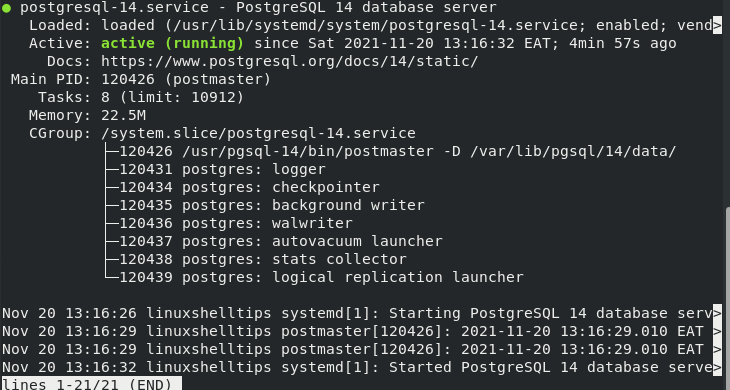
To make your first connection to the PostgreSQL database server, run the following command.
$ sudo su - postgres
You will be connected to the PostgreSQL database under the username postgres. From here, you can switch to the database console using the following command:
$ psql

To directly access the database console, you could run the following command:
$ sudo -u postgres psql
[ You might also like: How to Log into a Postgresql Database from the Command-line ]
PostgreSQL Database User Management in RHEL 8
Now that you have the PostgreSQL 14 database installed and running, the first basic step to implement before other database configurations take place is creating a superuser.
The superuser will be responsible for managing all other database users and their associated database roles. You can give this user the name of your choice. In this case, we will use the name root.
# CREATE ROLE root WITH LOGIN SUPERUSER CREATEDB CREATEROLE PASSWORD 'pa55word5';

To confirm the existence of a superuser, execute the following command:
# \du
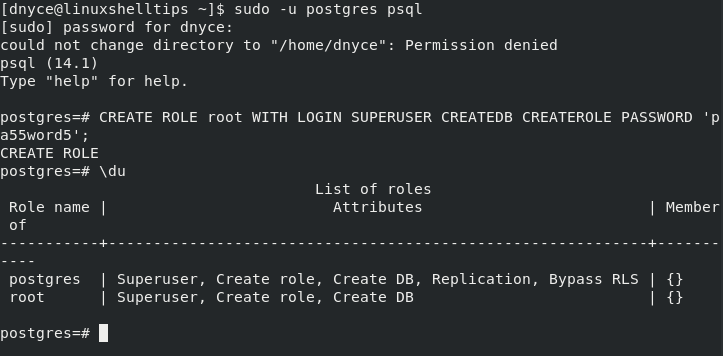
As you can see, this newly created root user has created a role and created a DB whereby he/she can create other users, databases, and tables.
The syntax for creating a non-superuser is as follows:
# CREATE USER non_super_user WITH ENCRYPTED PASSWORD 'pa55word5';
The syntax for creating a PostgreSQL database is as follows:
# CREATE DATABASE db_name;
The syntax for granting a user privileges to a specific PostgreSQL database is as follows:
# GRANT ALL PRIVILEGES ON DATABASE db_name to non_super_user;
We have successfully installed, initialized, started, and enabled PostgreSQL 14 on RHEL 8. You can now comfortably work on your database-powered applications by embracing the scalability and adaptability of the PostgreSQL 14 database engine.

There is a typo:
vs