Linux operating system distributions like Ubuntu are perfect software development platforms. The open-source nature of such operating systems makes them a safe haven for multiple programmable languages like Java, which is attributed as a class-based, multipurpose, object-oriented, and general-purpose programming language.
It is having lesser implementation dependencies in its design footprint has majorly contributed to its popularity in the developer’s domain. The latter statement implies that a compiled Java code does not need recompilation as long as the platform running it is Java-supported. Therefore, Java’s applicability extends to cell phones, game consoles, computer applications, scientific supercomputers, and data centers.
OpenJDK
For Java applications to run or be supported on your Ubuntu operating system, you need to have OpenJDK (Open source Java Development Kit) installed. Not only is this Java development kit open source, but it is also associated with a GNU General Public License.
This article will walk us through the installation of OpenJDK on your Ubuntu 20.04/22.04 system for you to be able to develop and test Java applications.
Prerequisite
Be an Ubuntu user with root/sudoer user privileges as it is needed in the execution and configuration of various commands associated with the installation of OpenJDK.
Installing OpenJDK 17 on Ubuntu
As continuously stated, an up-to-date system will perform better than an outdated system. Always ensure your Ubuntu system is updated to optimize its performance.
$ sudo apt install update && sudo apt upgrade -y
Next, we need to confirm the availability of OpenJDK 17 for installation on our Ubuntu system. Since we are intent to install OpenJDK 17 via Ubuntu’s APT package manager.
We will use it to search Ubuntu’s default repository for the existence of this Java development kit by executing the following command on your Ubuntu command line:
$ apt-cache search openjdk

From the above terminal window output for the OpenJDK search, we can note two important installation candidates (openjdk-17-jdk and openjdk-17-jre).
One is a Java development kit and the other is a Java runtime environment. We need both of them in Ubuntu for you to be able to comfortably develop and test your Java applications.
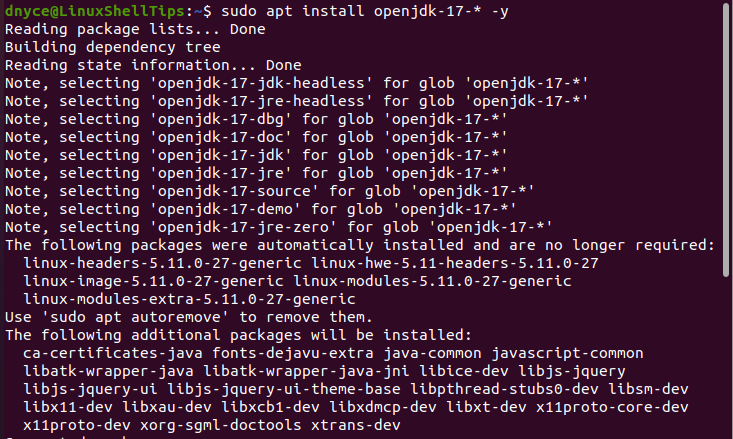
$ sudo apt install openjdk-17-* -y

Confirm OpenJDK installed version on your Ubuntu system:
$ java --version

Testing Java in Ubuntu
Before we conclude this article, we need to test and confirm that everything is in order before you begin developing your Java applications. The simplest test we can perform is creating and executing the famous Hello World Application.
Create a sample Java program file with the following command:
$ sudo nano hello_world.java
Add the following Java code.
// Your First Program

public class hello_world {
        public static void main(String[] args) {
                System.out.println("LinuxShellTips Introduces OpenJDK 17!");
        }
}
Next, compile the java code in Ubuntu and run it.
$ javac hello_world.java
$ java hello_world

This article guide has walked us through the installation of OpenJDK on Ubuntu and also created a sample java program to demonstrate the effectiveness of this Java Development Kit.
