Hey there, fellow Ubuntu users and Minecraft enthusiasts! Welcome to this blog, here we will together install Minecraft on your Ubuntu system through two different methods.
But before beginning the Minecraft installation process, let’s understand what Minecraft is.
What is Minecraft?
Minecraft is an immensely popular sandbox game loved by millions worldwide, which offers a unique and immersive experience, allowing players to express their creativity and go on exciting adventures in a pixelated, blocky world.
Now, it’s time to bring that excitement to your Ubuntu machine and start crafting your virtual universe. Whether you’re an experienced, seasoned, or new Ubuntu user, don’t worry-I’ve got your back.
In this guide, I’ll walk you through the super simple steps to get Minecraft up and running on your Ubuntu system.
1. Install Minecraft Using Debian Package File
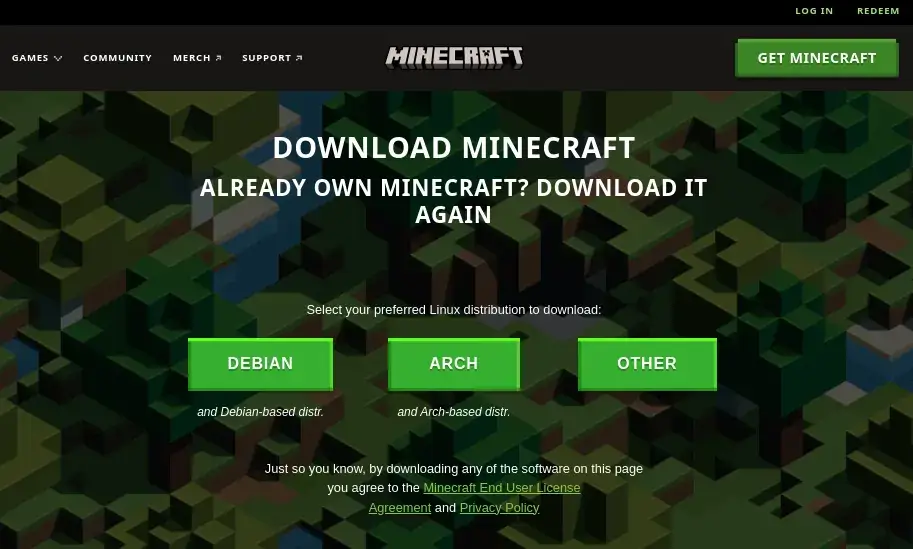
To install Minecraft on Ubuntu using a debian file, the first step is to download the “.deb” file of Minecraft.
To do this, go to the downloads page of Minecraft’s official website and click on the “Debian” option to download the package file automatically.

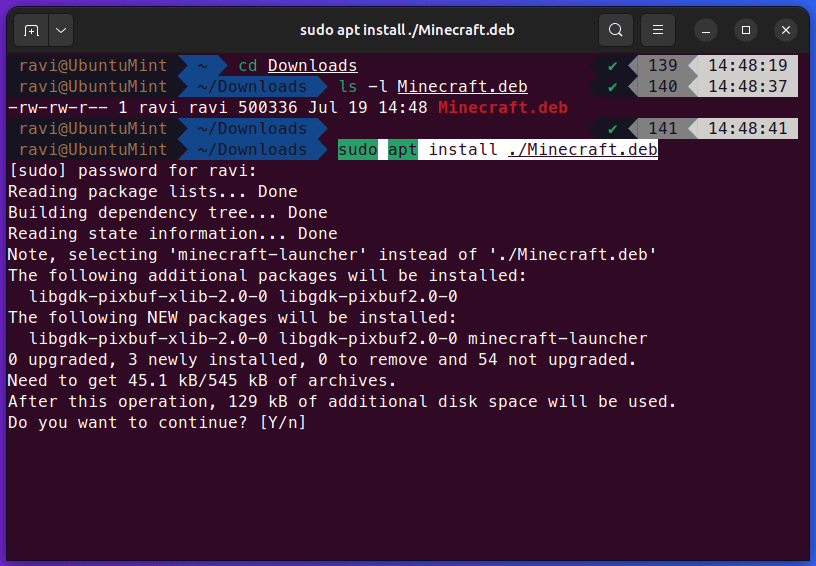
Once the download is complete, open the terminal, navigate to the Downloads directory, and proceed with the installation by running the apt command.
$ sudo apt install ./Minecraft.deb -y

The installation of Minecraft has been completed. Now, it’s time to launch it by entering the command provided below in the terminal.
$ minecraft-launcher
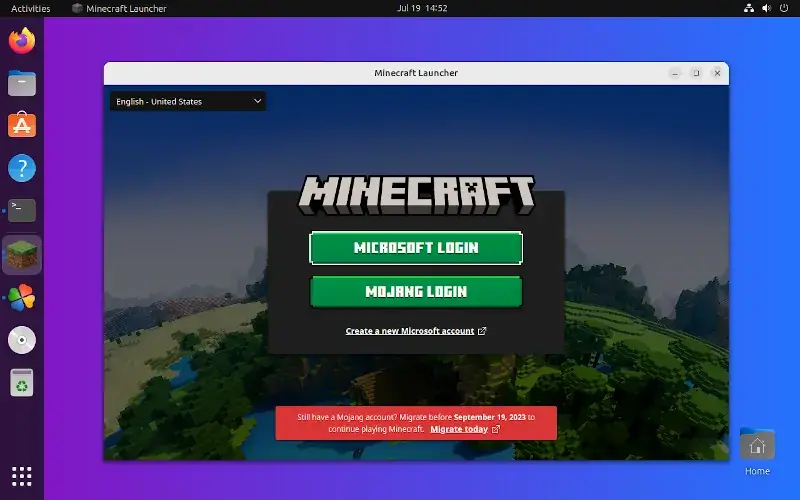
Minecraft is now up and running on our Ubuntu system. Now let’s log in to Minecraft using the already created account credentials or create a new account to enjoy Minecraft. Get ready to explore, build, and unleash your creativity in the captivating world of Minecraft.

2. Install Minecraft Using Snap Package File
To install Minecraft on Ubuntu by using the snap, first update the local package repository by executing the given below command.
$ sudo apt update
After the successful update, now let’s install the snap by using the apt package manager as stated below in the command.
$ sudo apt install snapd -y
Once the installation process of the Snap is completed, you can proceed with installing Minecraft as shown.
$ sudo snap install mc-installer

mc-installer 12.1 from James Tigert (kz6fittycent) installed
The above output shows that Minecraft has been installed.
Next, let’s launch Minecraft, which can be done by hopping to the main menu, searching “Minecraft” and clicking on its icon.
Once the update is completed, you will see the login screen. From here, you can either proceed with your existing account by logging in or create a new account if you don’t have one yet. The choice is yours! Simply follow the on-screen instructions and start your gaming journey.

Here’s another important aspect: if you know how to install something on your operating system, you should also know how to remove or uninstall it when necessary. So, let’s explore the steps to remove or uninstall Minecraft from your Ubuntu system.
Remove Minecraft From Ubuntu
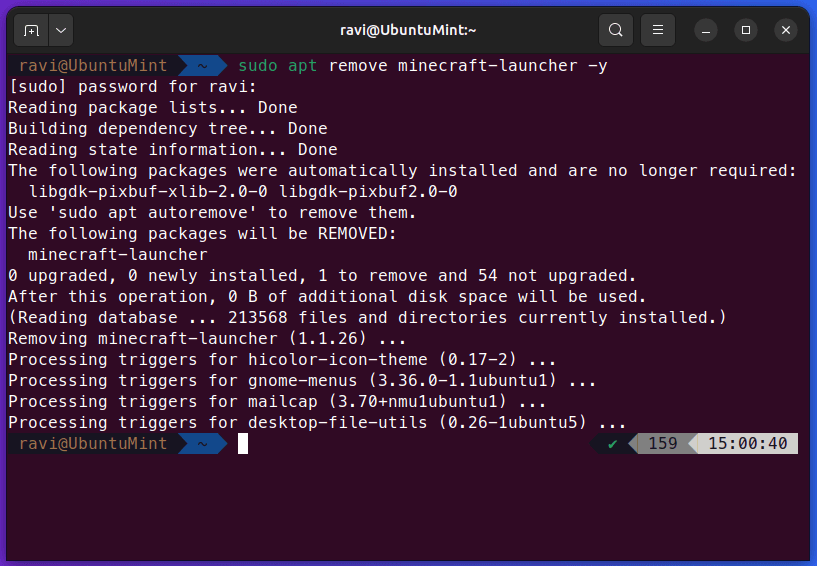
If you have installed Minecraft using the Debian package file, removing it requires the use of the “apt” package manager as shown.
$ sudo apt remove minecraft-launcher -y

However, If you have installed Minecraft using the Snap, you can uninstall it by executing the following command.
$ sudo snap remove mc-installer

mc-installer removed
That’s all for now! Enjoy using Minecraft.
Conclusion
Installing Minecraft on Ubuntu is a simple process. Whether you choose the Debian package file or the Snap for its installation, you can easily embark on your Minecraft adventures.
Enjoy the endless possibilities and let your creativity soar in the captivating world of Minecraft on Ubuntu!
