Technically, the LAMP stack consists of Linux, Apache, MySQL, and PHP modules. A LAMP stack environment is ideal for web software developers that want to experience how their web application(s) is likely to behave in a server-hosted/production environment.
It is the perfect testing/debugging platform for your web app until you are confident enough to decouple it and host it on a dedicated server.
[ You might also like: How to Sync Two Web Servers in Linux Automatically ]
In this article, you will learn how to install and configure the LAMP environment along with the PhpMyAdmin database management tool in Arch Linux.
Afterward, you should be able to comfortably develop and test your first web application before making it production-ready and taking it online.
Step 1: Update Arch Linux System
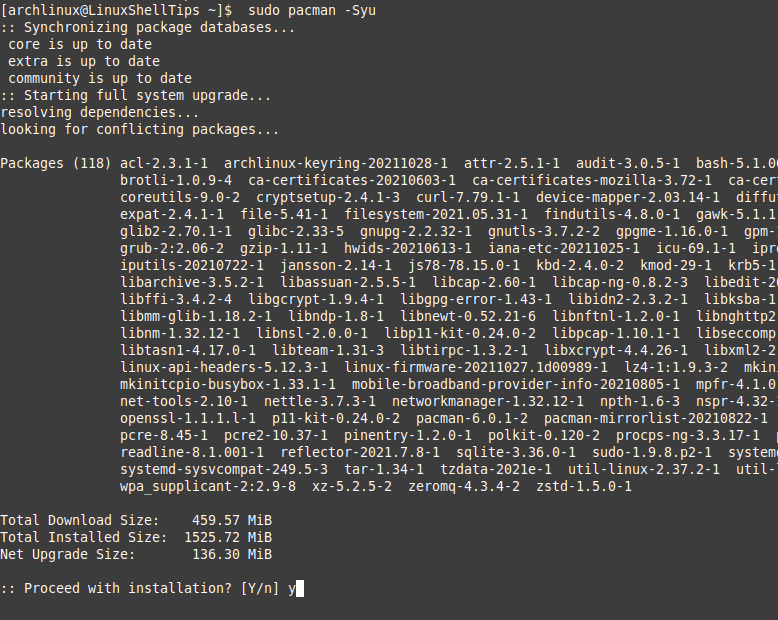
An up-to-date Linux system is a performant system and will not break down easily.
$ sudo pacman -Syu
Step 2: Install Apache in Arch Linux
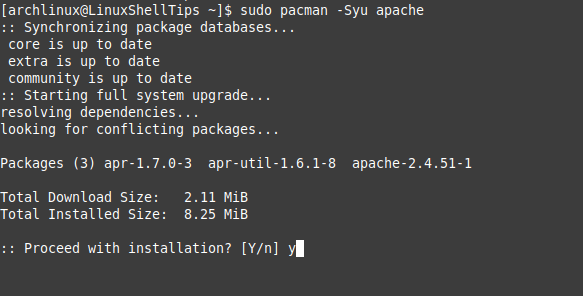
The following command installs the latest version of the Apache webserver.
$ sudo pacman -Syu apache
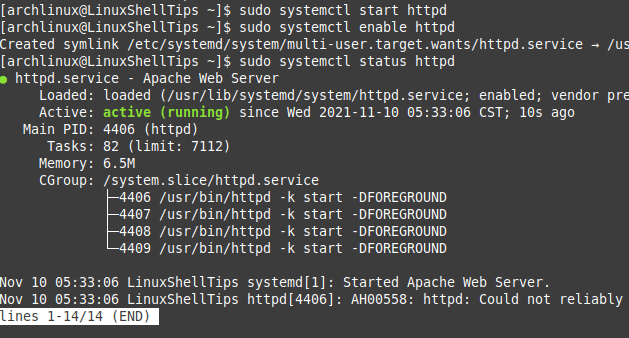
Once Apache is installed, next, you need to start, enable and check the status of the Apache server daemon.
$ sudo systemctl start httpd
$ sudo systemctl enable httpd
$ sudo systemctl status httpd
Step 3: Install PHP in Arch Linux
The following command installs PHP and its Apache module.
$ sudo pacman -S php php-apache

Step 4: Install MySQL in Arch Linux
MariaDB is a community-supported MySQL fork and therefore a good idea to go with it.
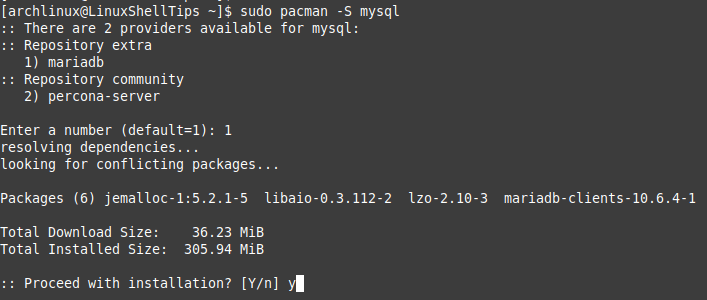
$ sudo pacman -S mysql
Choose the option 1) to install MariaDB.
We also need to start, enable and check the MySQL daemon to make sure it is running.
$ sudo systemctl start mysqld
$ sudo systemctl enable mysqld
$ sudo systemctl status mysqld
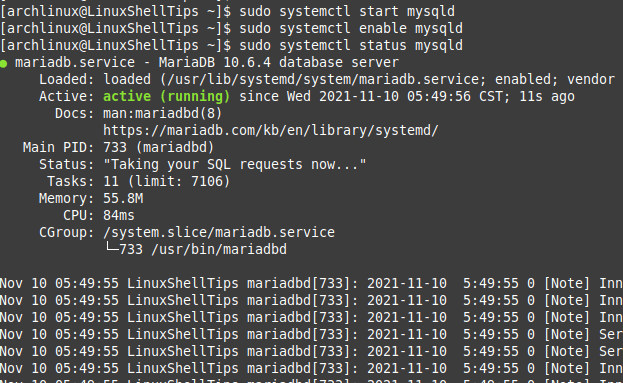
If you run into unnecessary errors while trying to execute the above command, for example.
[ERROR] Fatal error: Can't open and lock privilege tables: Table 'mysql.host' doesn't exist
Switch to the root user of the Arch Linux system:
$ su
Navigate to the directory path /var/lib/mysql and delete everything inside it.
# cd /var/lib/mysql
# rm -r *
Run the command:
# mysql_install_db --user=mysql --basedir=/usr --datadir=/var/lib/mysql
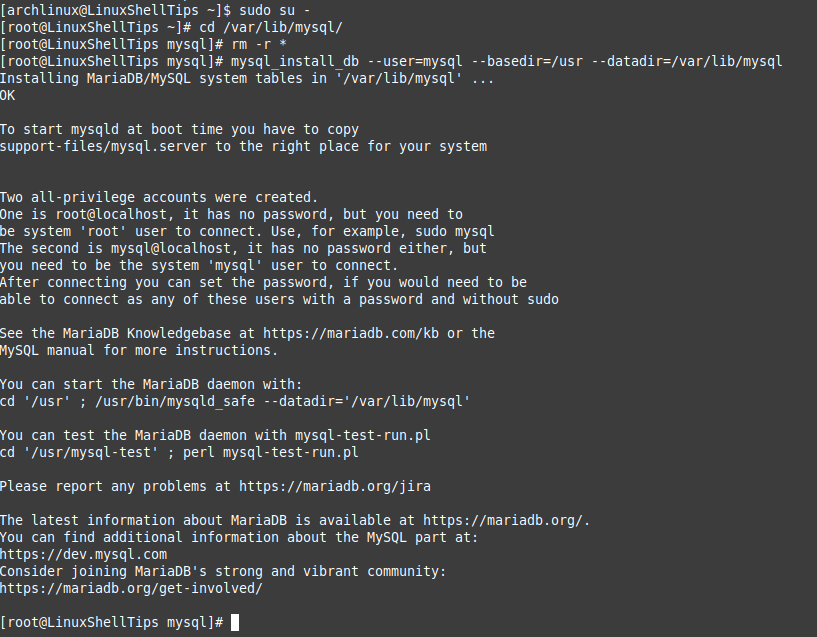
Switch back to your sudoer user and finally, rerun the following command to make sure the mysqld daemon is active:
$ sudo systemctl start mysqld
$ sudo systemctl enable mysqld
$ sudo systemctl status mysqld
Step 5: Secure MySQL in Arch Linux
Next, you need to secure your MySQL installation by running the following security script.
$ sudo mysql_secure_installation
You will be asked some questions which you can answer as per your preference.
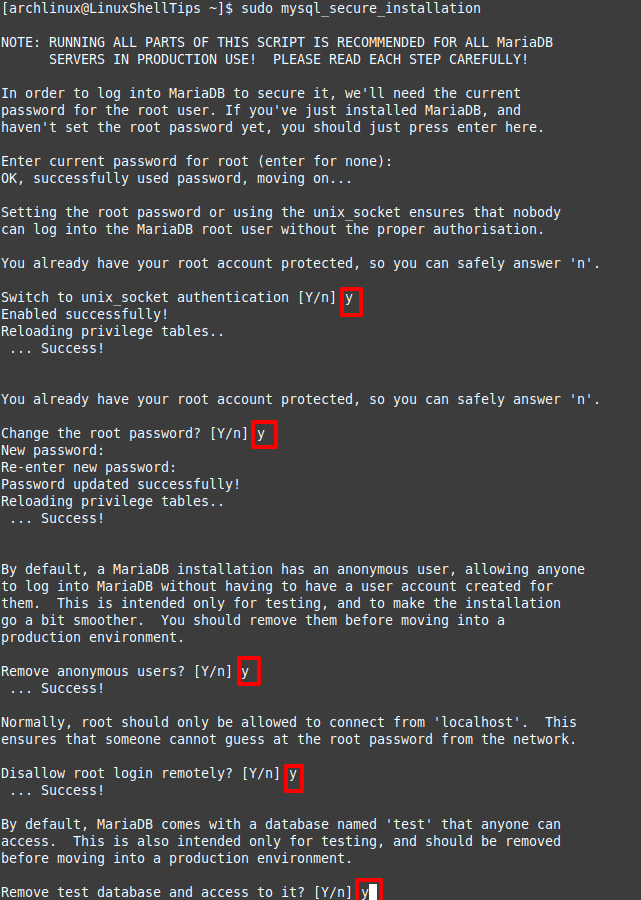
Finally, connect to your MySQL database as the root user.
$ mysql -u root -p
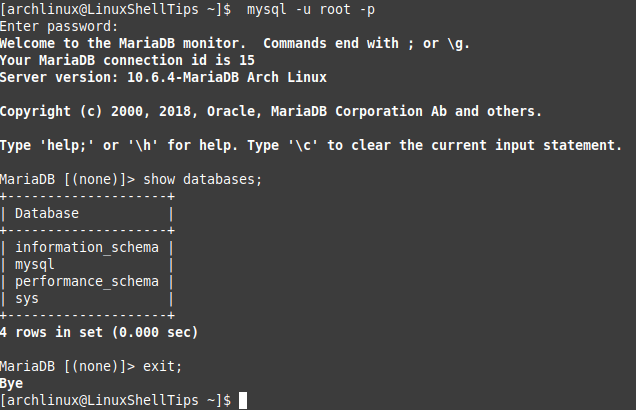
Step 6: Configure Apache in Arch Linux
Open the apache configuration file.
$ sudo nano /etc/httpd/conf/httpd.conf
Search for the lines starting with LoadModule mpm_prefork_ and uncomment it.
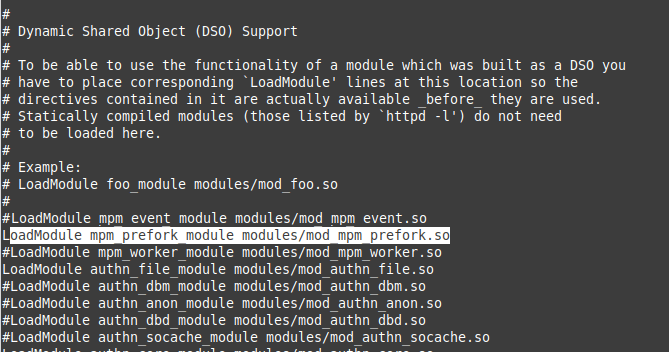
Also, at the bottom of this file, add the following lines:
LoadModule php_module modules/libphp.so
AddHandler php-script php
Include conf/extra/php_module.conf
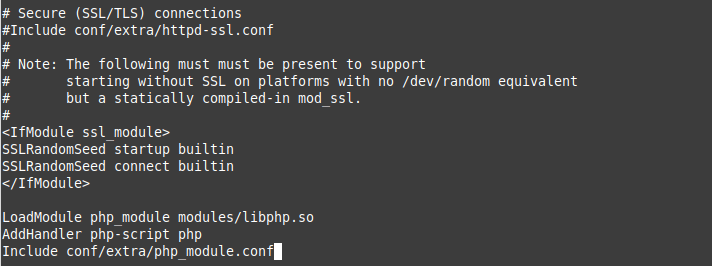
Restart Apache webserver to apply configuration changes.
$ sudo systemctl restart httpd
Step 7: Testing Apache in Arch Linux
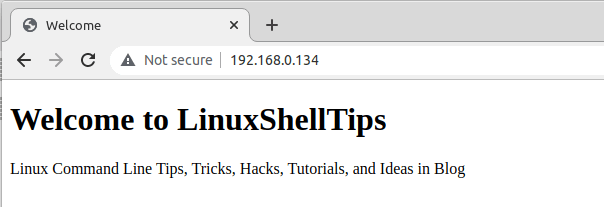
To test Apache, we will create a custom home page (index.html) file.
$ sudo nano /srv/http/index.html
Add the following HTML code.
<!DOCTYPE html>
<html>

<head>
  <title>Welcome</title>
</head>

<body>

  <h1>Welcome to LinuxShellTips</h1>
   <p>Linux Command Line Tips, Tricks, Hacks, Tutorials, and Ideas in Blog</p>

</body>
</html>
Save the file and go to the following URL on your browser to access the page.
http://localhost
Or
http://IP-Address
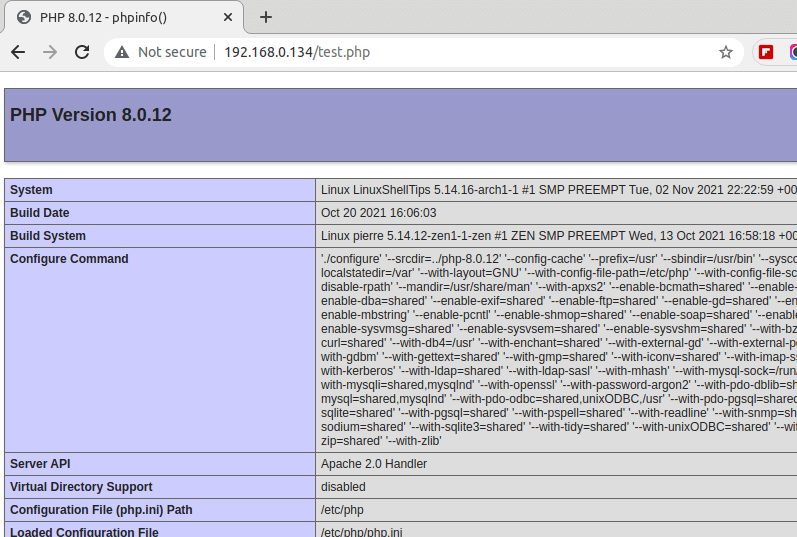
To test if Apache serves PHP scripts, create and edit the following file:
$ sudo nano /srv/http/test.php
Add the following PHP code.
<?php
phpinfo()
?>
Save the file and go to the following URL on your browser to access the page.
http://localhost/test.php
Or
http://IP-Address/test.php
Step 8: Install PhpMyAdmin in Arch Linux
PhpMyAdmin is an open-source web-based database management tool for MySQL/MariaDB.
$ sudo pacman -S phpmyadmin
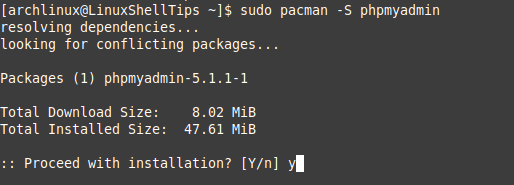
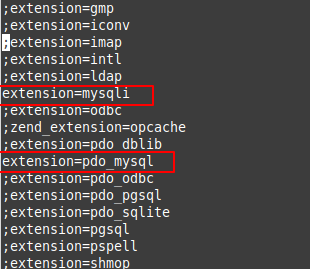
Open the file /etc/php/php.ini and uncomment the lines extension=mysqli, extension=pdo_mysql and extension=iconv by removing the semicolon (;) preceding them.
$ sudo nano /etc/php/php.ini
Now set up Apache to work with phpmyadmin by creating phpmyadmin’s main configuration file.
$ sudo nano /etc/httpd/conf/extra/phpmyadmin.conf
Populate this file with content similar to the following screen capture:
Alias /phpmyadmin "/usr/share/webapps/phpMyAdmin"
<Directory "/usr/share/webapps/phpMyAdmin">
	DirectoryIndex  index.php
    AllowOverride All
    Options FollowSymlinks
    Require all granted
</Directory>
Next, include the path to this configuration file on Apache’s main configuration file.
$ sudo nano /etc/httpd/conf/httpd.conf
Add the following line at the bottom.
Include conf/extra/phpmyadmin.conf
Finally, restart the Apache web service.
$ sudo systemctl restart httpd
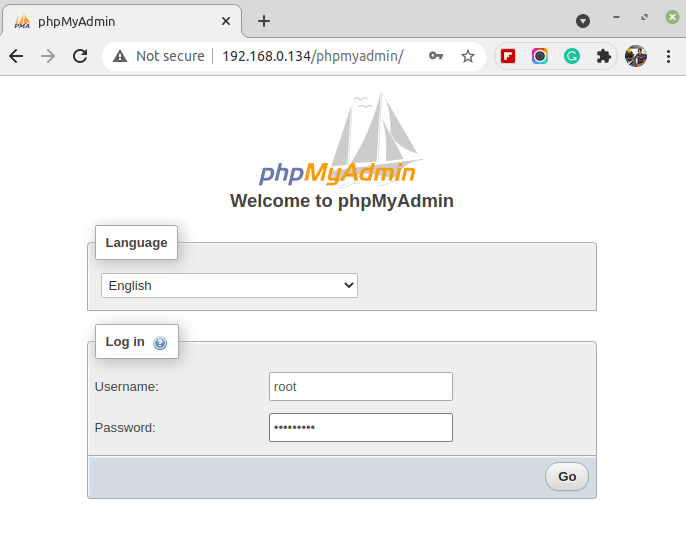
Now access the PhpMyAdmin from the browser.
http://localhost/phpmyadmin
Or
http://IP-Address/phpmyadmin
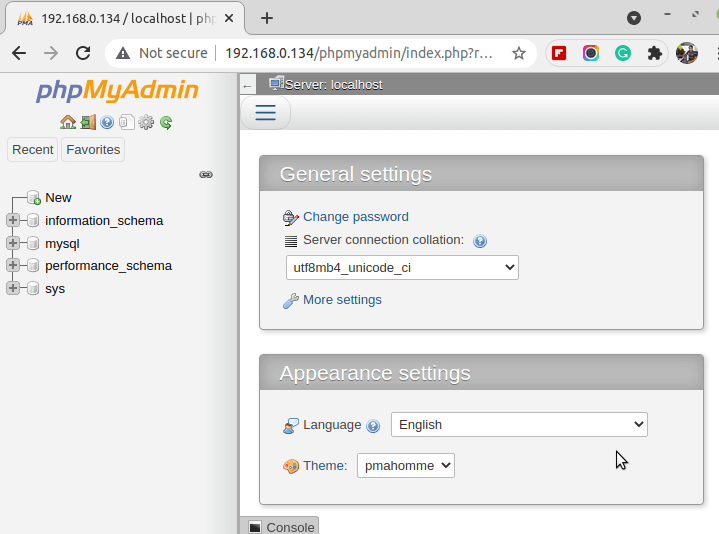
With this article guide, you can comfortably start testing the behavior of your web app in a production-like environment. You are now familiar with the needed extensions and configurations required to keep your server environment running.

Hi,
Am I the only person that gets Access forbidden on
http://localhost/phpmyadmin?How can make the working directory the home and not root as editing and working will be hard how can I make it work?
Can I use another folder for files instead of /srv/http?
I was asking because of a permission issue.
@Rob,
Yes, you can use any directory to serve your pages, but make sure you create a vhost file for each website…
Bless you, for this. Got me up and running with LAMP in 5 minutes.
@Turab,
Thanks, bless you too as well…:)
It works perfectly, great documentation…
server not started:
sudo systemctl status httpd
[sudo] hasło użytkownika maras:
× httpd.service – Apache Web Server
Loaded: loaded (/usr/lib/systemd/system/httpd.service; enabled; vendor pre>
Active: failed (Result: exit-code) since Wed 2022-01-12 13:55:40 CET; 1min>
Process: 2117 ExecStart=/usr/bin/httpd -k start -DFOREGROUND (code=exited, >
Main PID: 2117 (code=exited, status=1/FAILURE)
CPU: 43ms
sty 12 13:55:40 maras-n73jg-arch systemd[1]: Started Apache Web Server.
sty 12 13:55:40 maras-n73jg-arch httpd[2117]: AH00534: httpd: Configuration err>
sty 12 13:55:40 maras-n73jg-arch systemd[1]: httpd.service: Main process exited>
sty 12 13:55:40 maras-n73jg-arch systemd[1]: httpd.service: Failed with result >
Maybe the problem is caused because “More than one MPM loaded”. Following the documentation, you enable one necessary MPM but the documentation forgot to disable one other MPM.
In /etc/httpd/conf/httpd.conf, comment the line:
and uncomment the line:
Had the same issue and this solved it.
Author, please update your tutorial! 😉
Thanks for this great article, helped a lot.
@Joff,
Sorry for the trouble, corrected the article as suggested…
Thank you for helping me install MySQL (MariaDB) and phpMyAdmin.
If you having issues with installing MySQL this should help.