You probably have heard of/or researched a number of web servers that are/or might be a perfect fit for your RHEL 8 operating system environment. The distinctive factor that ranks such web servers resides in their functional attributes or the user problems they solve.
For instance, Hiawatha is openly acknowledged as a lightweight and open-source web server solution. It is defensively responsive to attacks like CSRF, SQL injection, and cross-site scripting (XSS).
This article will take us through the installation of the Hiawatha webserver on RHEL 8. Ensure that you have root user access or that you are a Sudoer user on the RHEL 8 system you are using.
Installing Hiawatha Web Server in RHEL 8
First, updater your RHEL 8 operating system.
$ sudo dnf update
The next step is to download and install this lightweight web server. We are going to download, compile, and install its source code. Before executing this step, your RHEL 8 system needs a complete C compiler toolchain installation. Also, for Hiawatha to be fully functional, zlib, libxml2, and libxslt libraries should also be installed on your system.
$ sudo dnf groupinfo "Development Tools"
$ sudo dnf install libxslt libxml2-devel zlib libxslt-devel cmake
Once all needed dependencies are installed, you need to download the latest Hiawatha webserver release version and compile it as shown.
$ wget https://www.hiawatha-webserver.org/files/hiawatha-11.1.tar.gz
$ tar -xzf hiawatha-11.1.tar.gz
$ cd hiawatha-11.1
$ mkdir build
$ cd build
$ cmake ..
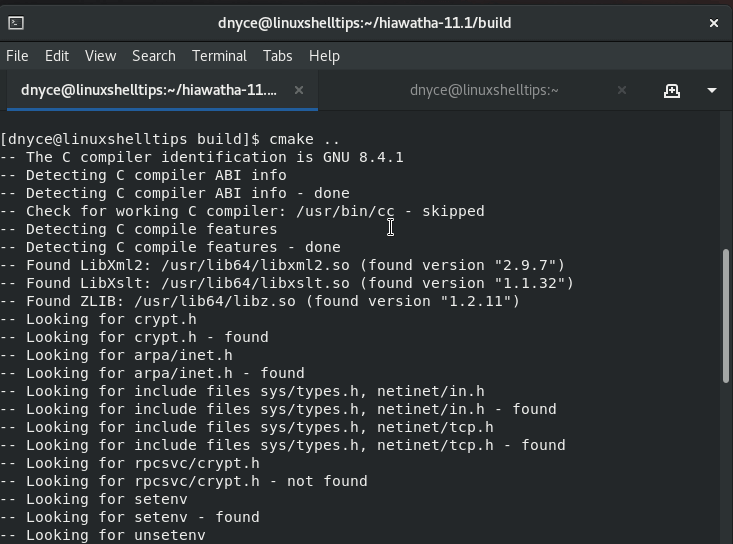
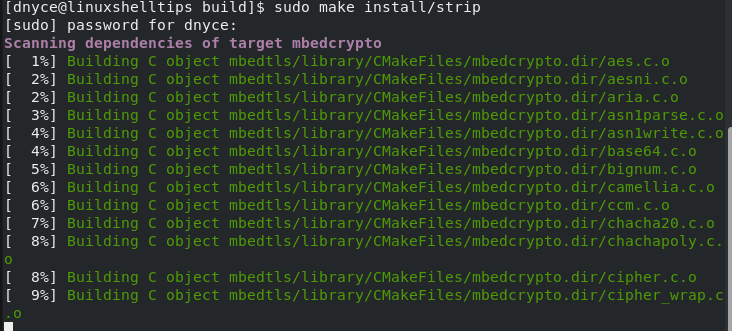
The next step is to proceed and install the Hiawatha webserver on our RHEL 8 system.
$ sudo make install/strip
Verify that Hiawatha and its configuration files are correctly put on your RHEL 8 system:
$ hiawatha -k

Now start the Hiawatha webserver with the command:
$ whereis hiawatha
$ sudo /usr/local/sbin/hiawatha

To stop Hiawatha, you will first need to identify the PID behind it and kill the process:
$ cat /usr/local/var/run/hiawatha.pid
$ sudo kill -15 PID
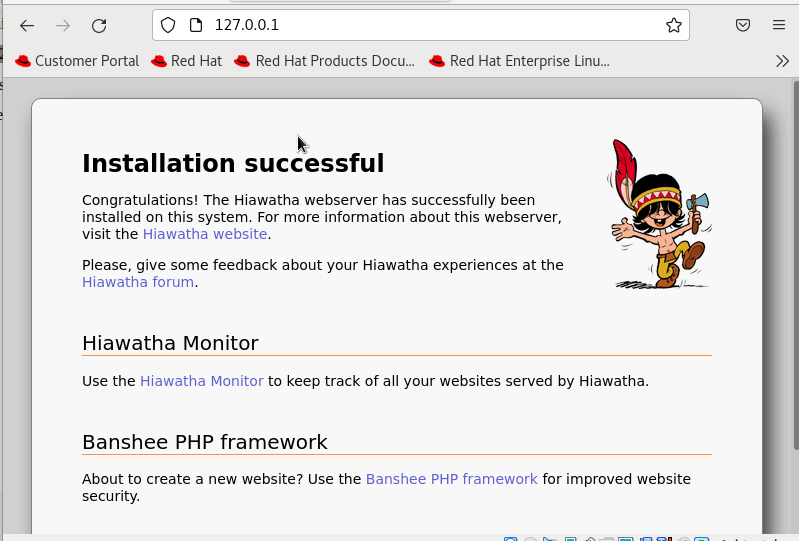
Finally, test the Hiawatha installation on your web browser by navigating to the localhost address:
http://127.0.0.1
OR
http://server-ip
Hiawatha Virtual Host Support for Hosting Website
This section applies to users that want to host more than one website with Hiawatha. You will need a Virtual Host configuration similar to the one below inside the mail hiawatha.conf configuration file.
$ sudo nano /usr/local/etc/hiawatha/hiawatha.conf
Add the following Virtual Host configuration.
VirtualHost {
    Hostname = linuxshelltips.lan.network
    WebsiteRoot = /usr/local/var/www/site_one
    StartFile = index.html
    AccessLogfile = /usr/local/var/www/site_one/log/access.log
    ErrorLogfile = /usr/local/var/www/site_one/log/error.log
}
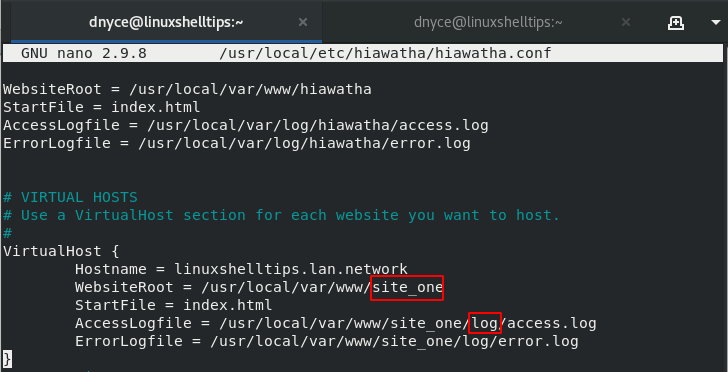
Make sure you create the directories for holding your web page files (site_one) and access plus error log files (log).
$ sudo mkdir -p /usr/local/var/www/site_one
$ sudo mkdir -p /usr/local/var/www/site_one/log/access.log
$ sudo mkdir -p /usr/local/var/www/site_one/log/error.log
We can now create a sample index.html file inside the /usr/local/var/www/site_one directory.
$ sudo /usr/local/var/www/site_one/index.html
Add the following HTML content.
<!DOCTYPE html>
<html>

<head>
  <title>Hiawatha Virtualhost on RHEL 8</title>
</head>

<body>

  <h1>Hiawatha, Virtualhost on RHEL 8</h1>
   <p>Serving linuxhselltips.lan.network via Hiawatha Virtualhost on RHEL 8!</p>

</body>
</html>
Next, stop and restart Hiawatha.
$ cat /usr/local/var/run/hiawatha.pid
$ sudo kill -15 PID
$ sudo /usr/local/sbin/hiawatha
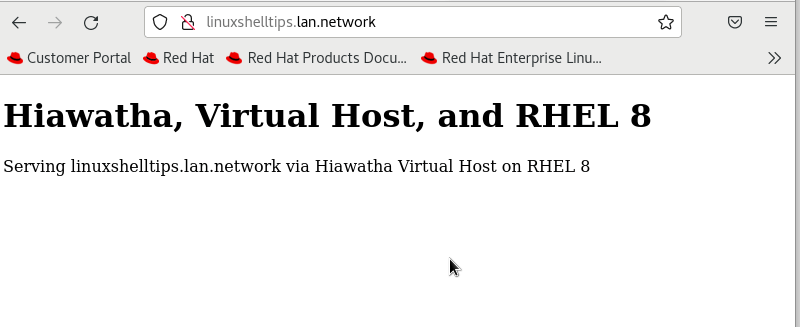
Let’s try to access the virtual host domain from a browser.
http://linuxshelltips.lan.network
With Hiawatha installed and configured on your RHEL 8 system, you can now explore what it has to offer in terms of being a performant and lightweight web server.
