So, do you want to run application processes in complete isolation from your underlying Linux operating system, just like a virtual machine? Docker is an open-source application that fulfills the same purpose along with enabling developers to build and deploy applications consistently.
Docker is available in two main editions: open source and free Docker Community Edition (Docker CE) and premium Docker Enterprise Edition (Docker EE).
In this article, we’ll go through step-by-step installing Docker CE in a minimal version of Red Hat-based Rocky Linux 9/8 distribution.
1. Installing Docker CE in Rocky Linux
Although the Docker package is available in the official Rocky Linux repository, it may not be the latest version. So, to retrieve the recent version, we need to install Docker from the official Docker repository.
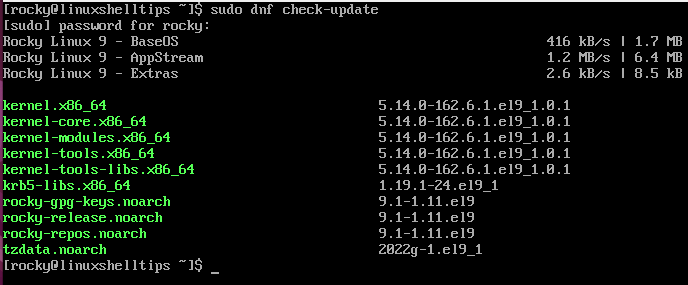
Before that, first, let’s update the Rocky Linux package database:
$ sudo dnf check-update
$ sudo dnf update -y
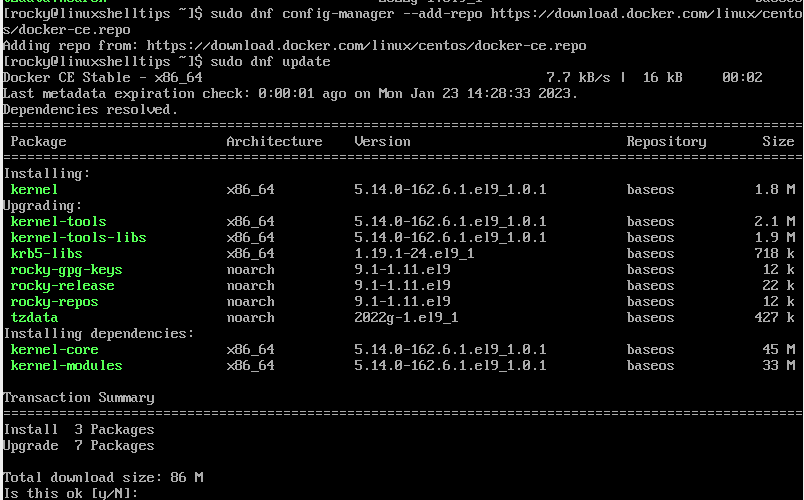
Now, using the DNF utility, add the official Docker repository to the Rocky Linux server by running the below command:
$ sudo dnf config-manager --add-repo https://download.docker.com/linux/centos/docker-ce.repo
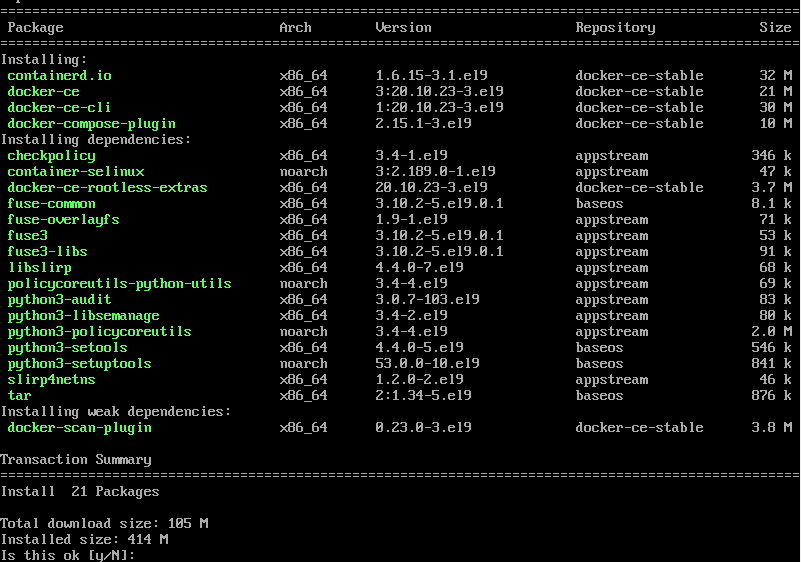
Once the repository is added, we can now install the Docker package, which basically means you’ll install the following packages:
- docker-ce – it contains Docker Engine that helps for building and running docker containers (dockerd).
- docker-ce-cli – it provides a command line interface (CLI) client docker tool (docker) for performing operations.
- conteinerd.io – it provides the container runtime (runc).
- docker-compose-plugin – this plugin provides the ‘docker compose‘ subcommand.
Run the below command to install Docker CE in Rocky Linux:
$ sudo dnf -y install docker-ce docker-ce-cli containerd.io docker-compose-plugin
After successfully installing the Docker package, you can verify it by checking the version of the installed Docker.
$ docker --version

Docker version 20.10.23, build 7155243
As the output displays, we have installed Docker 20.10.23.
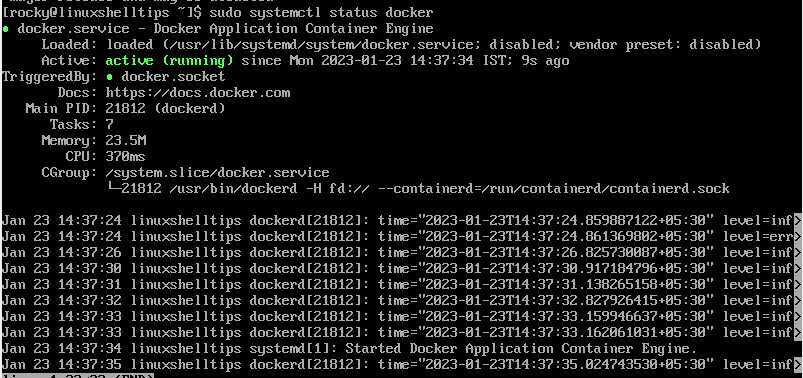
Before you start downloading and running Docker images, you also need to start and verify the Docker daemon as initially, it is inactive.
$ sudo systemctl start docker
$ sudo systemctl status docker
If you restart your system next time, you’ll again need to start the Daemon before using it. To get rid of enabling it every time, you can execute the below command to make sure it starts at every system reboot.
$ sudo systemctl enable docker
2. Verifying Docker Hub Access
We’re almost one step away from installing Docker images. Since Docker containers run from Docker images, which you will fetch from the Docker Hub registry, you should also first check whether you can access and download images from Docker Hub using the below command:
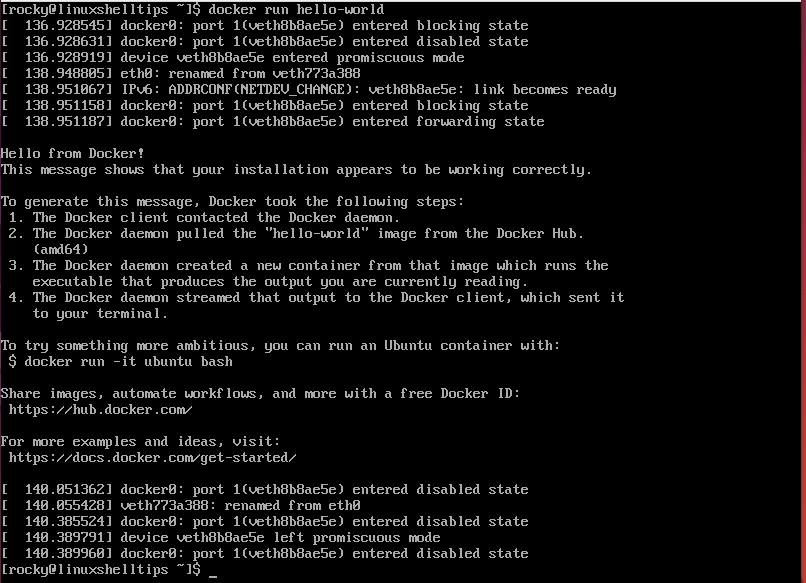
$ docker run hello-world

The ‘hello-world‘ is a sample Docker container that emits a ‘hello from Docker‘ message and exits indicating Docker is working correctly.
As you can see in the above screenshot, no such message came for the first time, because it will first pull a hello-world image from Docker Hub and then will print the success message as shown in the below screenshot.
3. Search and Pull Docker Images on Rocky Linux
Till now, if you’re on the same page as I am, you’re ready to create a Docker container on Linux. Let’s search for the Linux image on Docker Hub you want using the docker command with the search subcommand.
$ docker search rockylinux
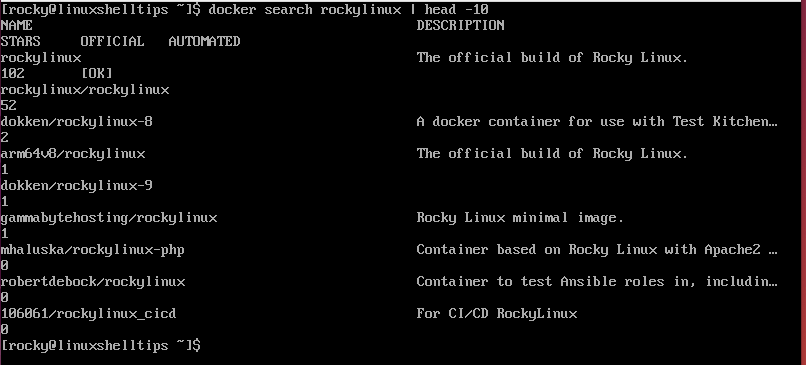
Here I’m searching for a Docker image of Rocky Linux and also piping its all result using a head utility to just display limited 10 output.
Once you’ve identified the image and its respective tag name that you would like to use, you can download it to your local system using the pull subcommand as given below:
$ docker pull <image-name>			# Using default tag
Or
$ docker pull <image-name>:<tag-name>
For Rocky Linux Docker images, we can get all tag information from the Docker Hub page also.
$ docker pull rockylinux/rockylinux

In case, you want to pull the specific image, you can use the tag name given below:
$ docker pull rockylinux/rockylinux:9

Once the download completes, use the ‘images‘ subcommand to view all images that you’ve downloaded on your system.
$ docker images

4. Create and Run Docker Container on Rocky Linux
Finally, it’s time to create and run the Docker container from the downloaded Rocky Linux image. To do this, you can use the run subcommand along with a combination of the -i and -t switches that give interactive shell access to the container.
$ docker run -it rockylinux/rockylinux:9
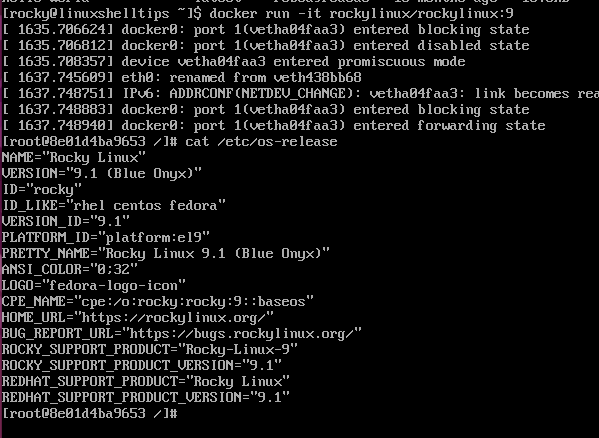
The above command will direct you to the command prompt indicating that you’re now inside the container. You can verify the system information also as shown in the screenshot.
# cat /etc/os-release
You can now perform whatever action you want to do in your Docker container. But don’t forget to commit changes in a container to a docker image before exiting.
5. Uninstall Docker in Rocky Linux
In case, you wish to remove Docker on Rocky Linux along with all containers running, run the following command:
$ sudo dnf remove -y docker-ce docker-ce-cli containerd.io
Conclusion
Coming to the end, we finally came to know how to install the latest version of the Docker containerization tool on Rocky Linux. After installing, we saw how to search and pull Docker images from the Docker Hub Container Image library and created a Linux Docker container.
