Brief: This is a guide that demonstrates how to install Google Chrome on Ubuntu Linux.
Google Chrome is arguably one of the most popular and widely used browsers across all computing platforms. It’s a fast, user-friendly, and intuitive browser that provides a vast array of features to provide a streamlined browsing experience.
Unfortunately, Firefox is the default browser that ships with most graphical Linux distros. With that in mind, you need to go an extra step and practically install the Google Chrome browser on your distribution.
This tutorial will teach you how to install Google Chrome on Ubuntu Linux. Basically, there are two main ways of installing Google Chrome on Ubuntu – Installing graphically and via the command line.
The steps in this guide have been tested on Ubuntu 22.04 which is the latest LTS release.
Install Google Chrome Graphically on Ubuntu
This is the most elementary way of installing Google Chrome and is the preferred installation method for beginners in Linux or those who are not adept at working on the terminal.
Since Google Chrome is not yet available on Ubuntu repositories, we will download a binary file from Google’s official website and run it.
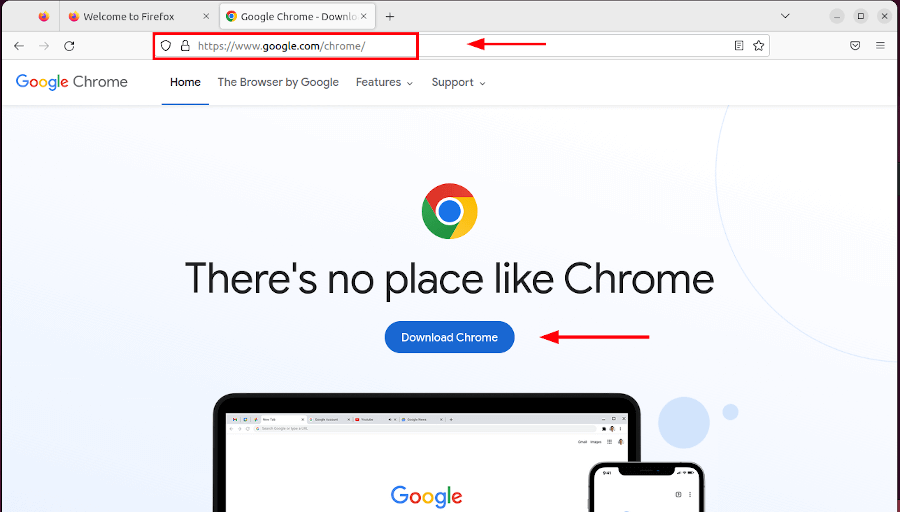
Head over to Google Chrome’s website and click the download button to get off the ground.
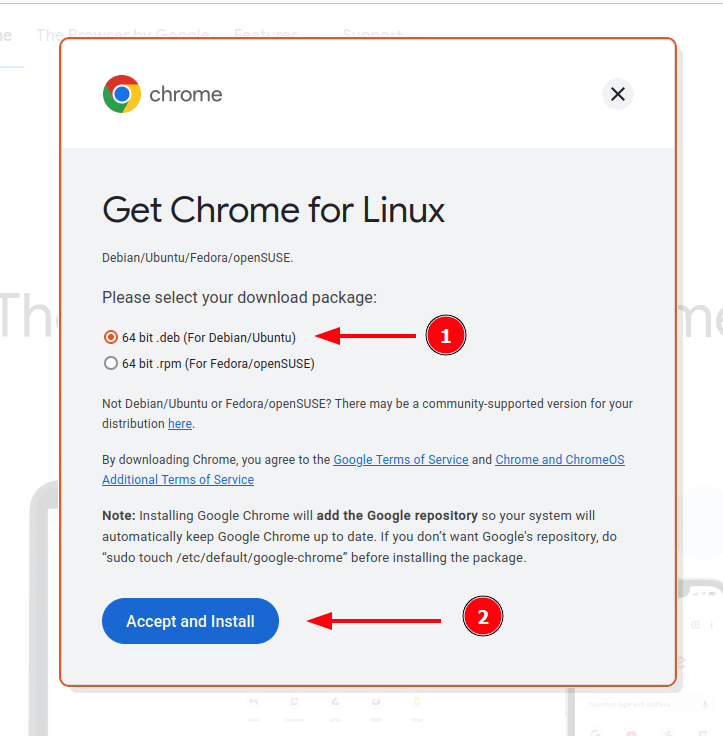
Next, select the download package that is compatible with your Linux system. Since we are installing Google Chrome on Ubuntu, select the DEB package and click ‘Accept and Install’.
The download of the DEB package will commence. If you are on a high-speed internet connection, this should take a minute or two.
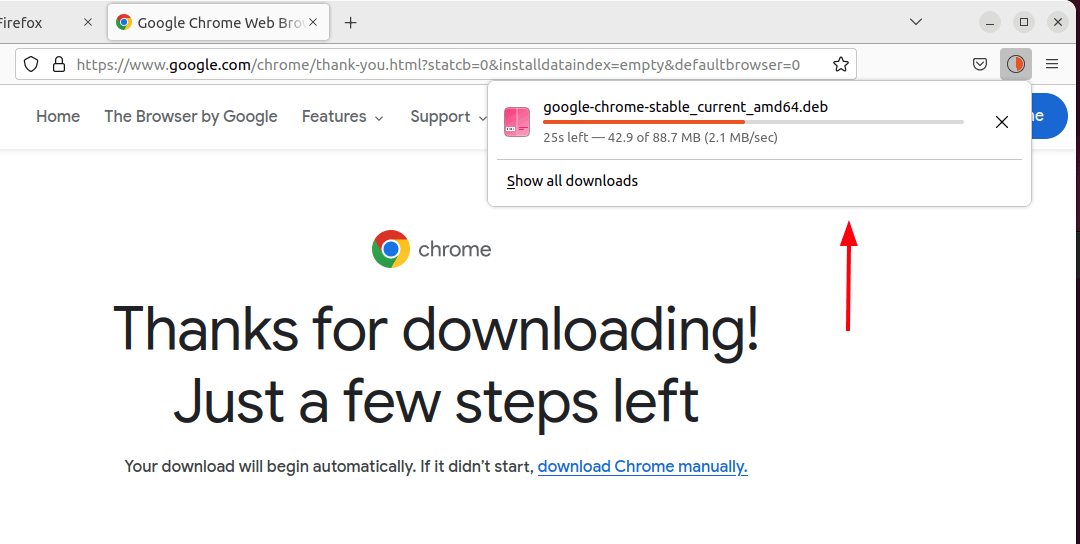
Once the download is complete, click on the icon indicated to access the ‘Downloads’ folder which is the default folder that stores all files downloaded online.

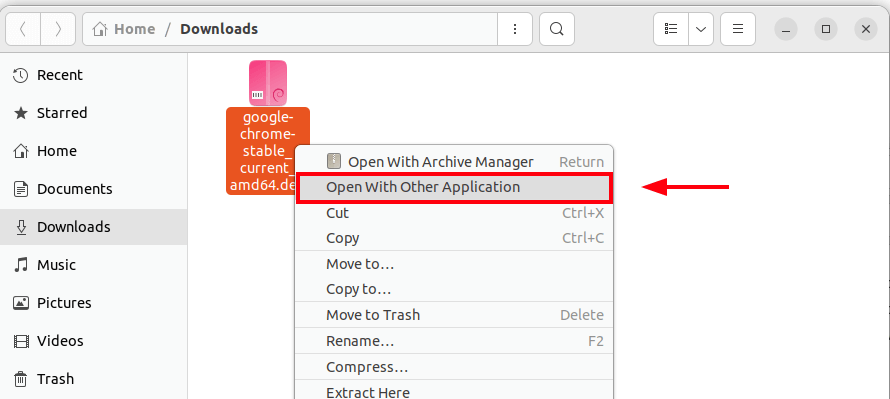
In the ‘Downloads’ folder, you should see the Google Chrome DEB file as shown. The next step is to specify the application that the DEB package should open with. So, right-click and select the ‘Open with Other Application‘ option.
Then select the ‘Software Install’ option and click ‘Select‘.
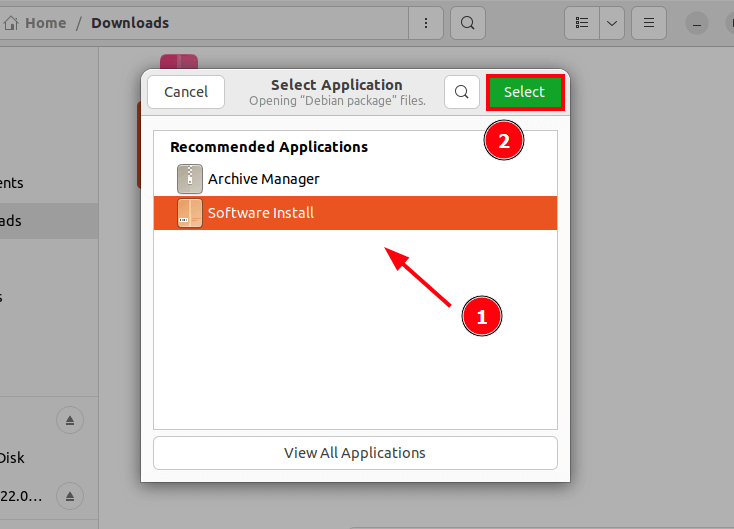
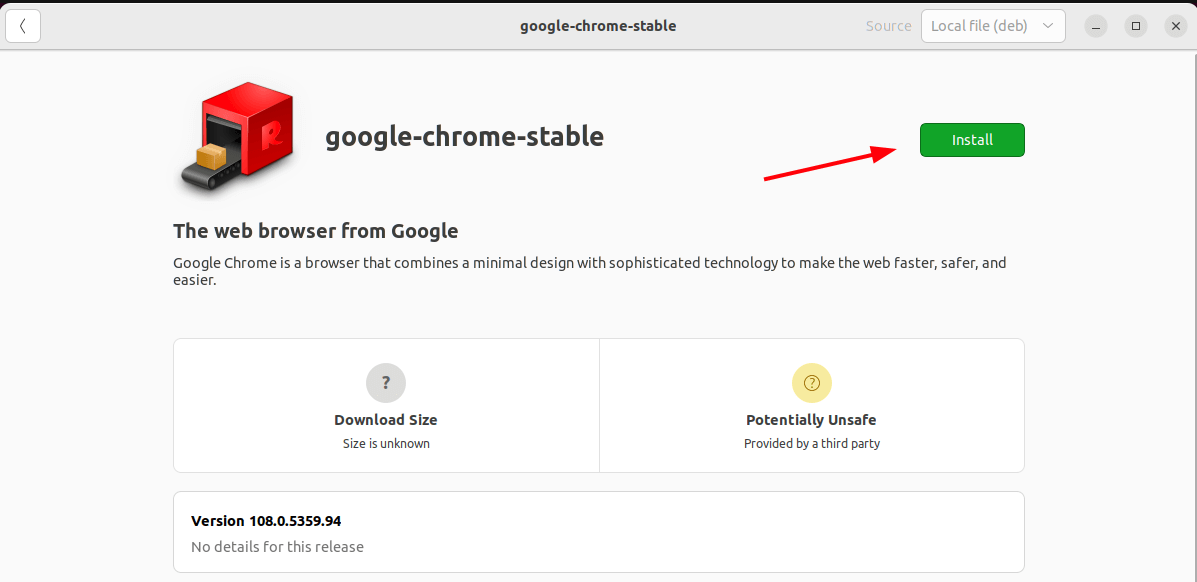
Now, double-click the DEB file, which will open the File using ‘Software Center’. Then click the ‘Install’ button to begin the installation.
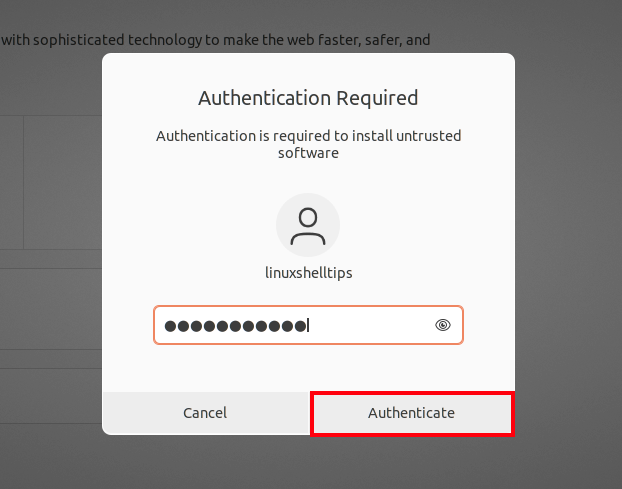
Authenticate when prompted for a password.
The installation will commence and once the installation is complete, you will get details about the installed version and size.
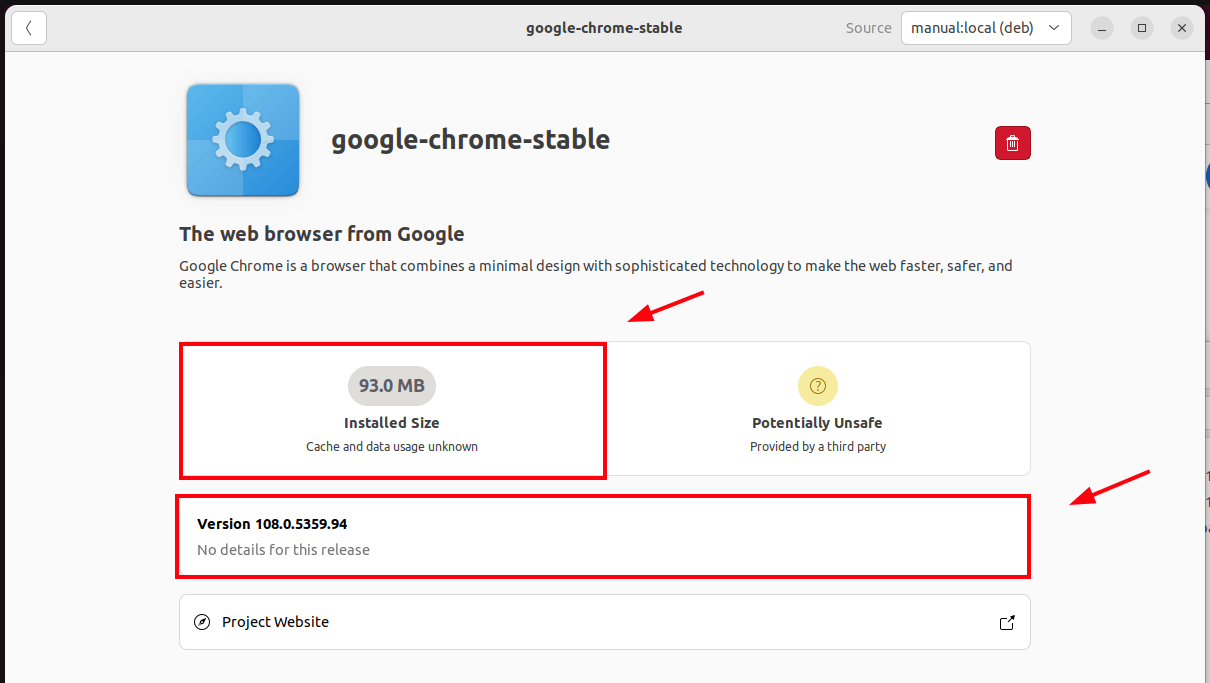
Google Chrome is now installed. You can launch it using the application manager as shown.
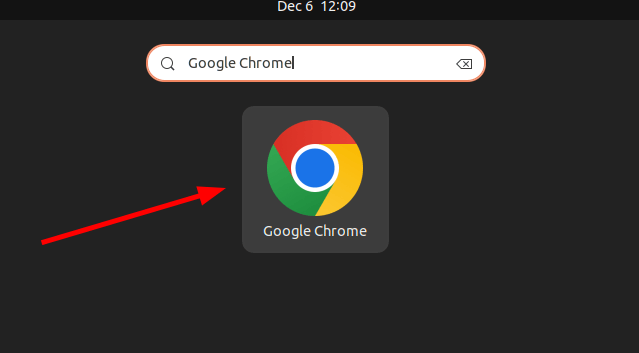
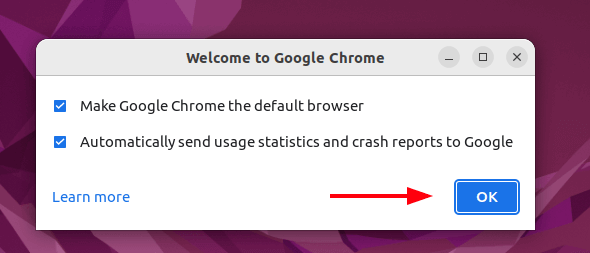
On the pop-up that appears, accept the default selections and click ‘Ok’.
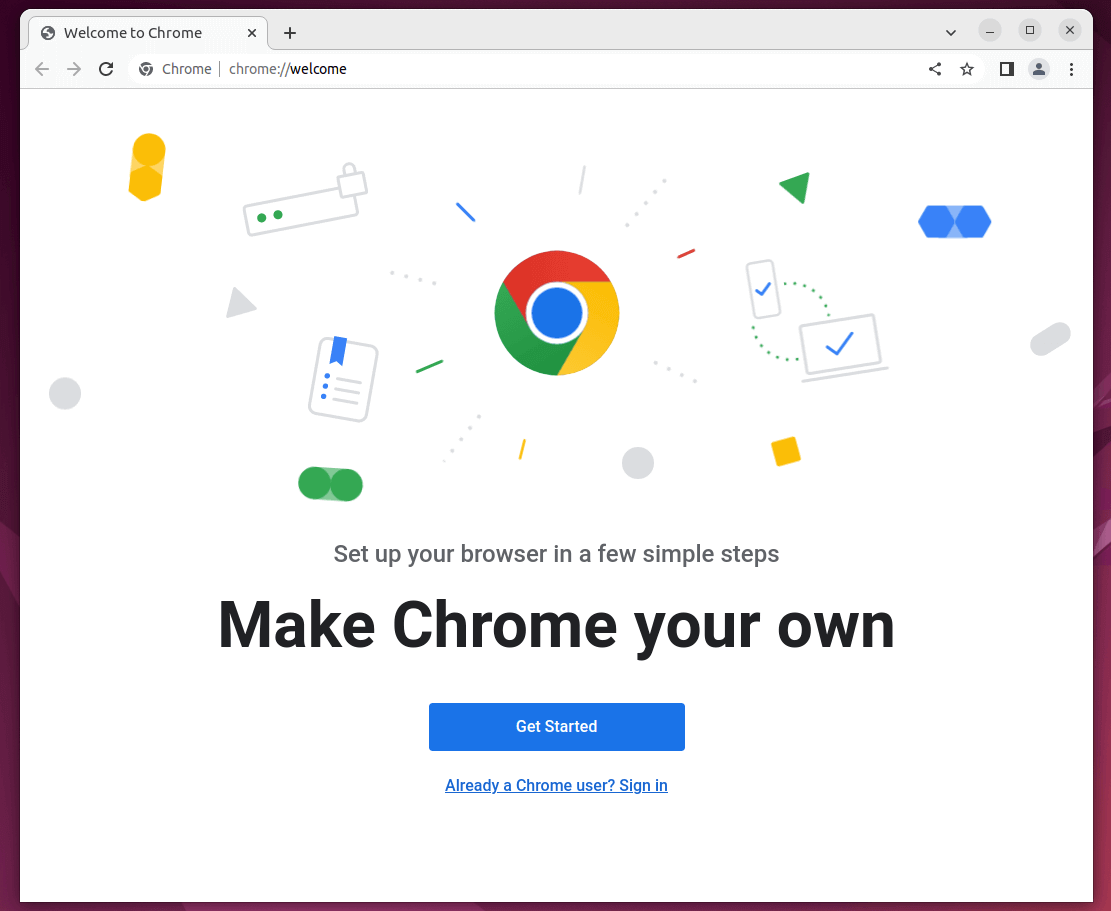
The Google Chrome browser will then come into view.
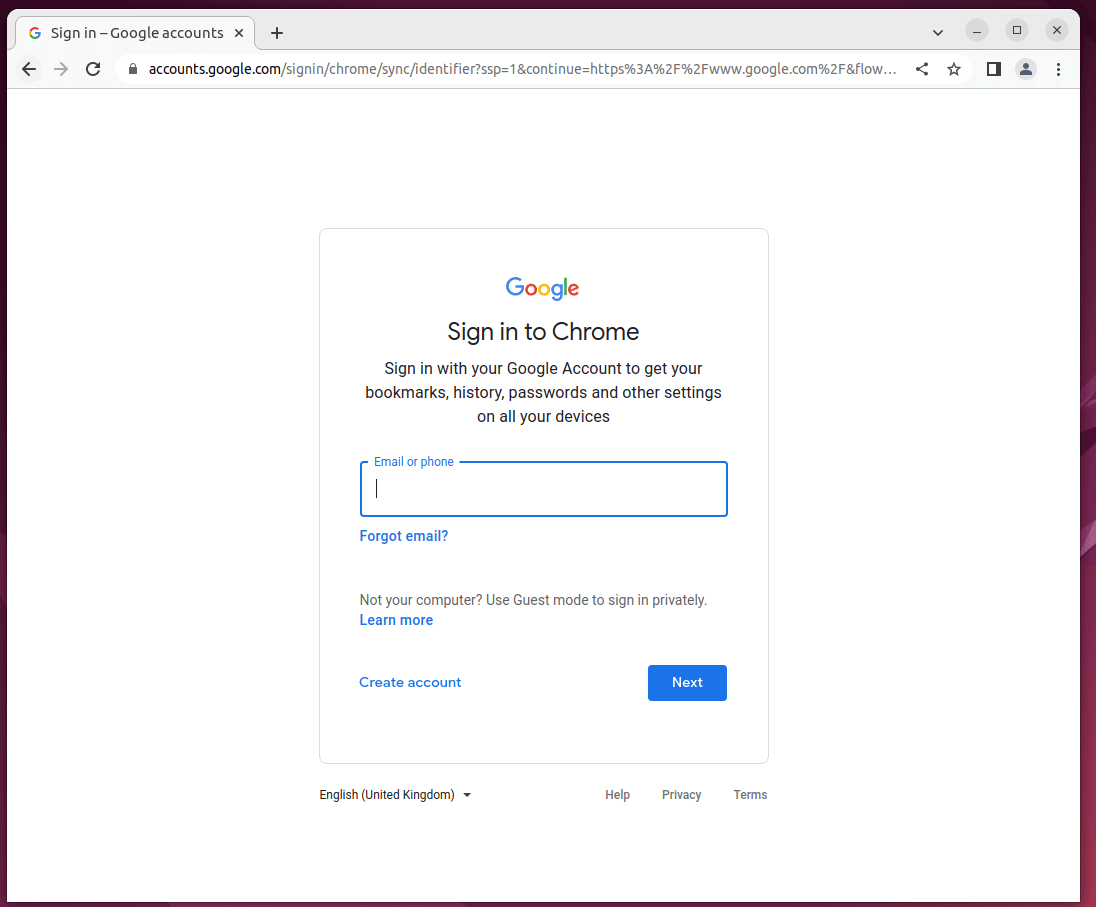
To sign in to your Google account, click the Sign in link at the bottom and provide your email address which will then prompt for your password.
From here, enjoy your browsing experience using the latest version of Google Chrome.
Install Google Chrome Using Command Line in Ubuntu
The other option for installing Google Chrome on your system is by running a few simple commands on the terminal. This is the shortest and most direct method of installing the browser.
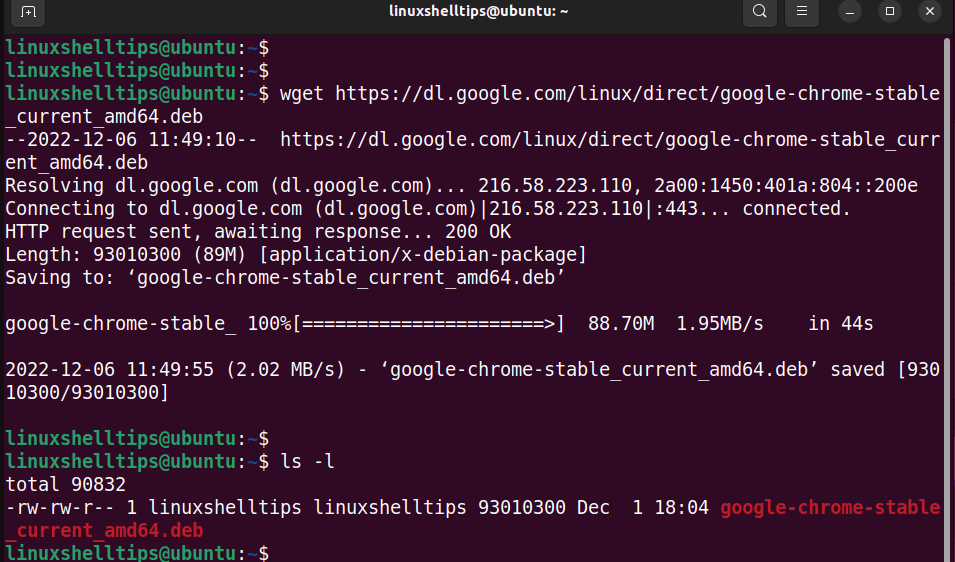
Therefore, launch your terminal and download Google Chrome’s DEB file using the wget command as shown.
$ wget https://dl.google.com/linux/direct/google-chrome-stable_current_amd64.deb
Once the download is complete, verify the existence of the Googe Chrome DEB file as shown.
$ ls -l
Next, install the Google Chrome browser using the dpkg package manager as follows.
$ sudo dpkg -i google-chrome-stable_current_amd64.deb

The installation process takes just a few minutes to complete. Once done, click ‘Activities’ at the top left corner and search for the Google Chrome browser as shown.
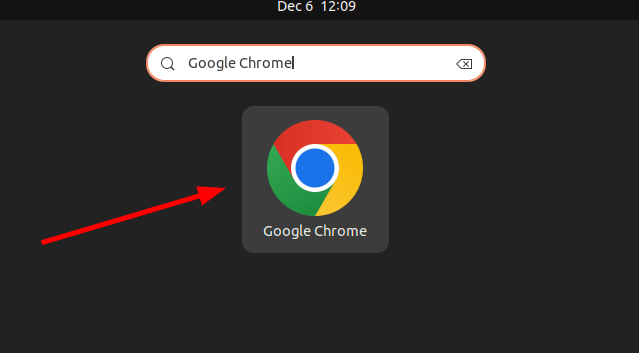
The Google Chrome browser will be launched as shown. From here, you can click the link shown at the bottom in order to sign in and start using your browser.

That’s it for this guide. We have demonstrated different ways of Installing Google Chrome on Ubuntu Linux. These steps will also work on Ubuntu 20.04 and later versions. Your feedback on this guide is much welcome.
