Bluestacks is one of the top most recommended Android Emulators currently available in the emulator market that supports all major Android-based applications or games. Unfortunately, Bluestack is exclusively designed for Mac and Windows users, and therefore unavailable to Linux users.
However, if you are determined to use Bluestacks on Ubuntu, this post is just right for you. It will cover a workaround for accessing Bluestacks on Ubuntu.
Method 1: Install Bluestacks Inside Windows VM on Ubuntu
Since there is no official support for Linux, you can install Bluestacks by using Windows in a virtual environment, which requires robust hardware since VirtualBox and Windows consume a significant amount of resources to operate.
The process involves setting up a Windows virtual machine within VirtualBox and then configuring BlueStacks. While effective, this method might appear complex and time-consuming to certain users.
Update Ubuntu Packages
Before diving into the process, it’s crucial to confirm that your system repositories are up to date by running the following apt commands.
$ sudo apt-get update
$ sudo apt-get upgrade
Install VirtualBox on Ubuntu
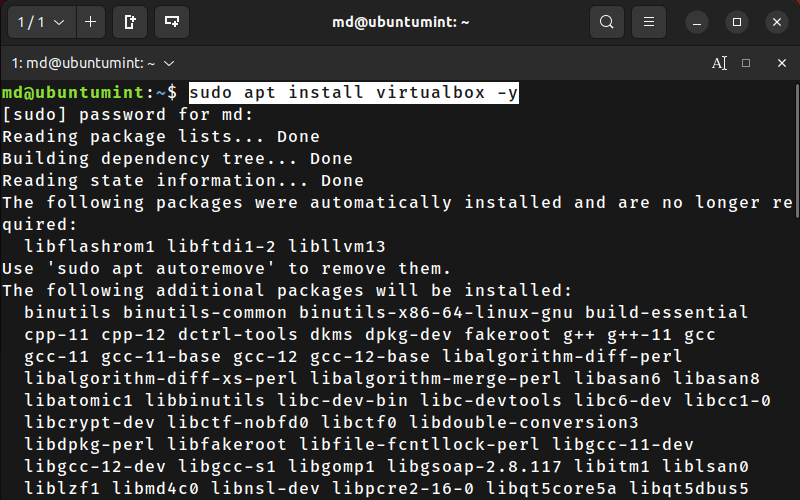
After updating the system repositories, run the command below to install the Virtualbox on Ubuntu.
$ sudo apt install virtualbox -y
Once you have completed the installation process for VirtualBox, you can install the extension pack to access additional features, such as USB installation and remote control.
$ sudo apt install virtualbox-ext-pack -y

After the completion of this process, a license window will appear. You need to scroll down to read the license, then use the arrow keys to select “OK” and press “Enter” to accept.
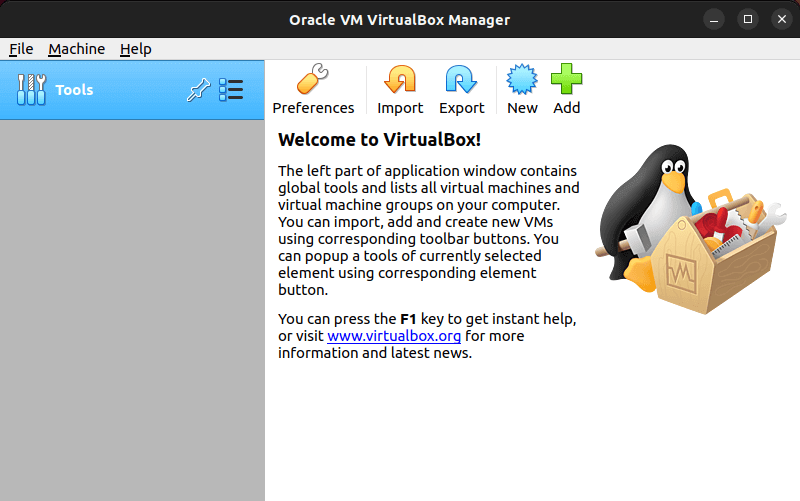
The VirtualBox is now installed on your Ubuntu system. You can use it by searching for the VirtualBox in your applications.
Create Windows VM on Ubuntu
In this next step, let’s set up a Windows Virtual Machine in the VirtualBox. For that purpose, head to any browser and download the “Windows ISO” file from its official website.
Once the ISO is downloaded, open VirtualBox and the “New” button to create a new VM.
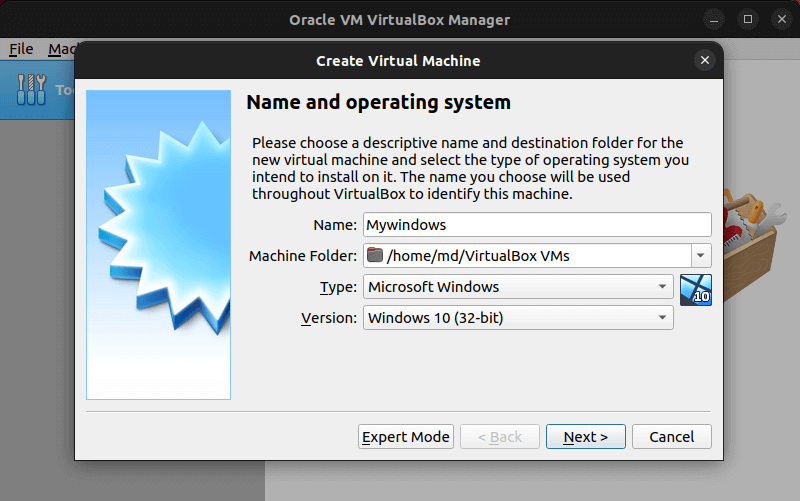
Name your Virtual Machine and select its type as “Microsoft Windows”. Also, select the version according to the ISO that you have downloaded. Finally, press the “Next” button to move forward in the configuration wizard.
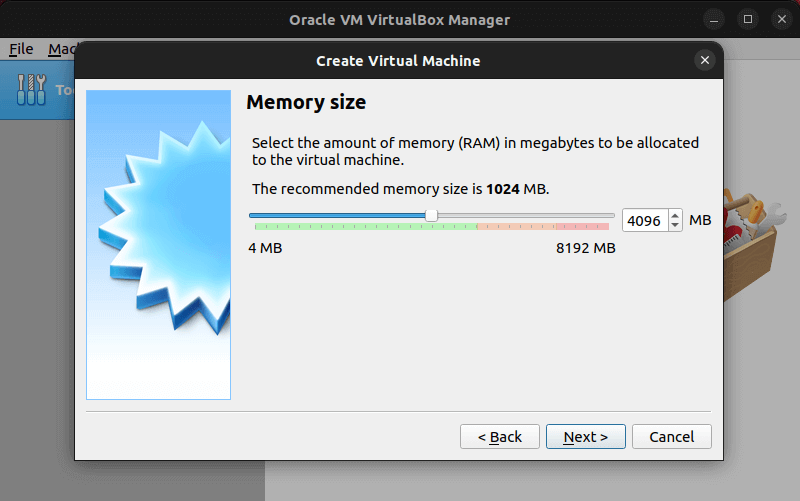
Select the amount of memory size (recommended is 4GB) and click “Next”.
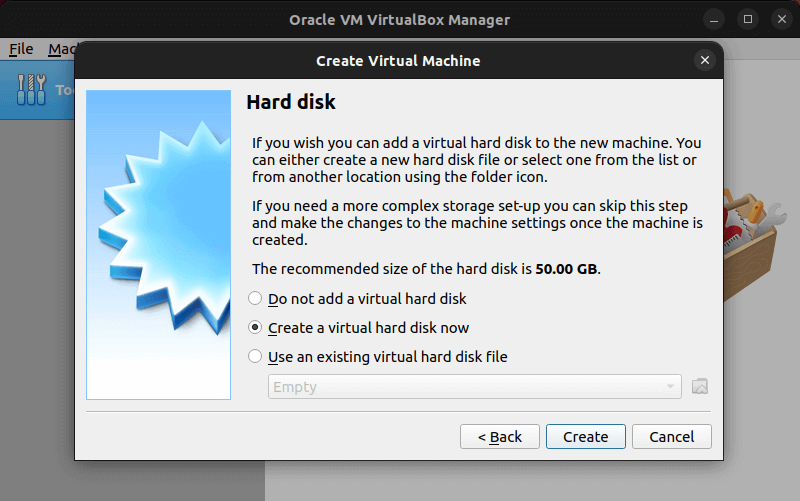
Next, select “Create a virtual hard drive” and click the “Create” button.
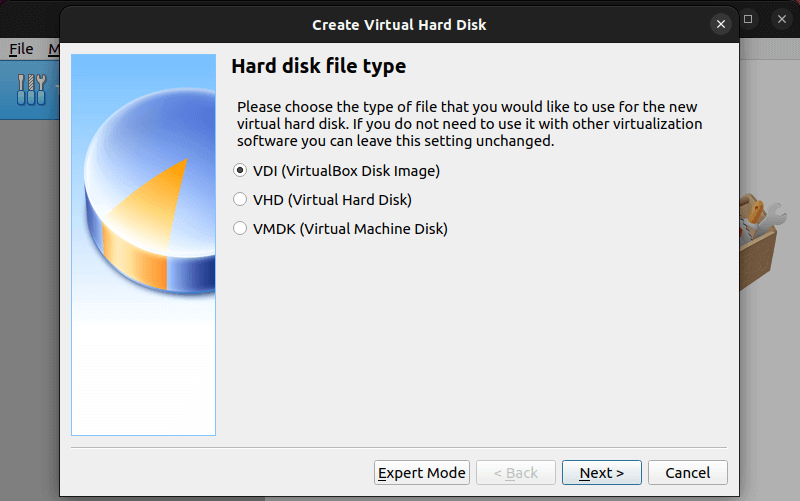
Select the type of hard disk as “VDI” and press the “Next” button.
After it, select the “Dynamically Allocated” option and click on Next.

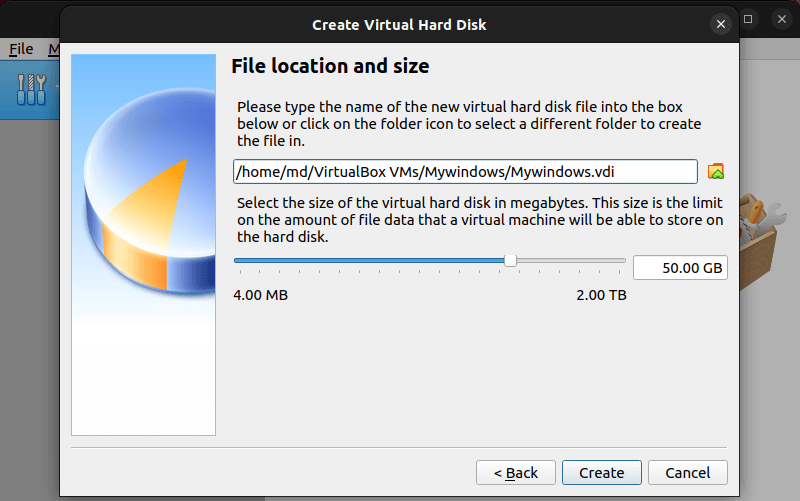
Moving forward, allocate the hard drive space and press the “Create” button. For Windows VM, it is recommended to allocate/assign a minimum of 50GB of storage.
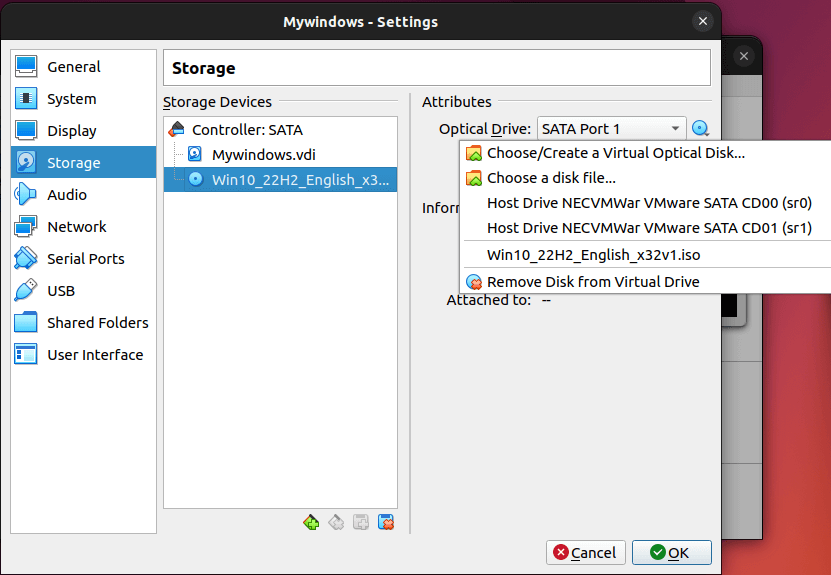
Your VM template is now configured. Moving on, it’s time to mount the ISO file. For this purpose, open Settings and navigate to the “Storage” tab.
Then, open the drop-down list by pressing the CD icon located next to the “Optical Drive” option. Once the list opens, select the “Choose a disk file” option, browse, and open your “ISO” file. Afterwards, select “OK” to save the settings.
You are now ready to launch your virtual machine and install Windows by following the Windows Installer. After successfully installing Windows on your VirtualBox, power on the virtual machine.
Install Bluestacks on Windows VM
Inside your Windows VM, open the browser, download the latest version of Bluestacks and install it.
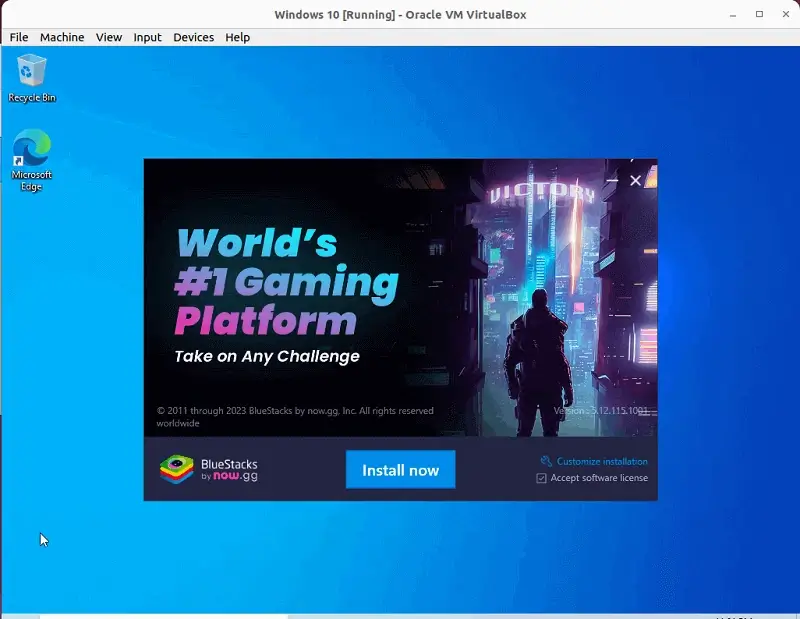
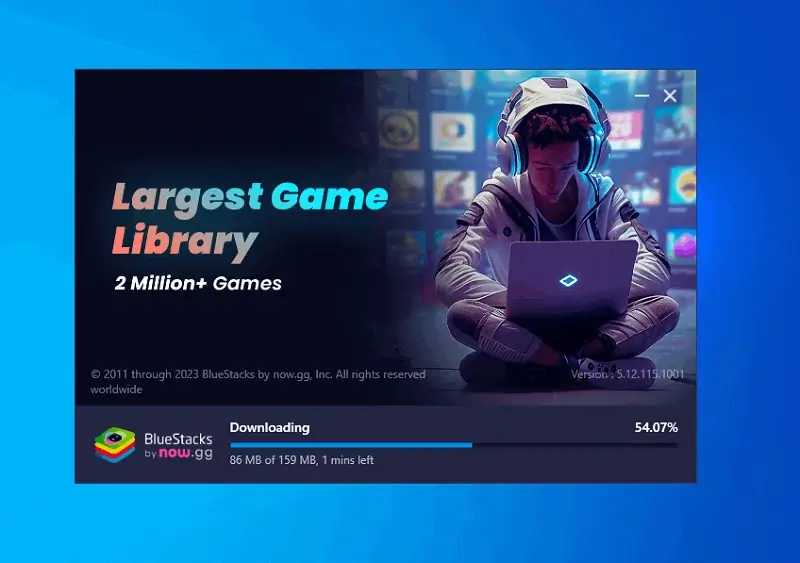
Wait until all the necessary files are downloaded and installed.
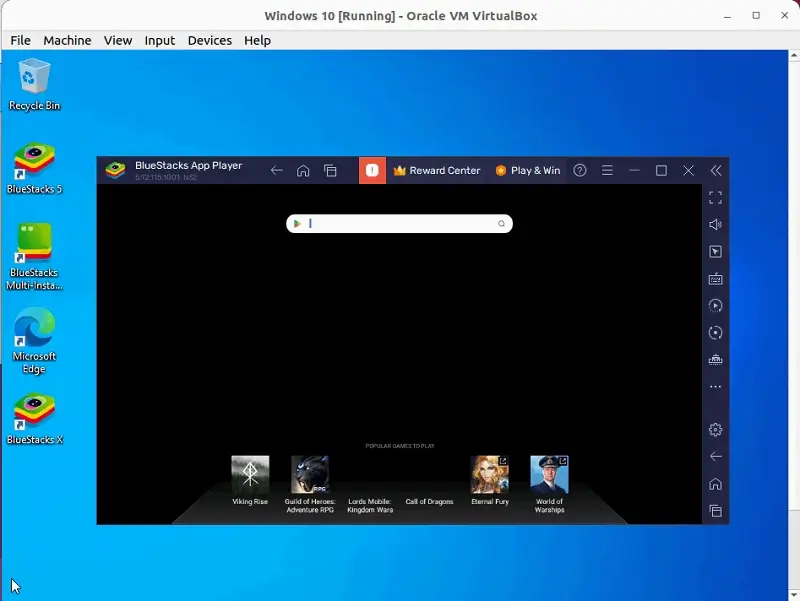
Once it completes, you can use the Bluestacks on the Windows machine located inside your Ubuntu.
However, this approach might appear time-consuming and resource-intensive to many users. If you are one of them, don’t be disheartened, we have another method of getting Bluestacks up and running on your Ubuntu.
Method 2: Install Bluestack On Ubuntu Using Wine
Wine is a popular tool that enables the use of Windows-based applications on Linux systems. It maintains a repository of Windows applications compatible with Wine, categorizing them based on their performance and features.
Check Ubuntu Architecture
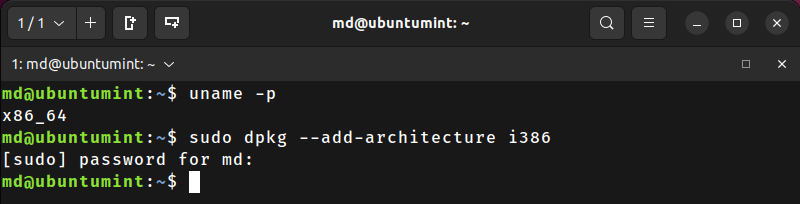
To check the system’s architecture of your Ubuntu, use the uname command.
$ uname -p
If your system architecture is “X84_64 (32bit)”, then you can continue to the next step. But if your system is X64, then execute the following command to enable 32-bit system architecture.
$ sudo dpkg --add-architecture i386
Install Wine on Ubuntu
In order to install Wine, you’ll need to download and add its public key to establish a secure connection with the Wine Library.
$ wget -nc https://dl.winehq.org/wine-builds/winehq.key
$ sudo apt-key add winehq.key
Next, you need to add Wine’s repository by utilizing the command mentioned below.
$ sudo apt-add-repository 'deb https://dl.winehq.org/wine-builds/ubuntu/ jammy main'
You are ready to install Wine on your Ubuntu System by executing this command:
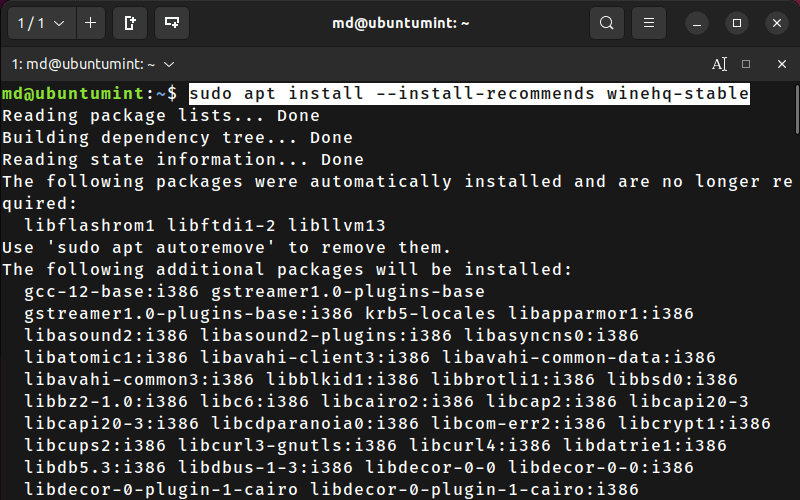
$ sudo apt install --install-recommends winehq-stable
The above command will install the stable version of Wine. However, if you need to install the latest release of the development version, you can use this command instead:
$ sudo apt install --install-recommends winehq-devel
After the successful installation of Wine, now you can configure it so it can be used.
$ winecfg

Once you press enter, a pop-up window will appear, prompting you to install the Mono installer. Proceed with the installation. Afterward, another pop-up will appear, asking you to install the Gecko installer. Once both of these installations are complete, your Wine will be configured and ready for use.
Install Bluestacks on Ubuntu
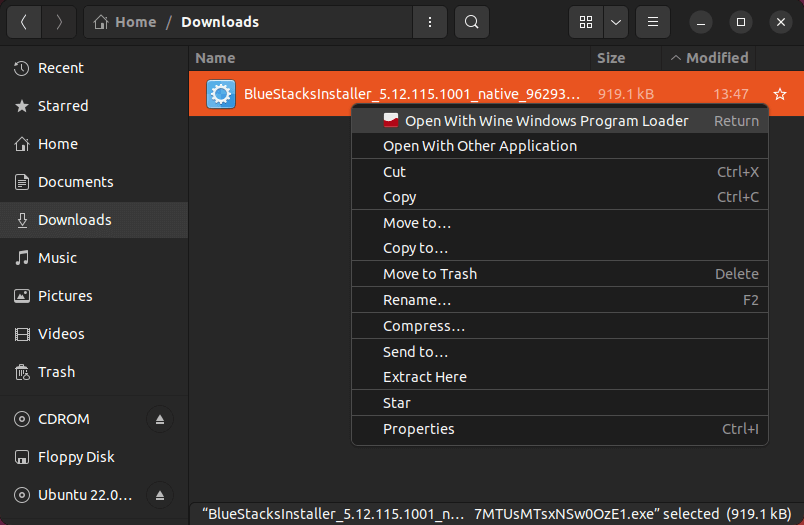
To install Bluestacks using Wine, you need to download the Bluestacks installation file.
Once you have the installation file, right-click on it and choose “Open it with another program”. From the list, select “Wine Windows program loader”, and run the file.
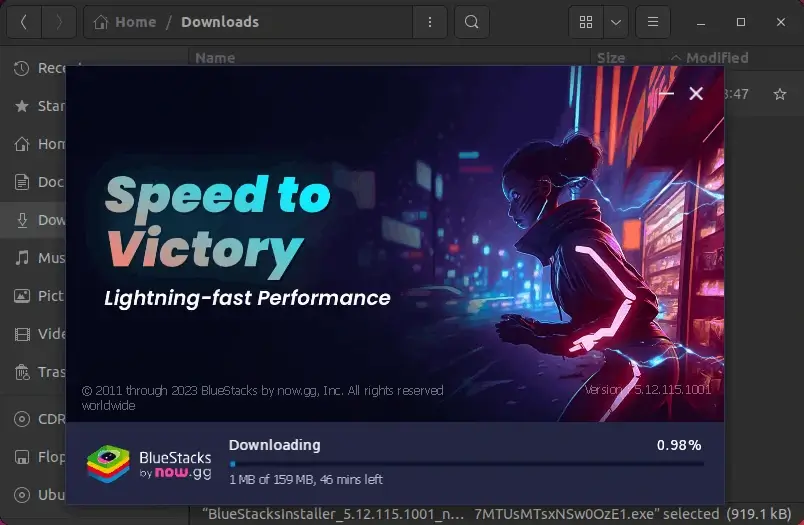
Wine will automatically begin the installation process, therefore wait for it to complete.
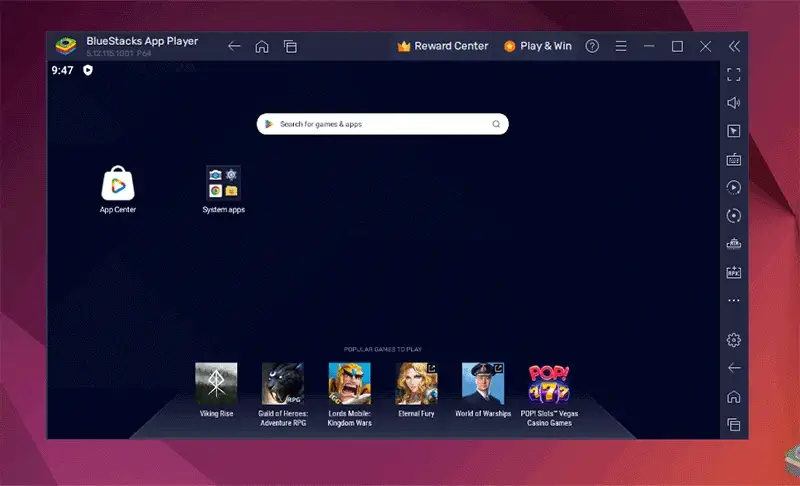
After that, you can locate BlueStacks in applications and run it by simply double-clicking it.
Conclusion
BlueStacks is a prominent Android emulator that lacks native Linux support. However, Linux users can still enjoy its benefits by employing the methods mentioned in the above guide.
Whether through the Windows virtual machine approach or the Wine installation method, Ubuntu users can successfully access and utilize BlueStacks for their Android emulation needs.
How did you install Bluestacks on Ubuntu using Wine?
Is there a complete video tutorial for it?
My installation gets stuck after downloading and shows an ERROR_UNHANDLED_EXCEPTION.
Can you help me?
@Alizaincodes,
Try reinstalling Wine and make sure all dependencies are installed. Bluestacks isn’t officially supported on Linux, so you might encounter issues.
Check WineHQ for solutions.
Neither of these methods will get you up and running with Bluestacks.
@Gnu,
The instructions provided here will guide you in successfully setting up and running Bluestacks. If you encounter any challenges during the installation or setup process for Bluestacks, I’m here to provide further assistance and support.
Could you please provide more details about the issues you’re encountering?
Perhaps if you provided a video walk-through of your Wine setup?
@Gnu,
I’m unable to provide video content, but I can certainly help you with installation instructions on setting up Wine. If you’re interested in setting up Wine, please let me know, and I’ll be happy to assist you!
The command “sudo dpkg –add-architecture i386” will not work because support for i386 was removed with 2.0+ update.
i tried the 2nd method but it didn’t work
and also can you share a screenshot of running free fire or other games ?