A web server is essential in the completion phases of a web application project. It lets users simulate, monitor, and assess the performance of their web application projects in a real-world environment. The choice and performance of such web servers sometimes depend on the main programming language used to create the project.
Apache Tomcat is a fused implementation of Jakarta Expression Language, Jakarta Servlet, and WebSocket technologies. It is an ideal HTTP web server environment for pure Java coders. The Apache Software Foundation is responsible for Apache Tomcat’s development and maintenance.
This article guide will walk us through the installation of an open-source java-based Apache Tomcat 10 web server on RHEL 9 Linux.
Prerequisites
- Ensure you have root/sudoer user access on the RHEL 9 machine you are using.
- Be comfortable with using the Linux command-line environment.
Step 1: Installing Java in RHEL 9
First, update your RHEL 9 system for optimal performance.
$ sudo yum update -y
Next, install the default available versions of Java 11 or Java 17 (latest long-term support) using the following yum command as shown.
$ sudo yum install java-11-openjdk  [Install Java 11]
OR
$ sudo yum install java-17-openjdk  [Install Java 17]
Next, check on the Java version you have installed on your system.
$ java -version

Step 2: Installing Apache Tomcat in RHEL 9
To install Tomcat, you need the curl utility to download Apache Tomcat and the tar utility, which will help us extract the downloaded and compressed Apache Tomcat file.
# yum install curl tar
Next, you need to create a user who is not a root user to be responsible for installing and running the tomcat systemd service.
$ sudo useradd -r tomcat
Now head over to Apache Tomcat’s main website to download the latest version via the following curl command.
$ curl https://dlcdn.apache.org/tomcat/tomcat-10/v10.0.23/bin/apache-tomcat-10.0.23.tar.gz -o apache-tomcat.tar.gz
Next, use the tar command to extract the downloaded apache-tomcat file.
$ tar -zxvf apache-tomcat.tar.gz
Rename the extracted directory to tomcat10 and move /usr/local directory.
$ mv apache-tomcat-10.0.23 tomcat10
$ sudo mv tomcat10 /usr/local/
Give the tomcat user directory ownership of /usr/local/tomcat10.
$ sudo chown -R tomcat:tomcat /usr/local/tomcat10
The systemd service file makes it possible to start, stop, restart, and enable the Apache Tomcat service. Create the following Apache Tomcat systemd service file.
$ sudo nano /etc/systemd/system/tomcat.service
Populate it with the following highlighted data.
[Unit]
Description=Apache Tomcat Web App Container
Wants=network.target
After=network.target
[Service]
Type=forking
Environment=CATALINA_PID=/usr/local/tomcat10/temp/tomcat.pid
Environment=CATALINA_HOME=/usr/local/tomcat10
Environment='CATALINA_OPTS=-Xms512M -Xmx1G -Djava.net.preferIPv4Stack=true'
Environment='JAVA_OPTS=-Djava.awt.headless=true'
ExecStart=/usr/local/tomcat10/bin/startup.sh
ExecStop=/usr/local/tomcat10/bin/shutdown.sh
SuccessExitStatus=143
User=tomcat
Group=tomcat
UMask=0007
RestartSec=10
Restart=always
[Install]
WantedBy=multi-user.target
For some reason, SELinux may prevent Apache Tomcat from running. If that is the case, you can disable it with the following commands:
$ sudo setenforce 0
$ sudo sed -i 's/ELINUX=enforcing/ELINUX=disabled/g' /etc/selinux/config
Reload system daemon.
$ sudo systemctl daemon-reload
Finally, start Apache Tomcat and check on its running status.
$ sudo systemctl start tomcat
$ sudo systemctl status tomcat
You may enable tomcat to auto-start at system boot time.
$ sudo systemctl enable tomcat
Your system firewall should also allow port 8080 used by Apache Tomcat.
$ sudo firewall-cmd --permanent --add-port=8080/tcp
$ sudo firewall-cmd --reload
Step 3: Configuring Apache Tomcat Web UI Access
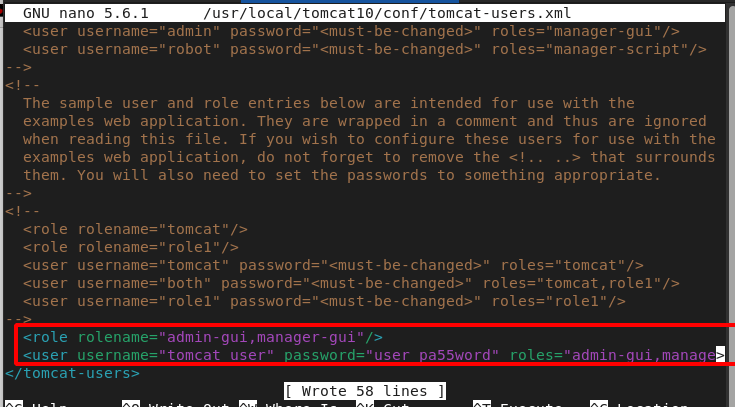
The file tomcat-users.xml defines manager and admin roles.
$ sudo nano /usr/local/tomcat10/conf/tomcat-users.xml
We can set their associated Web UI access credentials inside this file.
<role rolename="admin-gui,manager-gui"/>
<user username="tomcat_user" password="user_pa55word" roles="admin-gui,manager-gui"/>
The Apache Tomcat Web UI can be accessed via port 8080.
http://ip-addr:8080
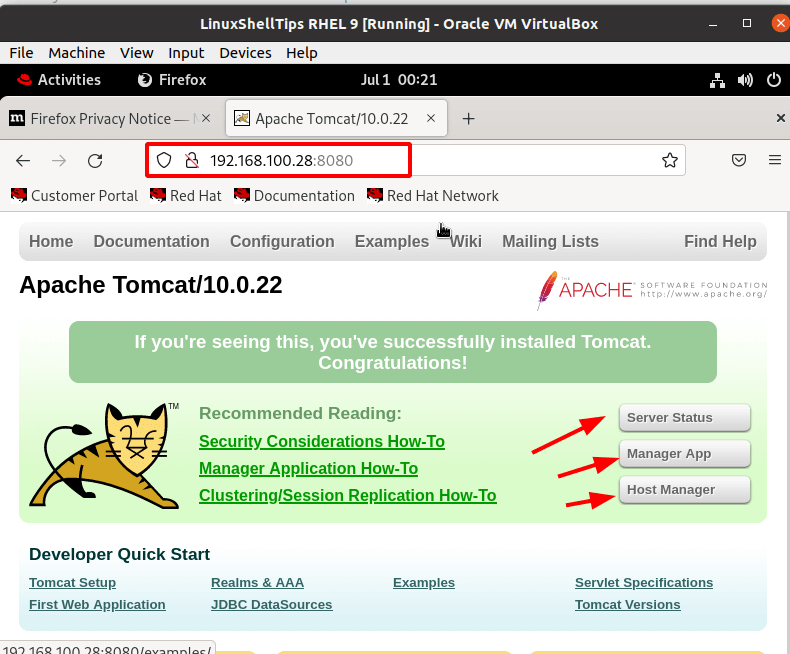
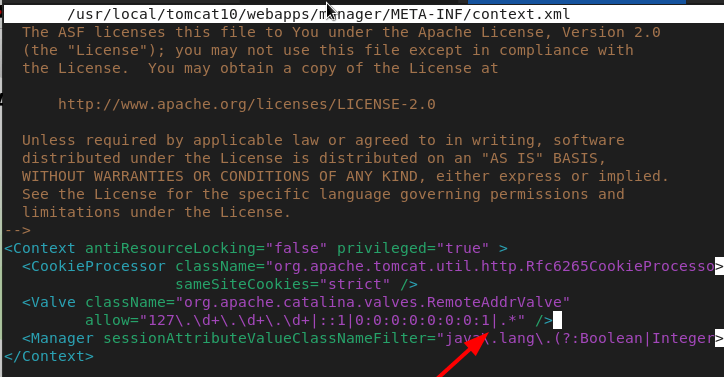
To access Server Status, Manager App, and Host Manager, you will need to allow Web Manager Access in the following file.
$ sudo nano /usr/local/tomcat10/webapps/manager/META-INF/context.xml
All users’ access edit will look like this:
allow="127\.\d+\.\d+\.\d+|::1|0:0:0:0:0:0:0:1|.*" />
Specific/organization users’ access e.g 192.168.1.0/24 network, will look like this:
allow="127\.\d+\.\d+\.\d+|::1|0:0:0:0:0:0:0:1|192.168.1.*" />
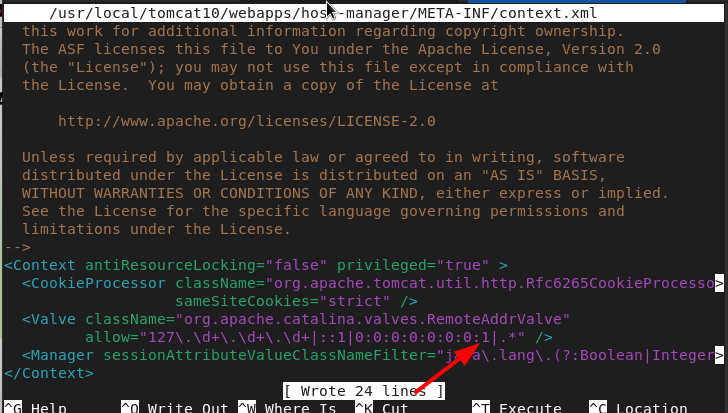
Next, you need to also allow Host Manager Access in the following file.
$ sudo nano /usr/local/tomcat10/webapps/host-manager/META-INF/context.xml
All users’ access edit will look like this:
allow="127\.\d+\.\d+\.\d+|::1|0:0:0:0:0:0:0:1|.*" />
Specific/organization users’ access e.g 192.168.1.0/24 network, will look like this:
allow="127\.\d+\.\d+\.\d+|::1|0:0:0:0:0:0:0:1|192.168.1.*" />
After configuring access, reload the web GUI and access Server Status, Manager App, and Host Manager using the admin and manager credentials created earlier.
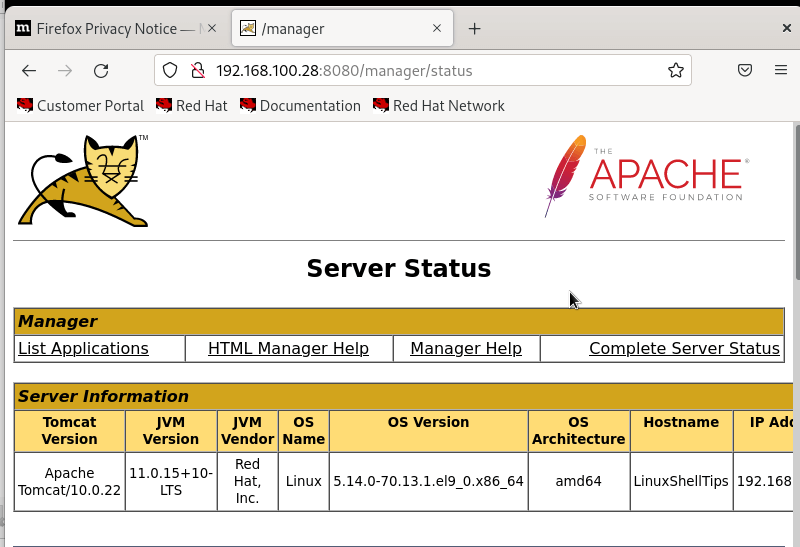
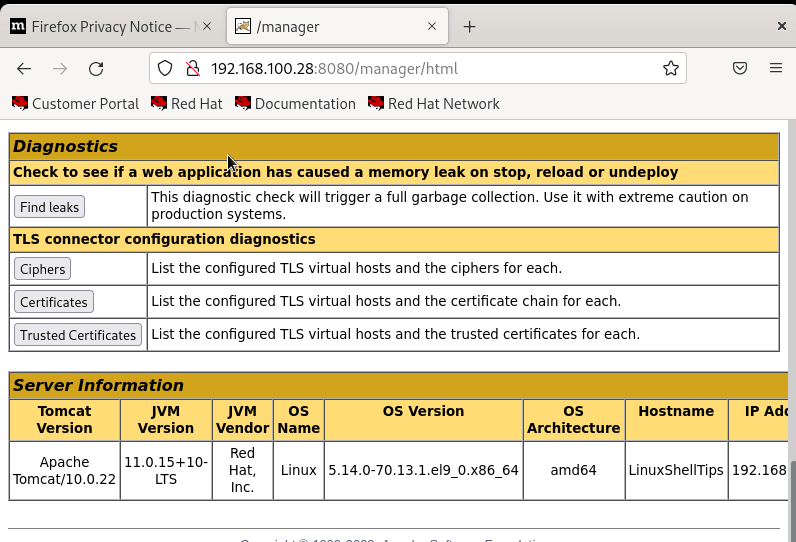
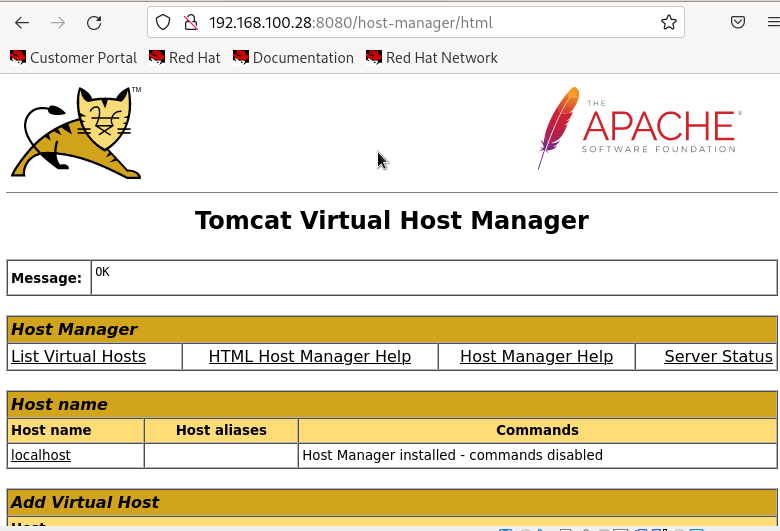
With Apache Tomcat successfully installed and configured on your RHEL 9 system, you can now put your Java web application projects to the test.

Hi,
Thanks for this great article, I successfully installed Apache Tomcat on my RHEL 9 system without any errors…
Hi, disabling selinux in rhel 9 (or any other RHEL version for that matter) is a big NONO, security-wise. There are much better methods to allow tomcat to run under rhel 9 with selinux enabled!
@Rick,
I completely agree with you, disabling SELinux is not a solution. Here are the commands to configure SELinux for Apache to access Tomcat.