The Apache HTTP Server (commonly referred to simply as Apache), is a free and open-source web server software brought to you by the Apache Software Foundation. Apache has been around for more than 2 decades and is considered beginner-friendly.
In this tutorial, you will learn how to install an Apache webserver to host a simple HTML website running on a Linux platform.
Install Apache Web Server in Linux
On Ubuntu Linux and other Debian-based distributions such as Linux Mint, Apache can be installed with the following command.
$ sudo apt install apache2 -y
On Red Hat Enterprise Linux and related distributions such as CentOS, Fedora, and Oracle Linux, Apache can be installed with the following command.
$ sudo dnf install httpd -y
On Ubuntu Linux and other Debian-based distributions, you can start and check the status of the Apache webserver by running the commands below.
$ sudo systemctl start apache2
$ sudo systemctl status apache2
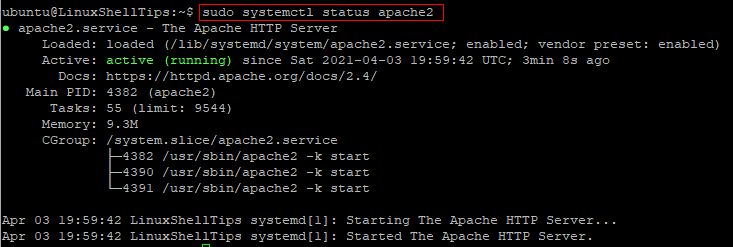
On Red Hat Enterprise Linux and related distributions, run the following commands to start and check the status of Apache.
$ sudo systemctl start httpd
$ sudo systemctl status httpd
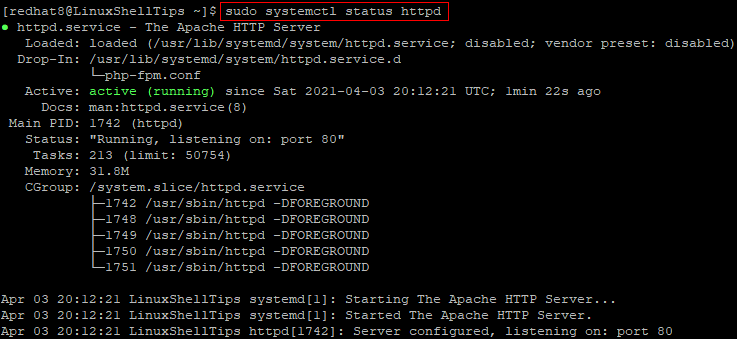
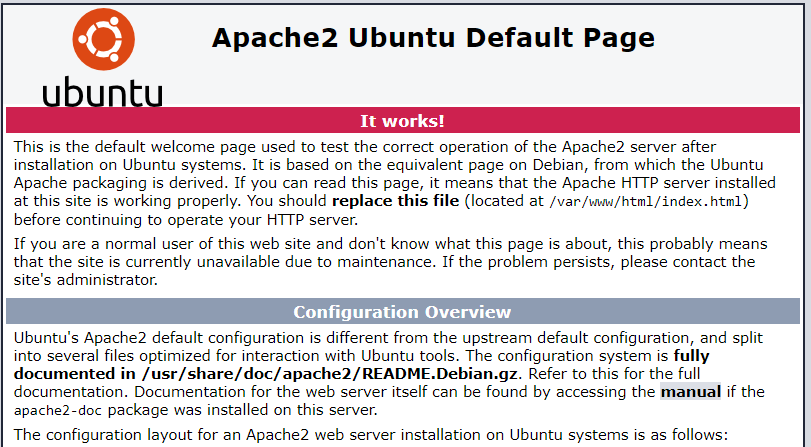
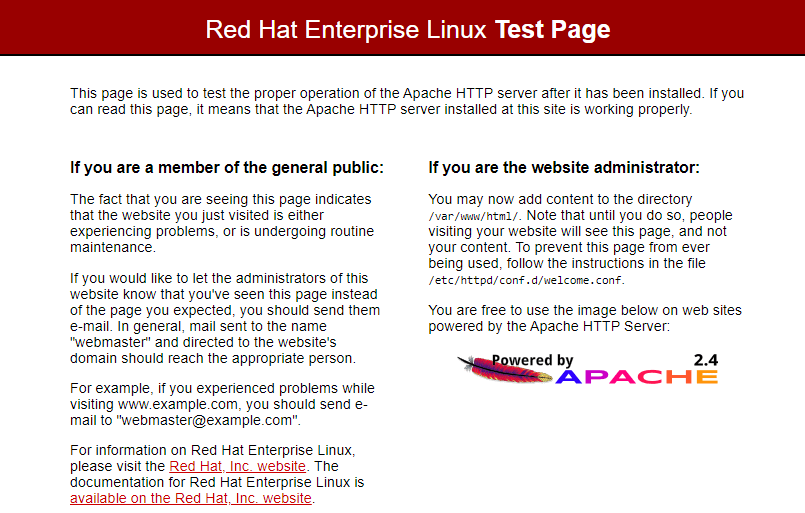
Once you have confirmed that Apache is active, open a web browser and enter the IP address of your Linux server. You may also enter localhost in place of your server IP.
You should see a test page that confirms that Apache is up and running properly.
http://IP-Addresss
OR
http://localhost
Host a Simple HTML Website on Apache
After you have confirmed that Apache is working properly, you are now ready to add your website content. On Apache, the default location where publicly accessible web content is stored in /var/www/html. This is commonly referred to as the website root.
The first page that is loaded when users visit your website is called the index page. Let us create one as follows.
Firstly, change into the website root with the command below.
$ cd var/www/html
On Ubuntu Linux, run the command below to rename the default index page file.
$ sudo mv index.html index.html.bk
On Red Hat, there is nothing to rename here as the default index page file is not stored in this location.
Next, create a new index file with:
$ sudo nano index.html
Copy and paste the sample HTML code below into the open text editor.
<!DOCTYPE html>
<html>

<head>
<title>Welcome to My Website!</title>
<meta charset="UTF-8">
</head>

<body>
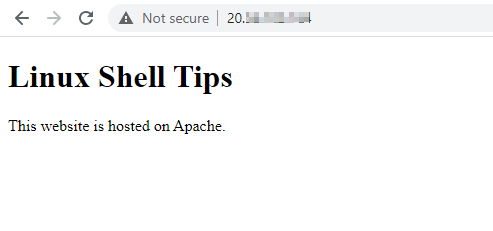
<h1>Linux Shell Tips</h1>
<p>This website is hosted on Apache.</p>
</body>

</html>
Save and close the index.html file.
Now, go back to your web browser and refresh the page. You should see your new website as shown in the image below.
Manage Apache Web Server in Linux
As we wrap up this tutorial, let us highlight some basic commands for managing Apache in addition to the ones that we have already used. As you may have noticed, the Apache web service is referred to as apache2 on Ubuntu while it is called httpd on Red Hat Linux.
To configure Apache to automatically start when the Linux server is rebooted, run:
$ sudo systemctl enable apache2
$ sudo systemctl enable httpd
To disable automatic starting of Apache when the Linux server is rebooted, run:
$ sudo systemctl disable apache2
$ sudo systemctl disable httpd
To restart Apache, run:
$ sudo systemctl restart apache2
$ sudo systemctl restart httpd
To stop Apache, run:
$ sudo systemctl stop apache2
$ sudo systemctl stop httpd
Conclusion
In this tutorial, we have described how to install Apache on Ubuntu Linux as well as Red Hat Linux. We also showed you how to replace the default Apache web page with your own content.

How will you load the 2nd website because the 1st one is automatically loaded with the IP but how to load the second one?
@Noman,
You need to create a virtualhost for the second website as shown in this article – https://www.ubuntumint.com/install-apache-almalinux/