Installing a fresh operating system on VirtualBox is easy and can be done in a short time. After that, there are so many steps like installing packages, hardening the OS, updating drivers, configuring development environments, etc.. have to be done.
This is ok if you have just one virtual machine to work with. What if you need to repeat the same procedure for 5, 10, or 15 more virtual machines? Do you think it is easy to set up everything manually for all the virtual machines? It is a time-consuming task, right? This is where the cloning process comes into play.
[ You might also like: How to Create and Restore VM Snapshots in VirtualBox ]
Cloning is a process where your disk images from one machine will be copied to spin up a new Guest VM.
Types of Cloning in VirtualBox
There are two types of cloning in VirtualBox.
- Full Clone – In this mode, your existing disk image will be copied to a new location and a clone will be created. Your new disk will not be dependent on the source disk from where it is cloned from.
- Linked Clone – In this mode, a differential image is created and the parent disk will be your source image disk. If you remove the parent disk then cloned machine will not work.
Note: The time of cloning a virtual machine relies on the size and the number of connected disk images.
Cloning a VirtualBox Virtual Machine
Creating a clone is a very simple process. Open VirtualBox Manager, choose the virtual machine to be cloned and right-click on the VM, and choose option clone. The cloning option will be disabled if VM is in a running state so make sure VM is turned off.
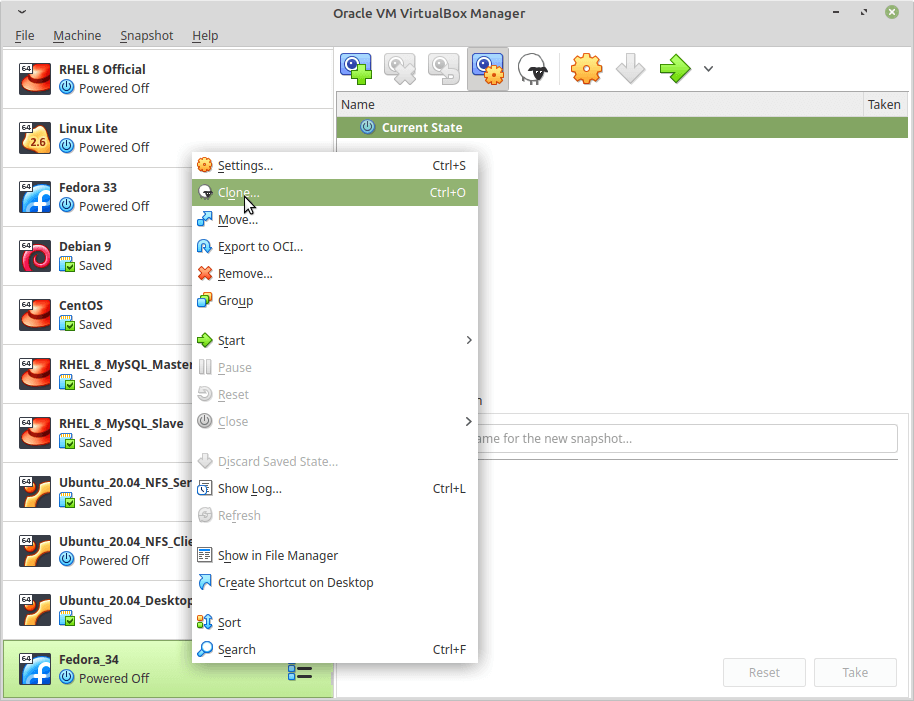
Once you initiate the clone, click on ‘Expert Mode‘ and there are few parameters we have to configure. Initially, we will do a full clone.
- Name: Name of your VM.
- Path: Storage location for your VM.
- Clone type: Full Clone.
- Snapshots: There are two snapshot options that specify whether to take a snapshot of the current machine state or everything. I don’t have any snapshot configured so I am choosing “Current Machine State“.
- MAC Address Policy: when cloning you have the option to stick with the same MAC address or create a new one for your network interface. It is advisable to create a new one.
- Keep Disk Names, Hardware UUIDs: This will retain the same Disk name and hardware UUID during cloning.
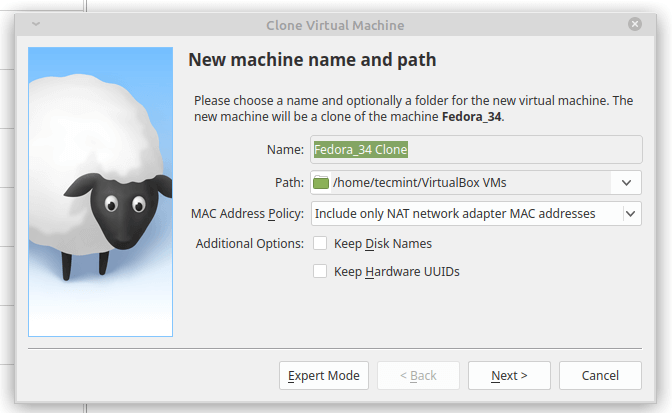
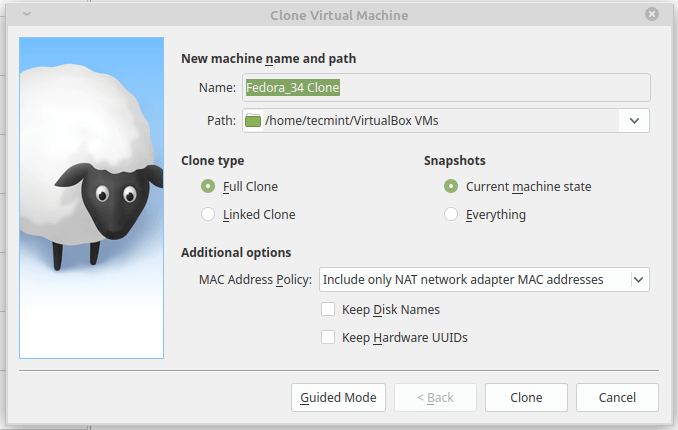
Once you have filled all the necessary parameters and press clone you will see cloning will be started.
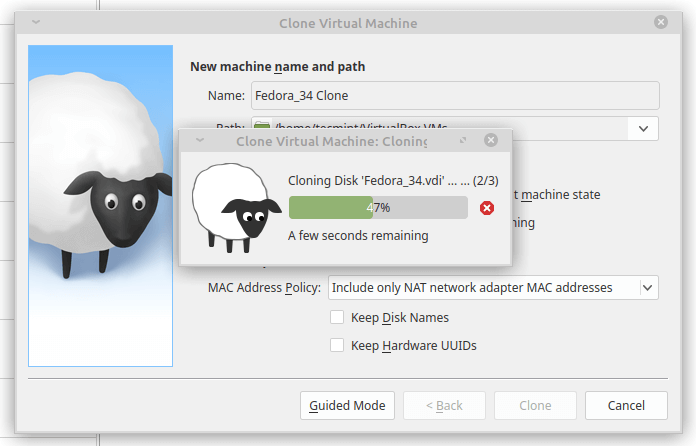
Once the cloning is completed your cloned image will be automatically displayed in the Virtualbox Manager.
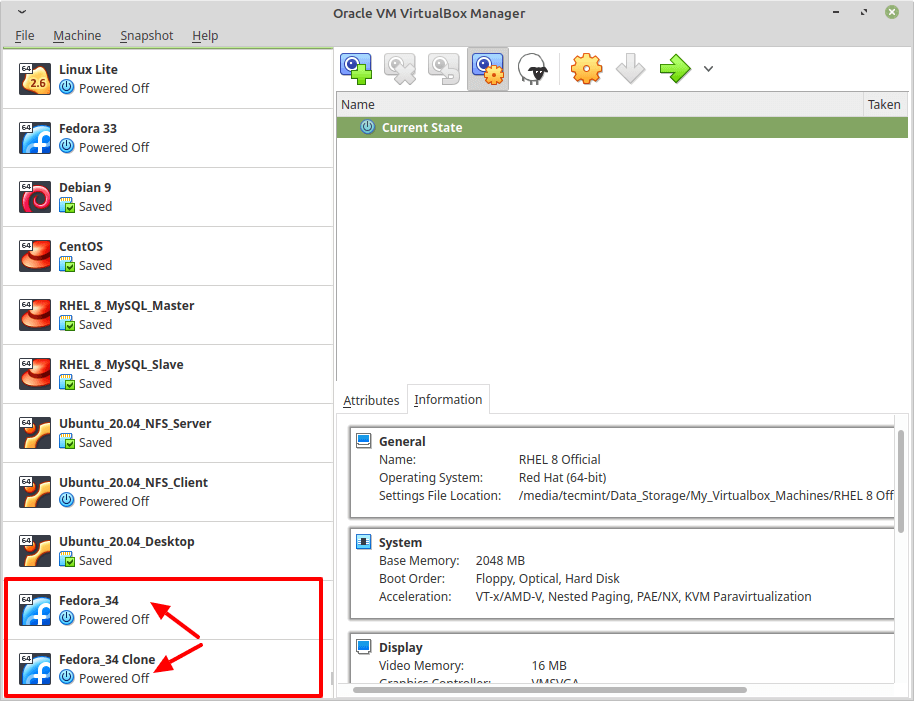
In the next article, we will take a look at Importing and Exporting virtual machines in VirtualBox.

It is not Export Mode. But it is Expert Mode.
@Sambath,
Thanks, corrected the text in the article…