RHEL (Red Hat Enterprise Linux) is famed for its integration of file system administration utilities upon its installation. These utilities make it possible for the Linux file system to retain a healthy performance status.
The Linux file systems get scanned for any performance shortcoming and instantaneously get repaired through the help of toolkits like fsck (file system check). The Linux operating system automates the execution of this file scanning and repairing tool during system boot.
However, it is also possible for an RHEL user to manually invoke a terminal command associated with filesystem check and repair without rebooting the system.
An Important Note of File System Checkers
These file scanning and repairing utilities should not be mistaken for data recovery tools as they are clueless about the data within the filesystem partition they scan and attempt to repair. Their interest in a scanned filesystem is metadata consistency.
When to Implement File System Check and Repair on RHEL
If your continuous OS user experience leads to the following listed outcomes, it is time to consider the prowess of a file system check and repair tool.
- You are having problems booting into your Linux system.
- You are certain or suspicious of corrupt files within a specific filesystem partition.
- Inconsistencies with OS performance lead to file systems being read-only or shutting down.
- Inaccessible file within a filesystem partition.
Also, the effectiveness of filesystem check and repair tools comes at a price. If its usage is not procedural, it can lead to the following consequences:
- Permanent deletion of severely damaged/irreparable directories/inodes.
- Irreversible changes in the file system structure.
Checking a File System in RHEL
RHEL uses XFS (Extends File System) as its default file system. It is a 64 bit Linux journaling file system attributed with high performance, speed, and robustness, especially when dealing with large files.
The xfs_repair utility is useful in performing read-only checks on the RHEL file system. Unlike other filesystem check utilities, xfs_repair is not mandated to execute at boot time.
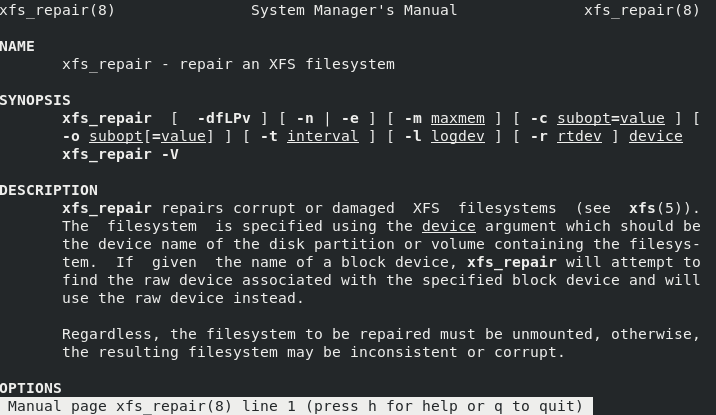
Using xfs_repair filesystem check and repair utility requires that the targeted filesystem partition is unmounted.
1. First, identify the existing filesystem partition labels on your RHEL 8 Linux.
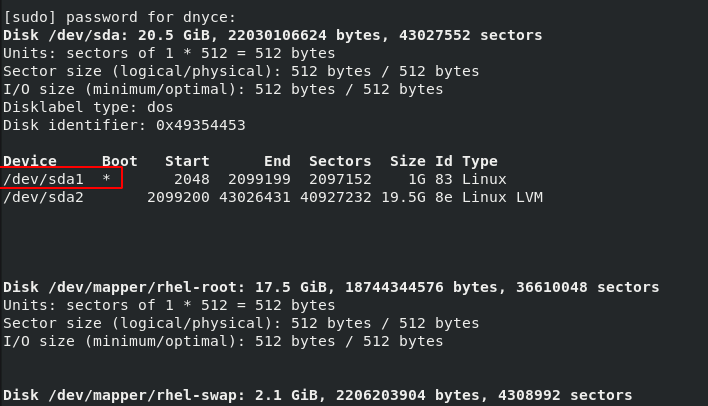
2. Confirm that the targeted partition is not mounted and then unmount it.
$ sudo mount /dev/sda1
$ sudo umount /dev/sda1

3. Run the xfs_repair utility command to scan the filesystem partition for any issues.
$ sudo xfs_repair -n /dev/sda1
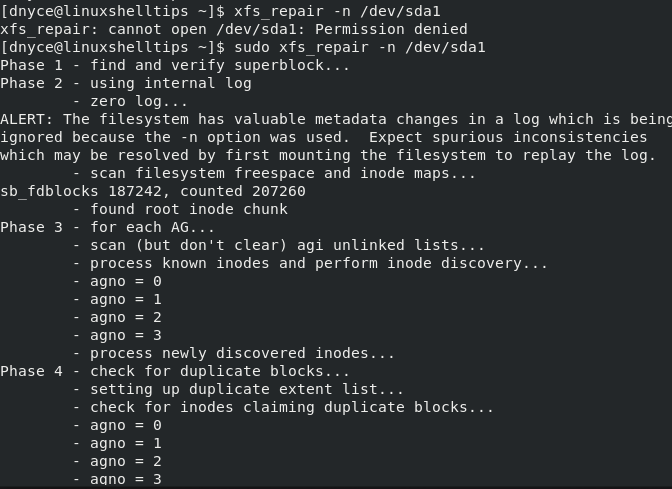
The xfs_repair utility will run several (phase 1 to phase 7) read-only checks on the targeted filesystem partition. After the check is complete you can remount your filesystem partition to be back online.
$ sudo mount /dev/sda1
Repairing a File System in RHEL
If by bad luck the XFS filesystem on your RHEL system turns out to be compromised/corrupted, we can still use the xfs_repair utility to try and fix the issue as explained below.
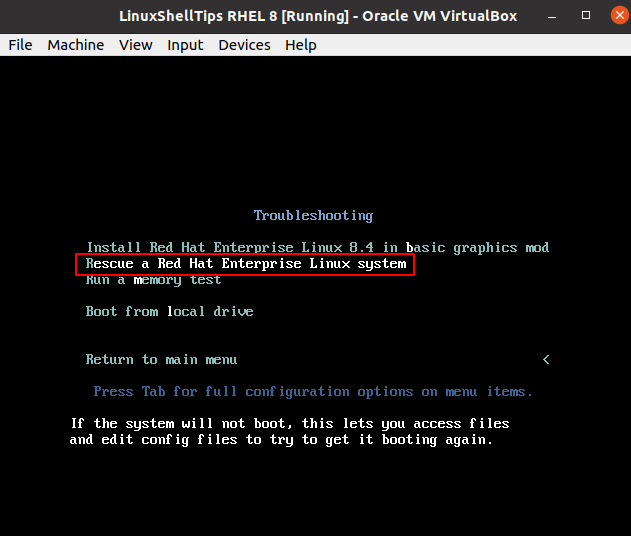
1. First, download RHEL ISO Image and create a bootable USB drive from an RHEL 8 ISO file and boot from it. Choose the Troubleshooting option and hit [Enter] on your keyboard.
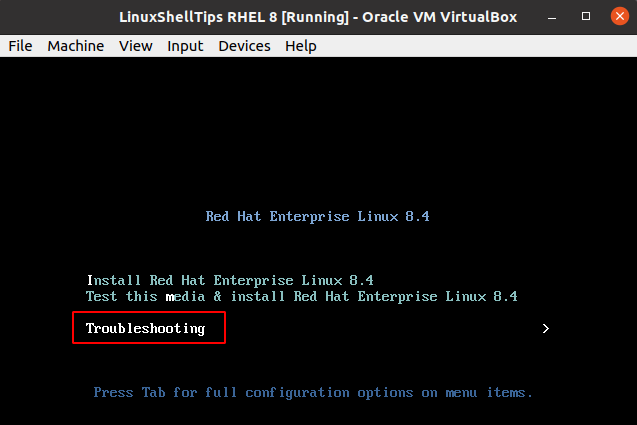
2. Choose Rescue a Red Hat Enterprise Linux system option and hit [Enter] on your keyboard.
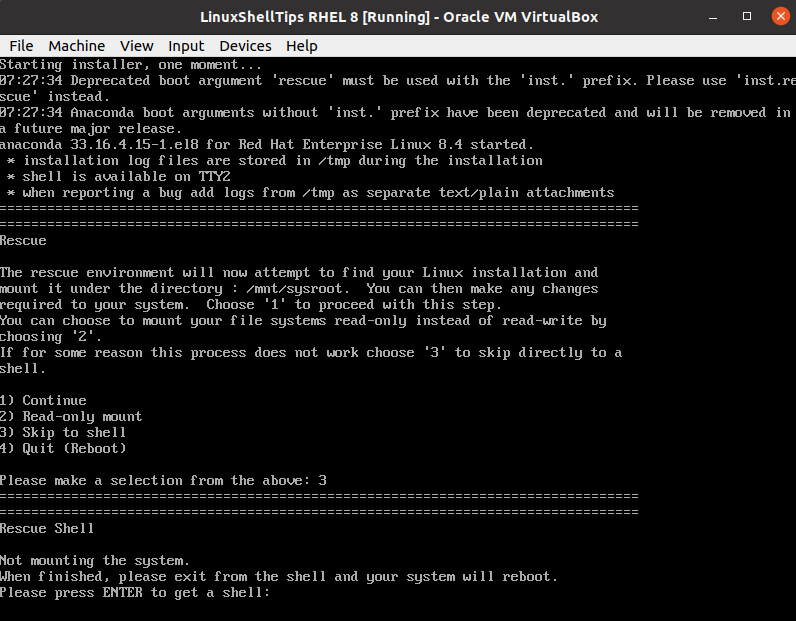
3. Next, key in 3 to Skip to shell and Press [Enter] on your keyboard to activate the shell.
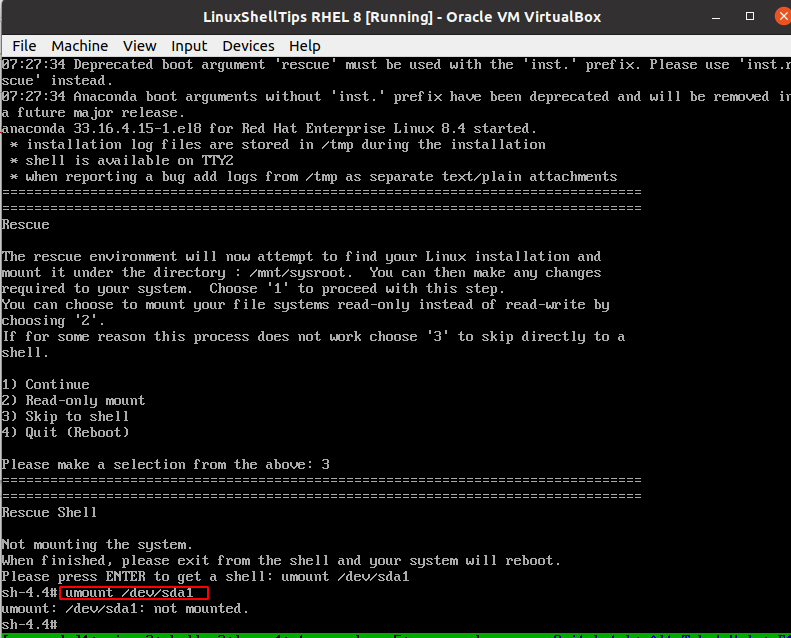
4. Make sure the targeted filesystem is not mounted.
# umount /dev/sda1
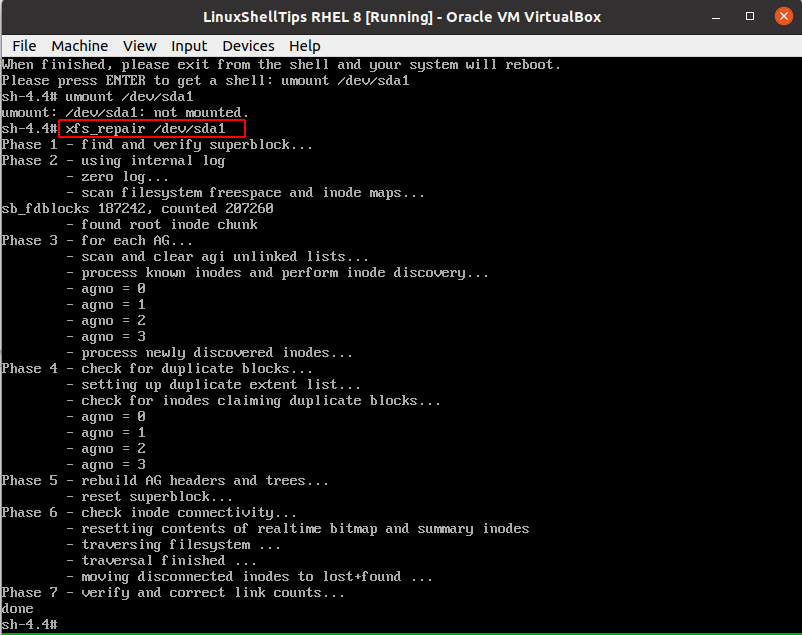
5. Try to repair the unmounted filesystem partition.
# xfs_repair /dev/sda1
6. Once file system repair finishes, exit the RHEL shell.
# exit
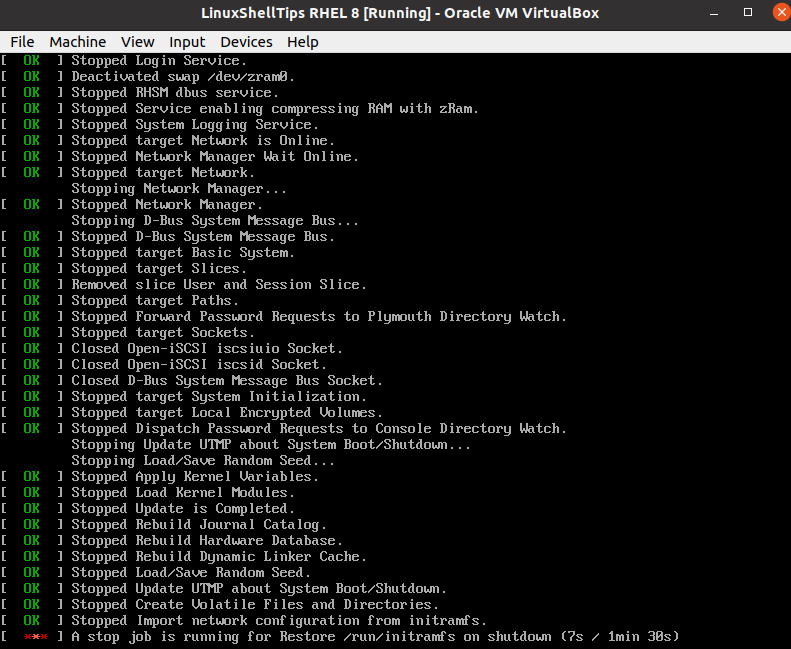
You should now be able to boot back to your normal RHEL 8 installation with the file system fully repaired.
You now know an effective approach to scanning and fixing file system issues on your RHEL 8 operating system. The flexibility of the xfs_repair utility makes it possible to unmount and check your primary filesystem partition before rebooting the OS to repair it.
More on xfs_repair utility can be found on its man page.
$ man xfs_repair
