In Part 1 and Part 2 of this Nagios server article series, we managed to learn how to install Nagios on an Ubuntu server and add a remote Linux host to the Nagios server for easy monitoring of its defined services. Part 3 and the final portion of this article series will walk us through adding a remote Windows host to the Nagios server.
Just like the Linux operating system architecture, the Windows OS also embraces important OS services critical to the performance of your machine. They include memory usage, Disk Usage, and CPU load.
For us to remotely monitor such Windows OS services from an Ubuntu hosted Nagios server, the Windows machine needs to first accommodate the NSClient++ addon, which acts as a Windows-to-Nagios proxy, making it possible for Nagios and Windows to communicate via the check_nt plugin originating from the Nagios Monitoring Server.
The summary of steps needed to remotely add and monitor Windows host via Nagios server include the following:
- NSClient++ addon installation on the Windows host.
- Adding Windows host monitoring configurations to Nagios server.
- Adding Windows host and service definitions to Nagios server.
- Restarting/reloading Nagios service daemon.
Installing NSClient++ Agent on Windows Host
From your Windows host machine, visit the NSClient download page to retrieve a stable copy of the NSClient++ agent application.
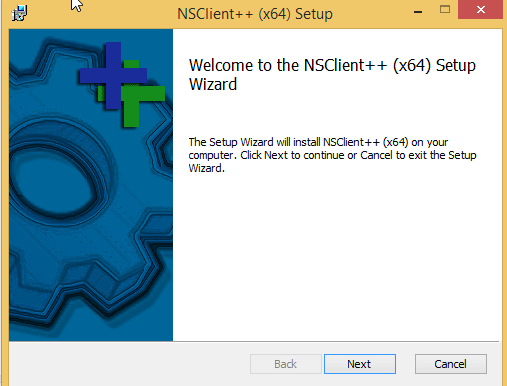
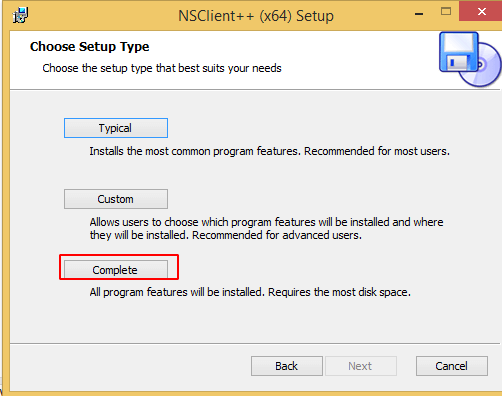
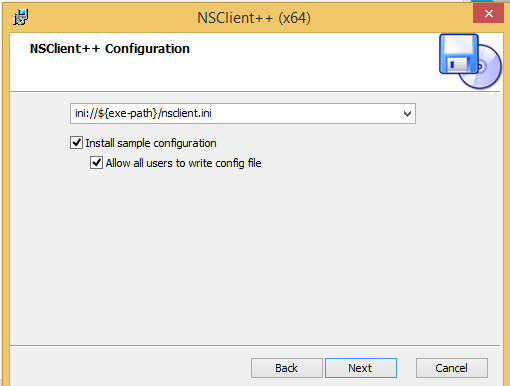
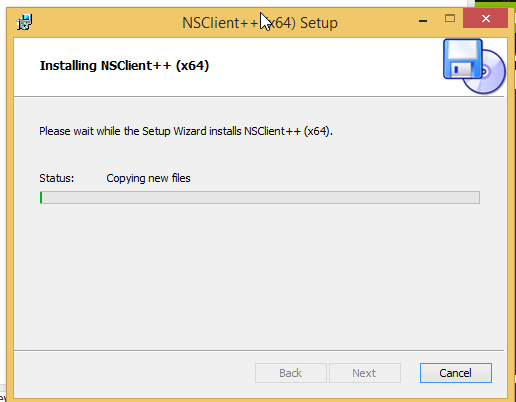
Next, run the msi installer to launch its installation wizard and follow the installation prompts to set up the required installation configuration.
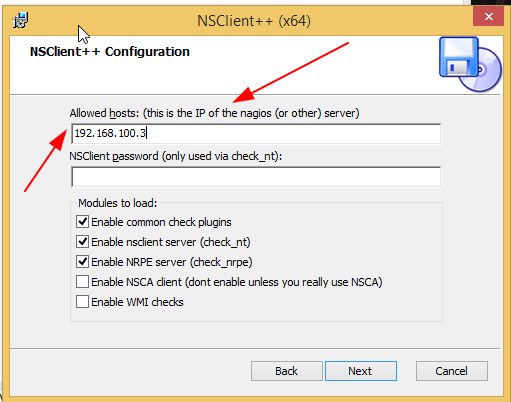
Include the IP address of your Ubuntu Nagios server.
The installation process should take less than a minute to complete.
Adding Windows Host to Nagios Ubuntu Server
Switch back to Ubuntu’s Nagios server and open windows.cfg configuration file.
$ sudo nano /usr/local/nagios/etc/objects/windows.cfg
Create the following host definition entry and make sure to customize host_name and alias values. Also, the address value should point to the IP address of your Windows host.
define host{
        use             windows-server
        host_name       LinuxShellTips_winserver
        alias           LinuxShellTips Windows Server
        address         192.168.100.7    ; IP address of Windows host
        }
You will also find some already-enabled services that will be monitored by the Ubuntu Nagios server. You are however free to add more. The host_name portion of these service definitions should match the host_name portion of the host you defined.
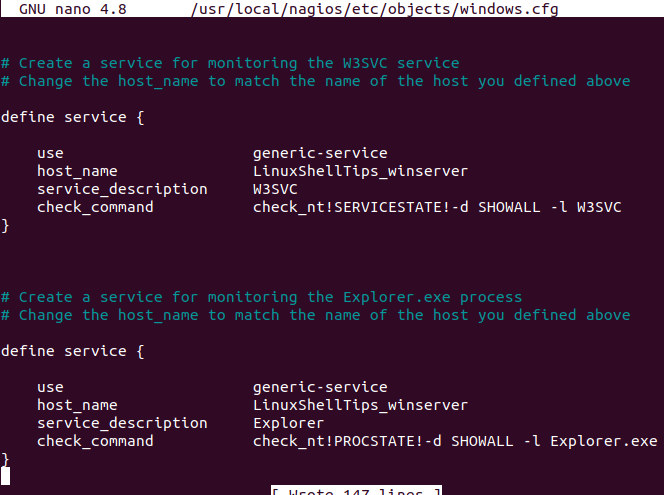
After you are done, save and close the file.
Open nagios.cfg main configuration file.
$ sudo nano /usr/local/nagios/etc/nagios.cfg
Trace and uncomment windows.cfg file as demonstrated below. This move enables the Windows machine and its associated services to be monitored from the Nagios server.

Save and close the file.
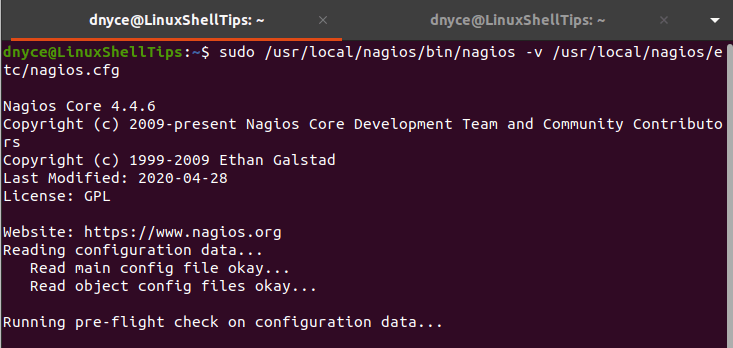
Make sure your Nagios configurations do not have errors.
$ sudo /usr/local/nagios/bin/nagios -v /usr/local/nagios/etc/nagios.cfg
Finally, restart the Nagios service.
$ sudo service nagios restart
Refresh your Nagios Monitoring Web Interface. The remote Windows host should be included for monitoring all defined system services.

As for the services being monitored and defined by the file /usr/local/nagios/etc/objects/windows.cfg, their representation is also evident as depicted below.

With this final portion of the three-part Nagios article series, we have managed to Install the Nagios server on Ubuntu and demonstrated how to add both Linux and Windows host systems for continuous monitoring of their associated services and host status.
