This article assumes that you already have Nagios installed on your Ubuntu system. If not, follow the Part 1 tutorial guide article which is succeeded by this one.
To be sure that your Nagios server is working fine, try to access it from your web browser using the following command syntax:
http://your-server-ip/nagios
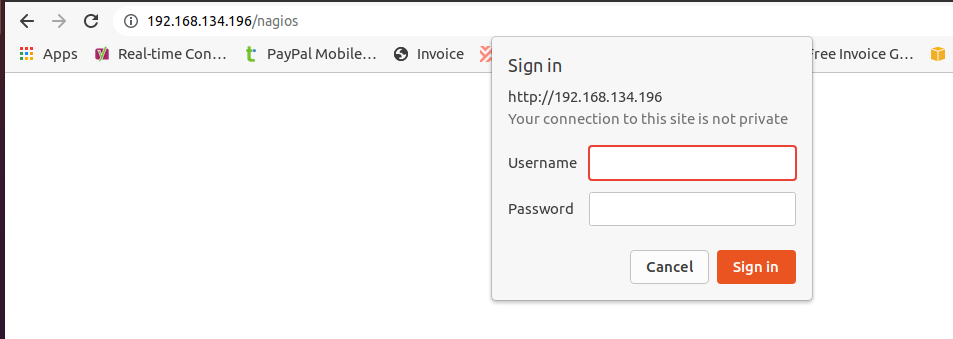
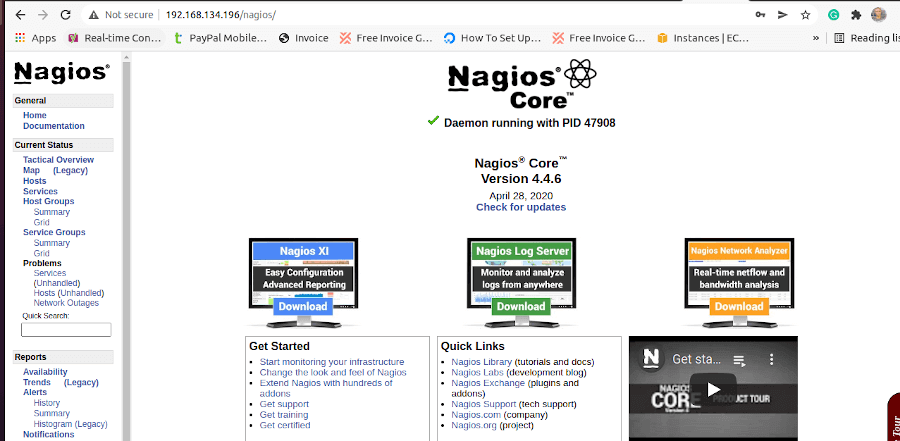
I should be able to log into Nagios with the Admin user credentials we created from the Part 1 article guide.
If we click on the Hosts tab on the right side of the screen, we will be able to unravel some very interesting details.
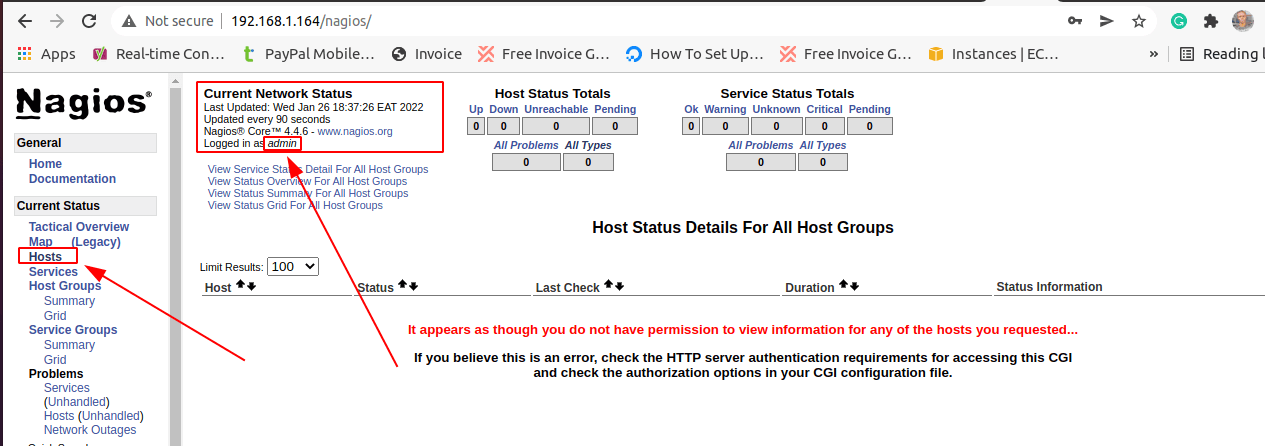
By default, Nagios is currently monitoring the Current Network Status of this localhost machine hosting it. There are no other active hosts on this web interface.
This article guide will walk us through the inclusion of a remote Linux Host to Nagios server so that we can be able to monitor its health and performance status from a Nagios web user interface.
Installing Nagios NRPE in Remote Linux Host
You first need to access your targeted Linux host via SSH as demonstrated below.
$ ssh 192.168.45.130
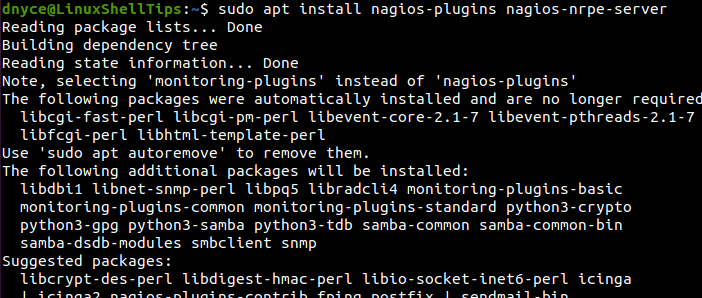
Once you have access to the targeted remote Linux host, consider the installation of nagios-plugin and nagios-nrpe-server packages on the remote Linux system.
Install Nagios NRPE in RHEL Systems
On RHEL-based systems like RHEL 8, AlmaLinux, and Rocky Linux:
$ sudo yum install nagios-plugins nagios-nrpe-server
Install Nagios NRPE in Debian Systems
On Debian-based systems like Ubuntu and Linux Mint:
$ sudo apt install nagios-plugins nagios-nrpe-server
Configuring Nagios NRPE on Remote Linux Host
With the nagios-nrpe-server package installed on the remote Linux host, we can make some configuration changes on the /etc/nagios/nrpe.cfg configuration file.
$ sudo nano /etc/nagios/nrpe.cfg
On this file, trace the line allowed_hosts=127.0.0.1,::1 and change the entry to accommodate the IP address of the Ubuntu system hosting the Nagios server.
allowed_hosts=127.0.0.1,192.168.45.196

Save the file, close it, and restart NRPE.
$ sudo service nagios-nrpe-server restart
Configuring Remote Linux Host on Ubuntu Nagios Server
On your Ubuntu Nagios server, navigate to the following directory.
$ cd /usr/local/nagios/etc/
Inside this directory, create the files hosts.cfg and services.cfg.
$ sudo touch hosts.cfg services.cfg
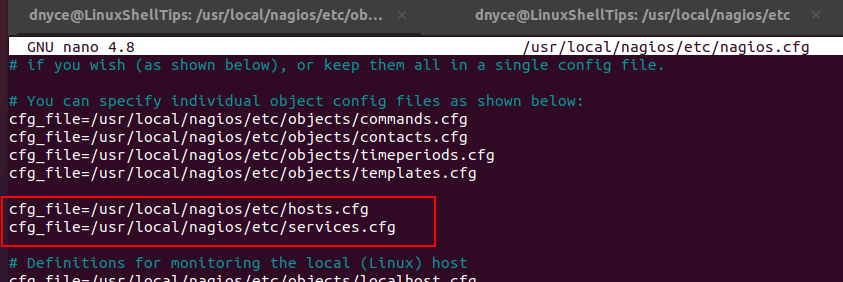
Then add these two files to the main Nagios configuration file so that it needs to recognize the existence of these two new files.
$ sudo nano /usr/local/nagios/etc/nagios.cfg
Add the two lines as demonstrated above:
cfg_file=/usr/local/nagios/etc/hosts.cfg
cfg_file=/usr/local/nagios/etc/services.cfg
Next, open the hosts.cfg file.
$ sudo nano /usr/local/nagios/etc/hosts.cfg
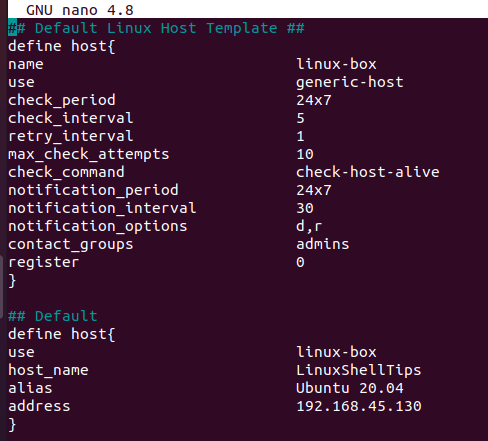
and add the following content to hosts.cfg file as shown. Make sure to modify host_name, alias, and address to match the values of your remote Linux host.
## Default Linux Host Template ##
define host{
name                            linux-box
use                             generic-host
check_period                    24x7
check_interval                  5
retry_interval                  1
max_check_attempts              10
check_command                   check-host-alive
notification_period             24x7
notification_interval           30
notification_options            d,r
contact_groups                  admins
register                        0
}

## Default
define host{
use                          linux-box
host_name                    LinuxShellTips
alias                        Ubuntu 20.04
address                      192.168.45.130          ; Remote Linux host IP address
}
Next, open the services.cfg file.
$ sudo nano /usr/local/nagios/etc/services.cfg
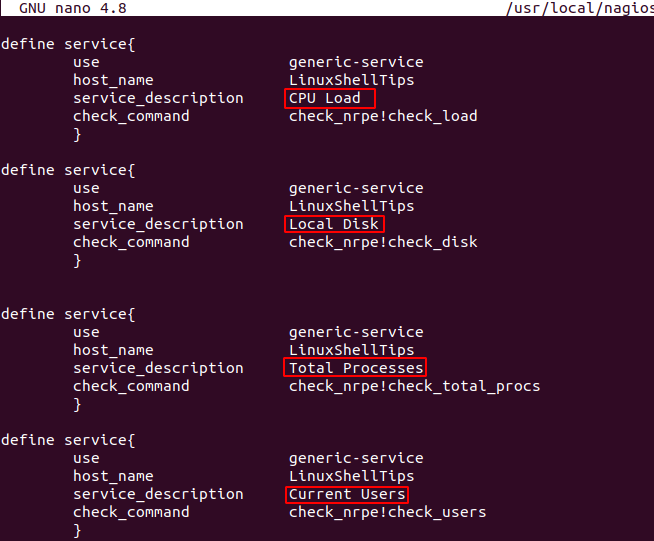
and add the following content to services.cfg file that should accommodate the remote Linux host services we wish to monitor.
define service{
    use                     generic-service
    host_name		        LinuxShellTips
	service_description	    CPU Load
	check_command		    check_nrpe!check_load
	}
define service{
    use                     generic-service
    host_name		        LinuxShellTips
	service_description	    Local Disk
	check_command		    check_nrpe!check_disk
	}
define service{
    use                     generic-service
    host_name		        LinuxShellTips
	service_description	    Total Processes
	check_command		    check_nrpe!check_total_procs
	}
define service{
    use                     generic-service
    host_name		        LinuxShellTips
	service_description	    Current Users
	check_command		    check_nrpe!check_users
	}
The final configuration task is to open the commands.cfg file.
$ sudo nano /usr/local/nagios/etc/objects/commands.cfg
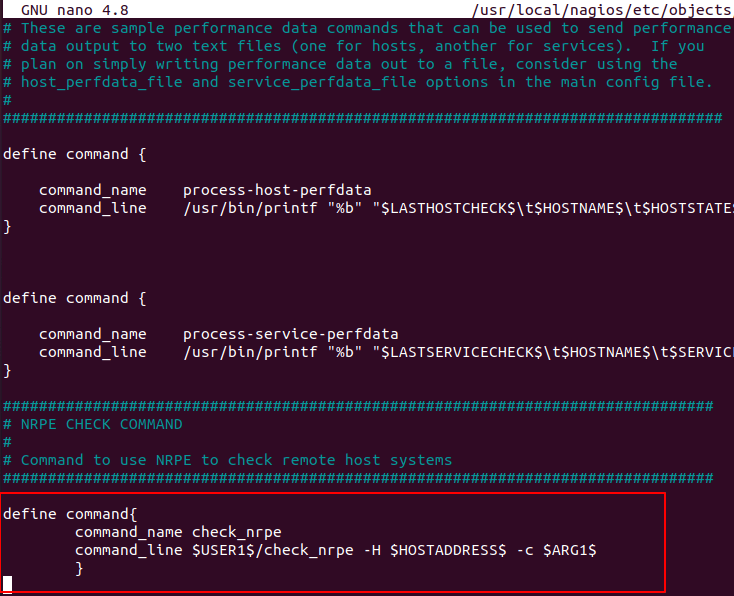
and define an NRPE command to handle the above-defined tasks.
define command{
        command_name check_nrpe
        command_line $USER1$/check_nrpe -H $HOSTADDRESS$ -c $ARG1$
        }
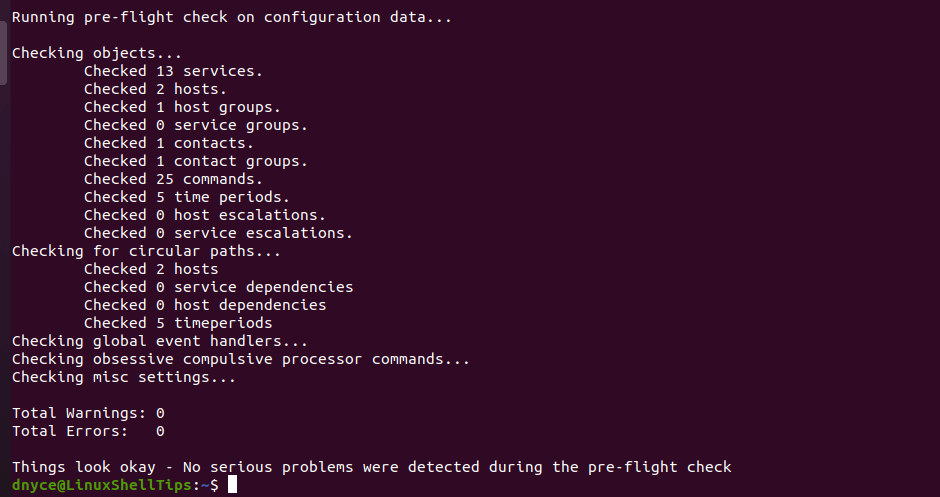
Finally, check for any errors in your Nagios configuration.
$ sudo /usr/local/nagios/bin/nagios -v /usr/local/nagios/etc/nagios.cfg
Copy check_nrpe plugin to libexec directory:
$ sudo cp /usr/lib/nagios/plugins/check_nrpe /usr/local/nagios/libexec
As you might have remembered, we created the Nagios user (admin) with the following command:
$ sudo htpasswd -c /usr/local/nagios/etc/htpasswd.users admin
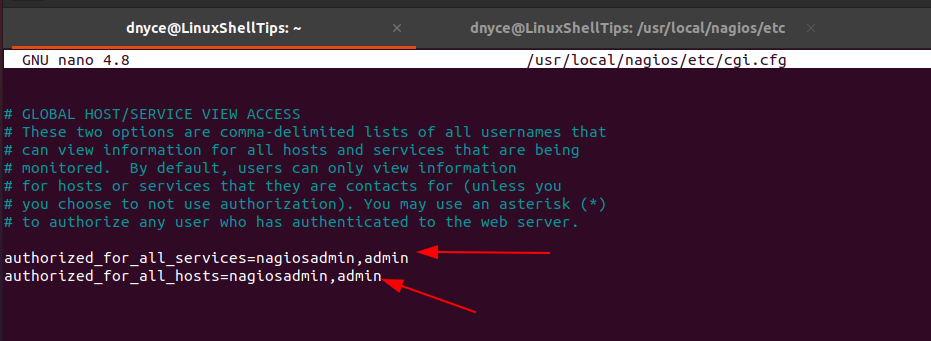
To give this user access to all services and hosts defined and created, open the file cgi.cfg.
$ sudo nano /usr/local/nagios/etc/cgi.cfg
and configure it in the following manner:
authorized_for_all_services=nagiosadmin,admin
authorized_for_all_hosts=nagiosadmin,admin
Restart Nagios server on the Ubuntu system.
$ sudo service nagios restart
Refresh your web browser, you should be able to see both the remote Linux host you added and the localhost hosting the Nagios server as active Hosts.

As for the status of the defined services, click on the services tab on the left:

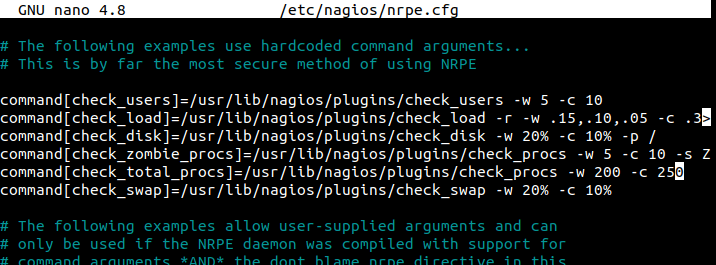
The monitored services on Ubuntu Nagios Server (/usr/local/nagios/etc/services.cfg) point to commands defined under /etc/nagios/nrpe.cfg on the Linux remote host you wish to monitor.
With Nagios, the health and performance issues of your remote Linux systems can easily be assessed and resolved through its powerful features. If you have an active firewall on your system, allow traffic port on port 5666 used by NRPE to prevent any access issues.
# firewall-cmd --add-port=5666/tcp --permanent
# firewall-cmd --reload
# sudo ufw allow 5666/tcp  [On Ubuntu/Debian/Mint]
In Part 3 of this article guide, we will handle how to add Windows host to Nagios server.
