There are specific database software attributes that make PostgreSQL stand out against other database platforms. The first and obvious attribute is its open-source nature.
This PostgreSQL trait puts it on continuous developmental milestones. Both its community and developers seek to evolve PostgreSQL into an enterprise-class performing software.
Existing PostgreSQL community platforms help users deal with emerging bugs, and also understand its various functionalities and use cases.
Other PostgreSQL strengths are in its unique functions like Store Procedure, Diverse Indexing Techniques, Flexible Full-text search, Diversified Extension Functions, and Diverse kind of Replication.
Installing PostgreSQL in Ubuntu
Whether you are on Ubuntu 20.04 desktop or server environment, getting PostgreSQL 14 up and running on your system is straightforward. Before this article guide takes you through PostgreSQL 14 installation on your Ubuntu 20.04 system, ensure you have root user privileges or you are a Sudoer user.
Firstly, run a quick system update check on your Ubuntu 20.04 system.
$ sudo apt update
As a security measure, the team behind PostgreSQL ensures that every successfully downloaded PostgreSQL package has a GPG key signature.
It helps users verify that the downloaded package is not corrupt/tampered with by anyone. We need to add this key to our system by executing the following command on your terminal.
$ wget --quiet -O - https://www.postgresql.org/media/keys/ACCC4CF8.asc | sudo apt-key add -
With the package-signing key added, a new repository configuration is needed for the database software.
$ echo "deb http://apt.postgresql.org/pub/repos/apt/ $(lsb_release -cs)-pgdg main" | sudo tee /etc/apt/sources.list.d/postgresql-pgdg.list > /dev/null
Run another system update to refresh the apt metadata.
$ sudo apt update
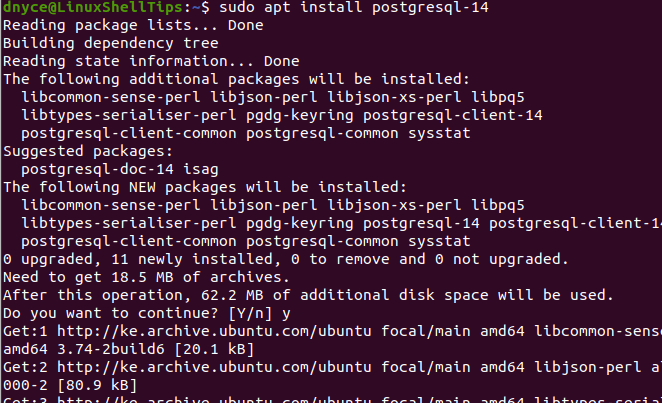
The following command should get PostgreSQL 14 installed on your Ubuntu 20.04 system.
$ sudo apt install postgresql-14

The following command should list all the packages associated with your PostgreSQL installation.
$ dpkg -l | grep postgresql

PostgreSQL’s default port (5432) should not be held hostage by any other system process.
$ sudo ss -atnp | grep 5432
The above command lists any system process using/listening to port 5432.

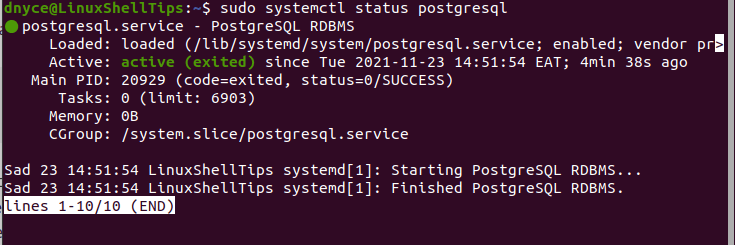
Next, restart, enable PostgreSQL so that it keeps running even after your Ubuntu system reboots, and check on the status of PostgreSQL to make sure it is running.
$ sudo systemctl restart postgresql
$ sudo systemctl enable postgresql
$ sudo systemctl status postgresql

Connecting to PostgreSQL 14 Database in Ubuntu
This is a straightforward step and the command to use is as follows:
$ sudo -u postgres psql

The above command takes you directly to a PostgreSQL shell from where you should be able to comfortably create application databases, database users, and database roles applicable to different users depending on whether they have a superuser status or normal user status.
For example, to create a PostgreSQL admin superuser that has all the database user privileges, we would execute the following query.
# CREATE ROLE admin WITH LOGIN SUPERUSER CREATEDB CREATEROLE PASSWORD 'pa55word5';

To confirm the existence of the PostgreSQL superuser, execute the following command.
# \du

To exit PostgreSQL hell, run the command:
# exit;
With PostgreSQL 14 installed on your Ubuntu 20.04 system, you can now comfortably use it to steer your database-powered apps or projects to new heights.
