To ensure that your Linux machine is stable and reliable, you need to stress test and benchmark certain key aspects of it including CPU performance. This helps you foresee how it will respond in real-world situations in which it is subjected to computing demands.
[ You might also like: How to Find Top 10 Running Processes by Memory and CPU Usage ]
In this article, we will show different ways to create 100% CPU load on a Linux system to stress test it. By the end of this article, you will learn how to stress test your CPU on a Linux computer that you have just built or bought, or an older computer.
Install Stress or Stress-ng in Linux
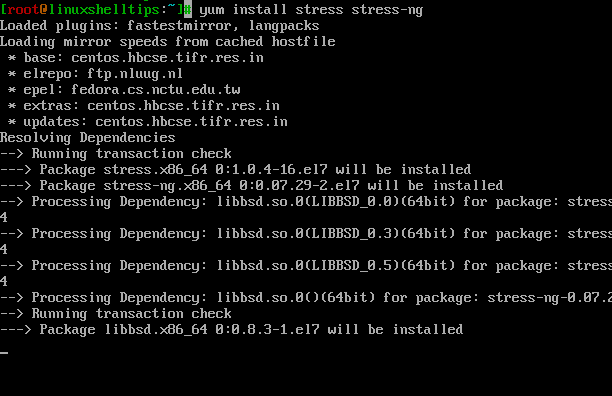
stress is a popular command-line tool used to impose load and stress test a Linux system. To install it on your Linux system, run the appropriate command for your Linux distribution:
$ sudo apt install stress       [Debian/Ubuntu]
$ sudo yum install stress 	[CentOS/RHEL 7+]
$ sudo dnf install stress 	[Fedora 22+]
$ sudo pacman -S stress         [Arch Linux]
$ sudo zypper install stress    [OpenSUSE]
You can also use stress-ng, a newer version of stress that ships in with extra features.
$ sudo apt install stress-ng     [Debian/Ubuntu]
$ sudo yum install stress-ng 	 [CentOS/RHEL 7+]
$ sudo dnf install stress-ng 	 [Fedora 22+]
$ sudo pacman -S stress-ng       [Arch Linux]
$ sudo zypper install stress-ng  [OpenSUSE]
How to Impose 100% CPU Load on Linux
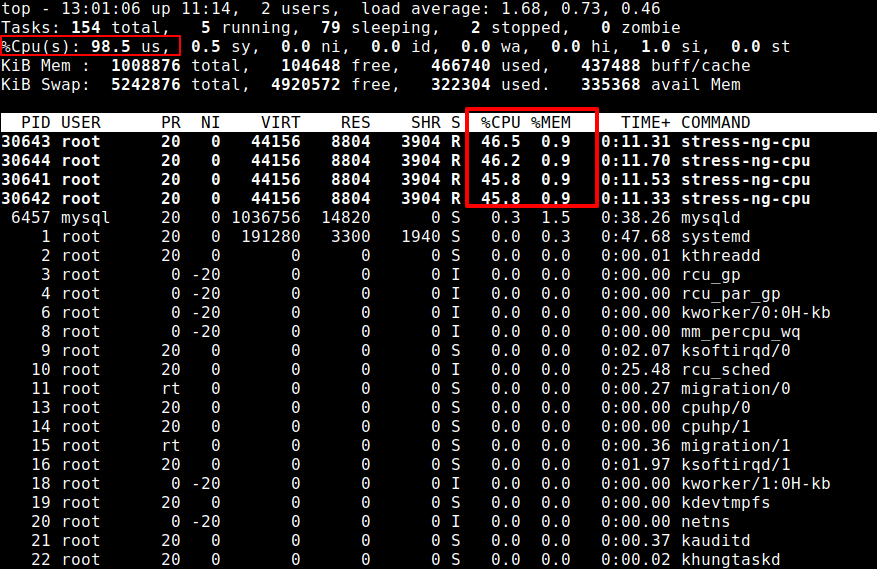
To impose 100% load on your Linux server CPU, run stress or stress-ng as shown, where the --cpu flag specifies the number of cores, -v enables verbose mode, and --timeout specifies the time after which the command will terminate:
$ sudo stress-ng --cpu 4 -v --timeout 30s

You can check your Linux system’s CPU usage percentage using a top command – a real-time system monitoring tool for Linux systems.
$ top
There are several other Linux commands that you can use to create 100% CPU load. Below are some that I discovered on StackOverflow, the first one is:
$ yes > /dev/null &
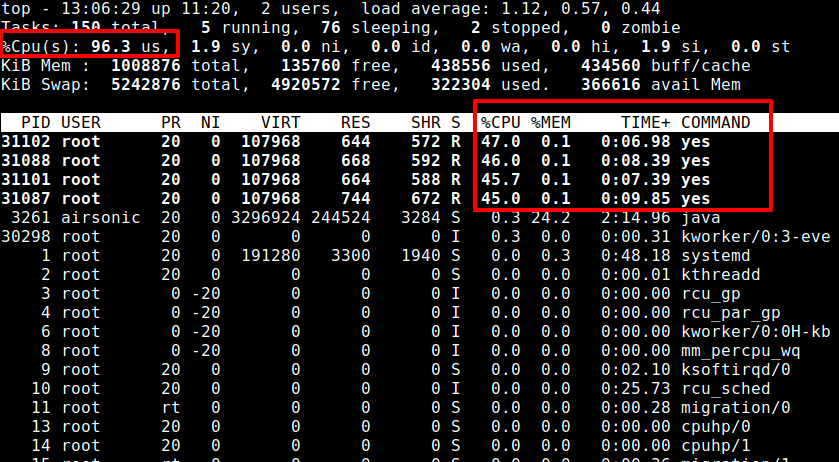
Note that running the above command once only imposes 100% load on a single core. If you have multiple, for example, four cores, run the command four times to exhaust all the CPU power:
$ yes > /dev/null &
$ yes > /dev/null &
$ yes > /dev/null &
$ yes > /dev/null &
You can check your Linux system’s CPU usage percentage using:
$ top
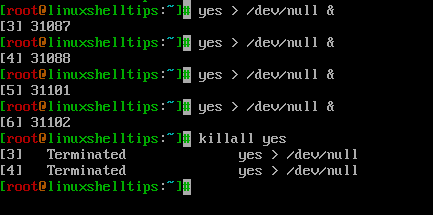
To terminate the Linux background jobs created by the above commands, run the killall command as shown.
$ killall yes
Another useful command to produce 100% CPU load usage is:
$ dd if=/dev/zero of=/dev/null
To fully utilize all the cores on your system, run the following command. The number of the above command in the function should be equal to the number of cores (for example 4 in this case):
$ fulload() { dd if=/dev/zero of=/dev/null | dd if=/dev/zero of=/dev/null | dd if=/dev/zero of=/dev/null | dd if=/dev/zero of=/dev/null & }; fulload; read; killall dd
Again, check CPU percentage utilization using top command.
$ top
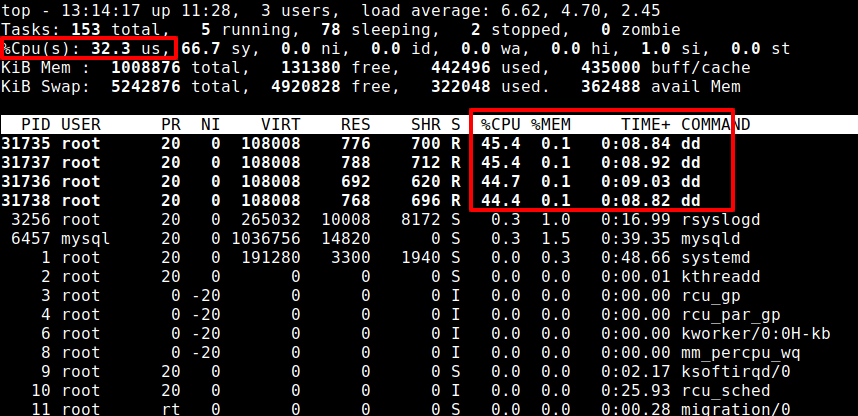
That’s it! What command or tool do you normally use to stress test or create 100% load on your Linux system(s)? Let us know via the comment section below.

To impose a load upon all the cores, then use powertop and powerstat to measure the power drawn.
Kill that via:
Park cores via:
$ for x in /sys/devices/system/cpu/cpu{1..11}/online; do echo 0 >"$x"; doneUnpark cores via:
$ for x in /sys/devices/system/cpu/cpu{1..11}/online; do echo 1 >"$x"; doneYou’ll note that Core0 is not included, Linux cannot park Core0 unless you’re using a full no-tick kernel (which most Linux flavors don’t have yet). The best you can do is to use the low-latency kernel and the kernel flags in my comment here:
https://askubuntu.com/questions/185826/does-ubuntu-support-core-parking
To implement something as close to a full no-tick kernel (as Windows and MacOS use) as is possible under Linux.
On my AMD Ryzen CPU, with all but Core0 parked and with Core0 loaded to 100% (with Turbo Mode turned off), TDP is only ~3.8 W. For normal, everyday usage, I don’t notice all that much more lag than when all cores are running. That’s fantastic compared to the old CPUs that used to have TDPs in the hundreds of watts.
In bash:
Result: 100% cpu usage (single core).