NGINX (pronounced as Engine-X) is a free and open-source web server software, load balancer, and reverse proxy optimized for very high performance and stability. NGINX offers low memory usage and high concurrency — which is why it is the preferred web server for powering high-traffic websites.
In this tutorial, you will learn how to install an NGINX webserver to host a simple HTML website running on a Linux platform.
Install NGINX Web Server in Linux
On Ubuntu and Debian-based distributions, run the command below to install NGINX.
$ sudo apt install nginx -y
On Red Hat Linux and related distributions, you might need to first add the EPEL repository with the command below.
$ sudo yum install epel-release
Next, update the repository with:
$ sudo yum update
Now, you may run the following command to install NGINX on Red Hat and related distributions.
$ sudo yum install nginx
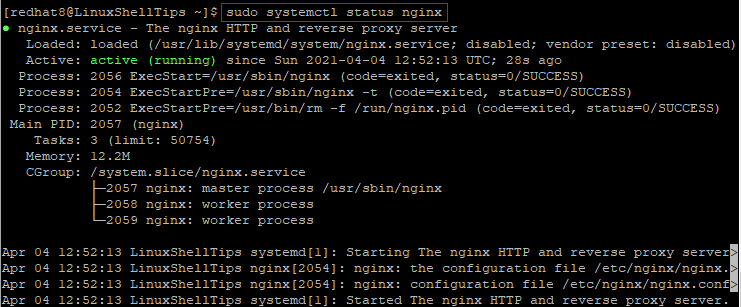
Once installed, you can start and check the status of NGINX as follows.
$ sudo systemctl start nginx
$ sudo systemctl status nginx


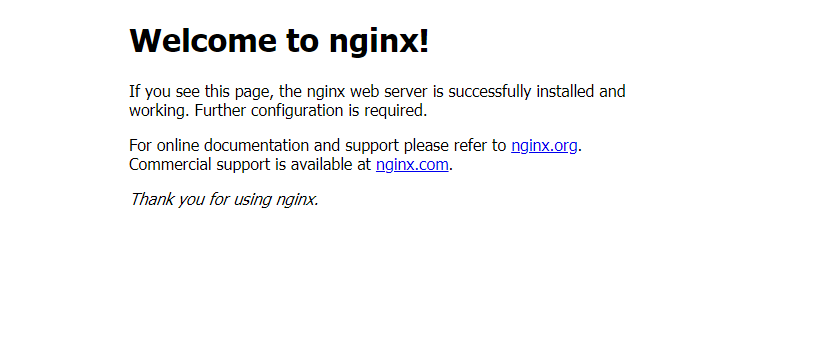
After you have successfully installed NGINX and confirmed that it is running, open a web browser and enter the IP address of your Linux server.
http://IP-Addresss
OR
http://localhost
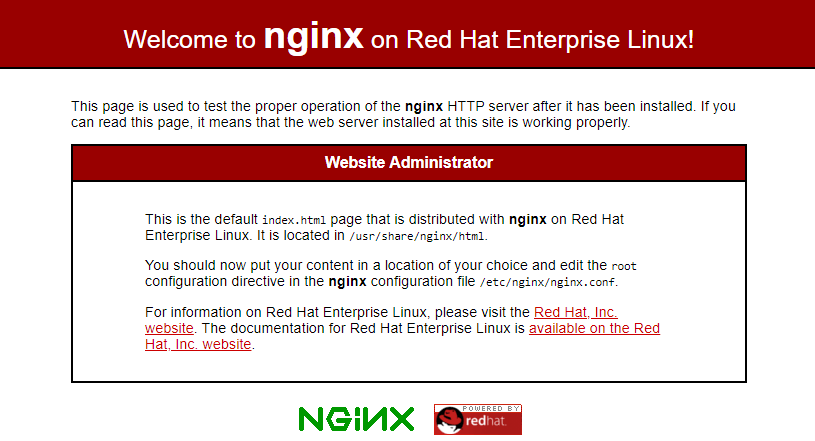
You should see the test page for NGINX as shown in the images below.


Host a Simple HTML Website on NGINX
On Ubuntu and Debian-related distributions, the default website root is /var/www/html and this is where you should put your website content.
Change into the default website root with:
$ cd /var/www/html
As for Red Hat, as indicated on the NGINX test page, the default website root is /usr/share/nginx/html and this is where you should put your website content.
Go into the default website root with:
$ cd /usr/share/nginx/html
Once you are in the default website root, run the command below to rename any existing index.html file.
$ sudo mv index.html index.html.bk
Note: On Ubuntu, you may get a message saying that the file does not exist. It’s okay to move on to the next step.
Now, run the following command to create your own index.html file.
$ sudo nano index.html
Copy and paste the sample HTML code below into the text editor.
<!DOCTYPE html>
<html>
<body>

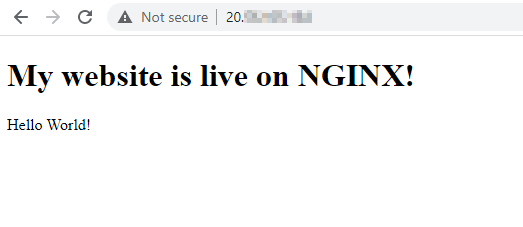
<h1>My website is live on NGINX!</h1>

<p>Hello World!</p>

</body>
</html>
Save and close the index.html file.
Finally, refresh your web browser to see your new website.

Manage NGINX Web Server in Linux
Here are some additional commands for the basic management of your NGINX web server.
To configure NGINX to automatically start when the Linux server is rebooted, run:
$ sudo systemctl enable nginx
To disable automatic starting of NGINX when the Linux server is rebooted, run:
$ sudo systemctl disable nginx
To restart NGINX, run:
$ sudo systemctl restart nginx
To reload NGINX configuration settings without restarting the service, run:
$ sudo systemctl reload nginx
To stop NGINX, run:
$ sudo systemctl stop nginx
Conclusion
In this guide, you have learned how to install NGINX on Ubuntu/Debian as well as Red Hat Linux distributions. We also showed you how to add your own website content.

Hi,
I’ve set up a website on Linux Mint. Now, I’m wondering what steps I should take to access the site via the internet, specifically using my IP address. My goal is to build a Mint website on my Raspberry Pi 5 using Ubuntu. My Raspbian OS works fine with djb.ownip.net. Any help would be greatly appreciated.
Thanks,
djb